
Summary
Repair car door weatherstripping that has become detached and is getting stuck in the door when closed. You may also see this referred to as fixing a car door gasket.
Background
Car Door Weatherstripping Damage
Some issues require instant and urgent attention while others are such a minor inconvenience they can be overlooked forever. The loose weatherstripping on my wife’s car was definitely the latter. In fact, it was probably more the curiosity of whether it could be easily fixed rather than the annoyance factor that drove me to make the repair.
Car doors feature a flexible foam gasket, also referred to as weatherstripping, that runs around the inside of the door openings. In my research I have seen the terms weatherstripping and car door gasket both used to refer to this application, so I will use them interchangeably because typing (and reading) weatherstripping is quite tiresome. The gasket serves to seal the car against water splashing into the car from wet roads, blocking dust from entering while the door is closed, and keeping road noise out.
The gasket on my wife’s Ford Escape had been knocked loose and was hanging in several spots. Every couple of days I would push it back together and go about my business until one day I was bored enough to research a way to possibly repair it. It turns out its pretty simple to repair. Depending on the nature of the damage you may be able to make it as good as new. I wasn’t so lucky, but it is definitely better.
Tools and Materials
Basically no tools other than your hands are required for this repair.
For materials you will need some items from around the house, plus the correct adhesive for the job:
- Household spray cleaner to clean the surfaces for repair
- Paper towels
- (Optional) disposable gloves to keep the adhesive from your hands
- 3M Black Super Weatherstrip Adhesive 03602
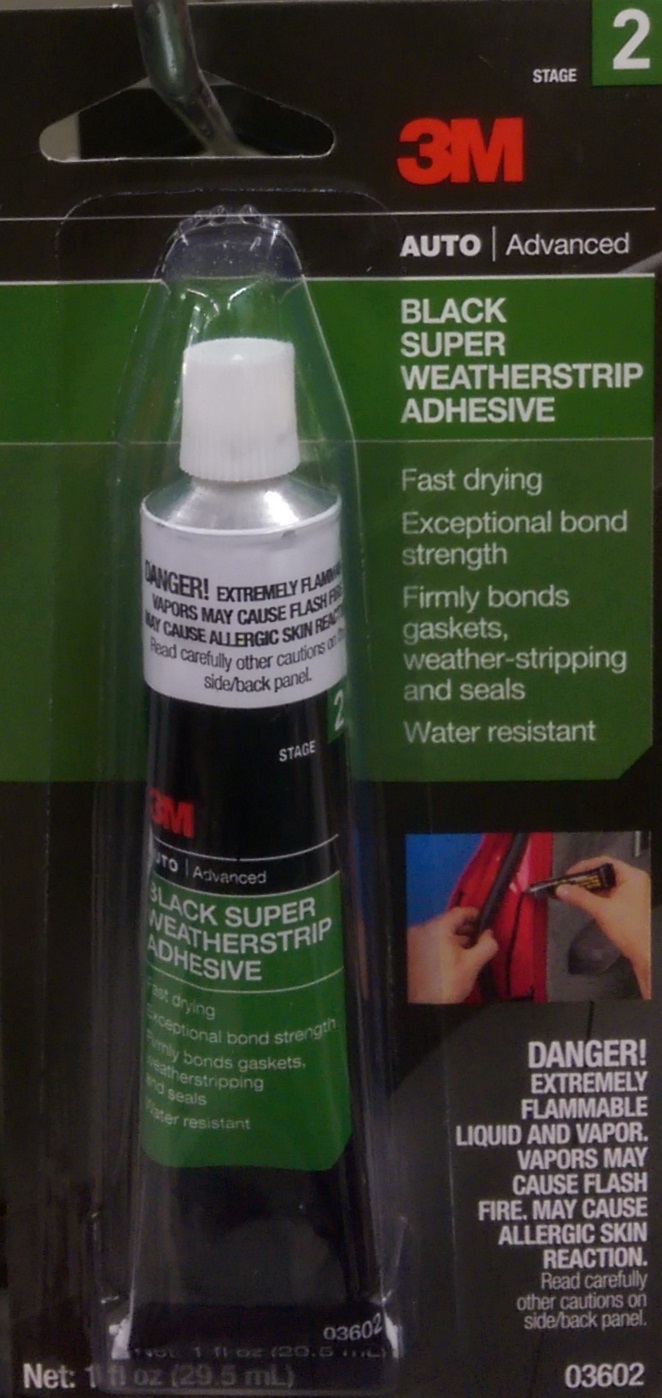
3M Black Super Weatherstrip Adhesive 03602
I found a small tube of this adhesive in the automotive section at Walmart for $2.47. You should also be able to find it online at Amazon, or any of the auto parts stores in your area.
Repairing the Weatherstripping
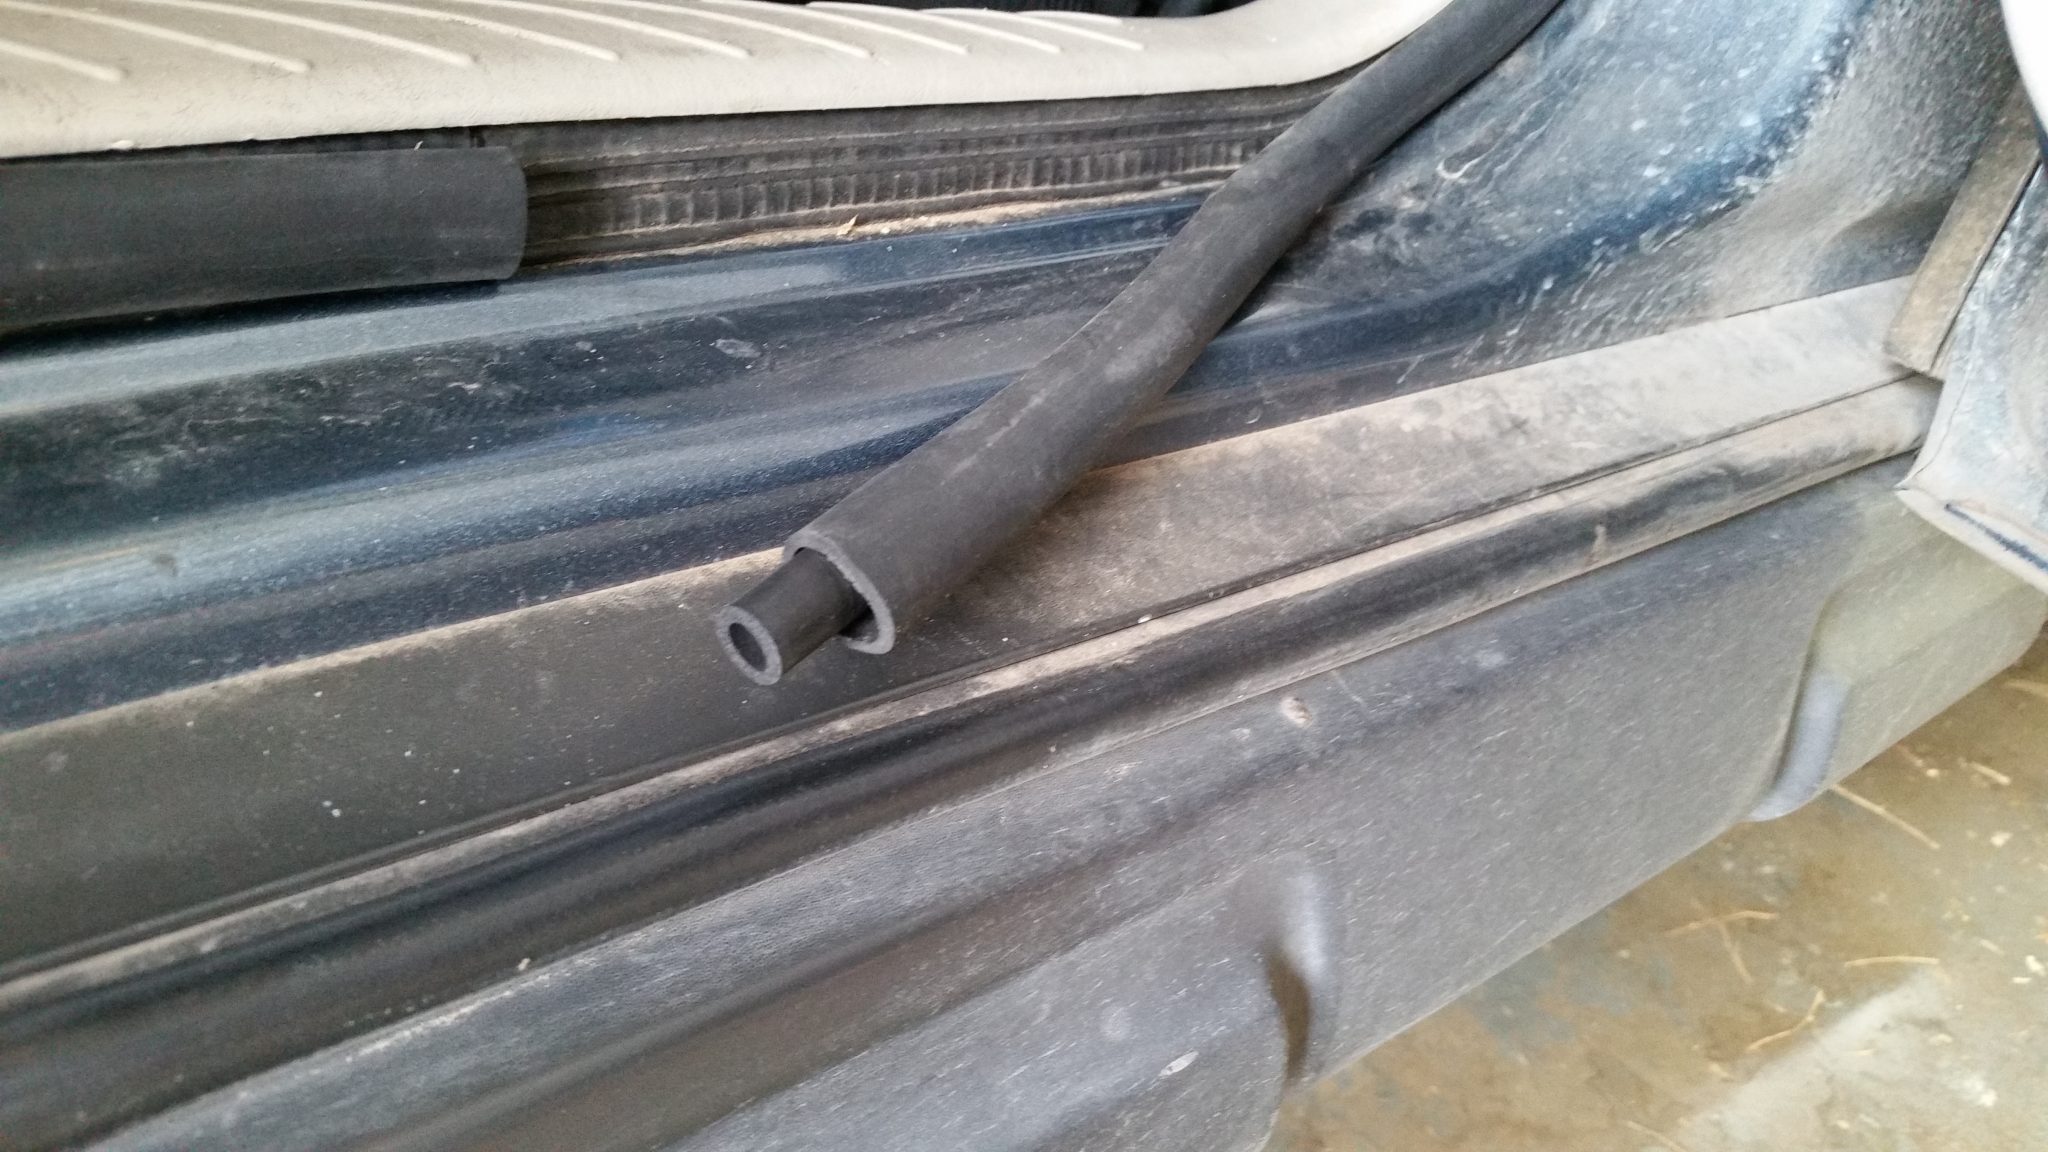
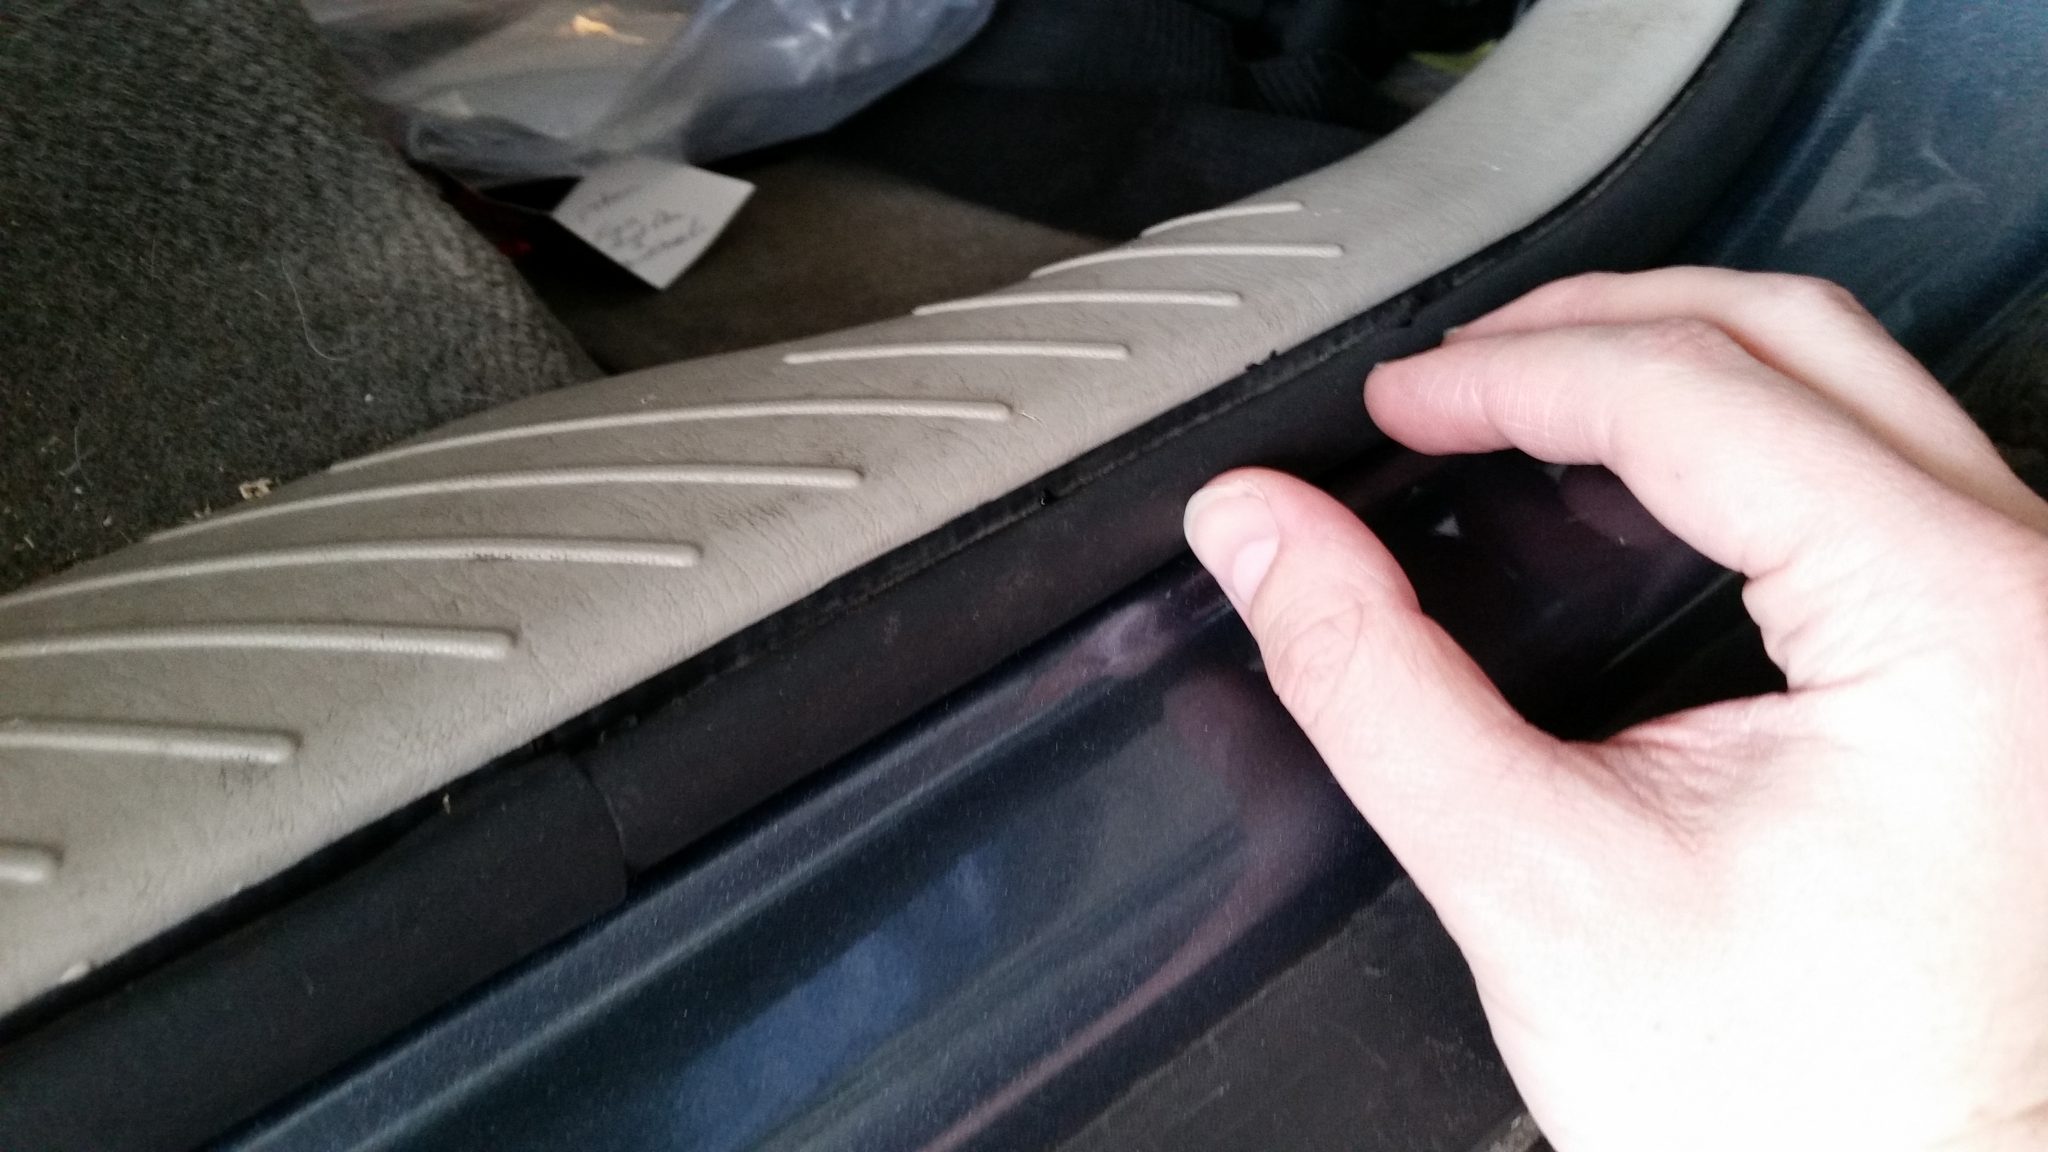
First, I closely surveyed the damage. You can see in the photo above that about a foot of stripping was hanging loose and had also been slightly stretched over time from being caught in the door numerous times. The following photo shows a closer look. You can see that the stripping was actually separating from a piece that was glued to the door. Originally it was all one piece. On some cars I think the gasket is actually separate and is glued directly to the metal. In spite of this fact I decided to try and use the adhesive to reattach the two pieces together.

Car Door Weatherstripping Damage Detail
The first step was simply to clean the area thoroughly with some household cleaner. I then waited 30 minutes to an hour to be sure it was dry.
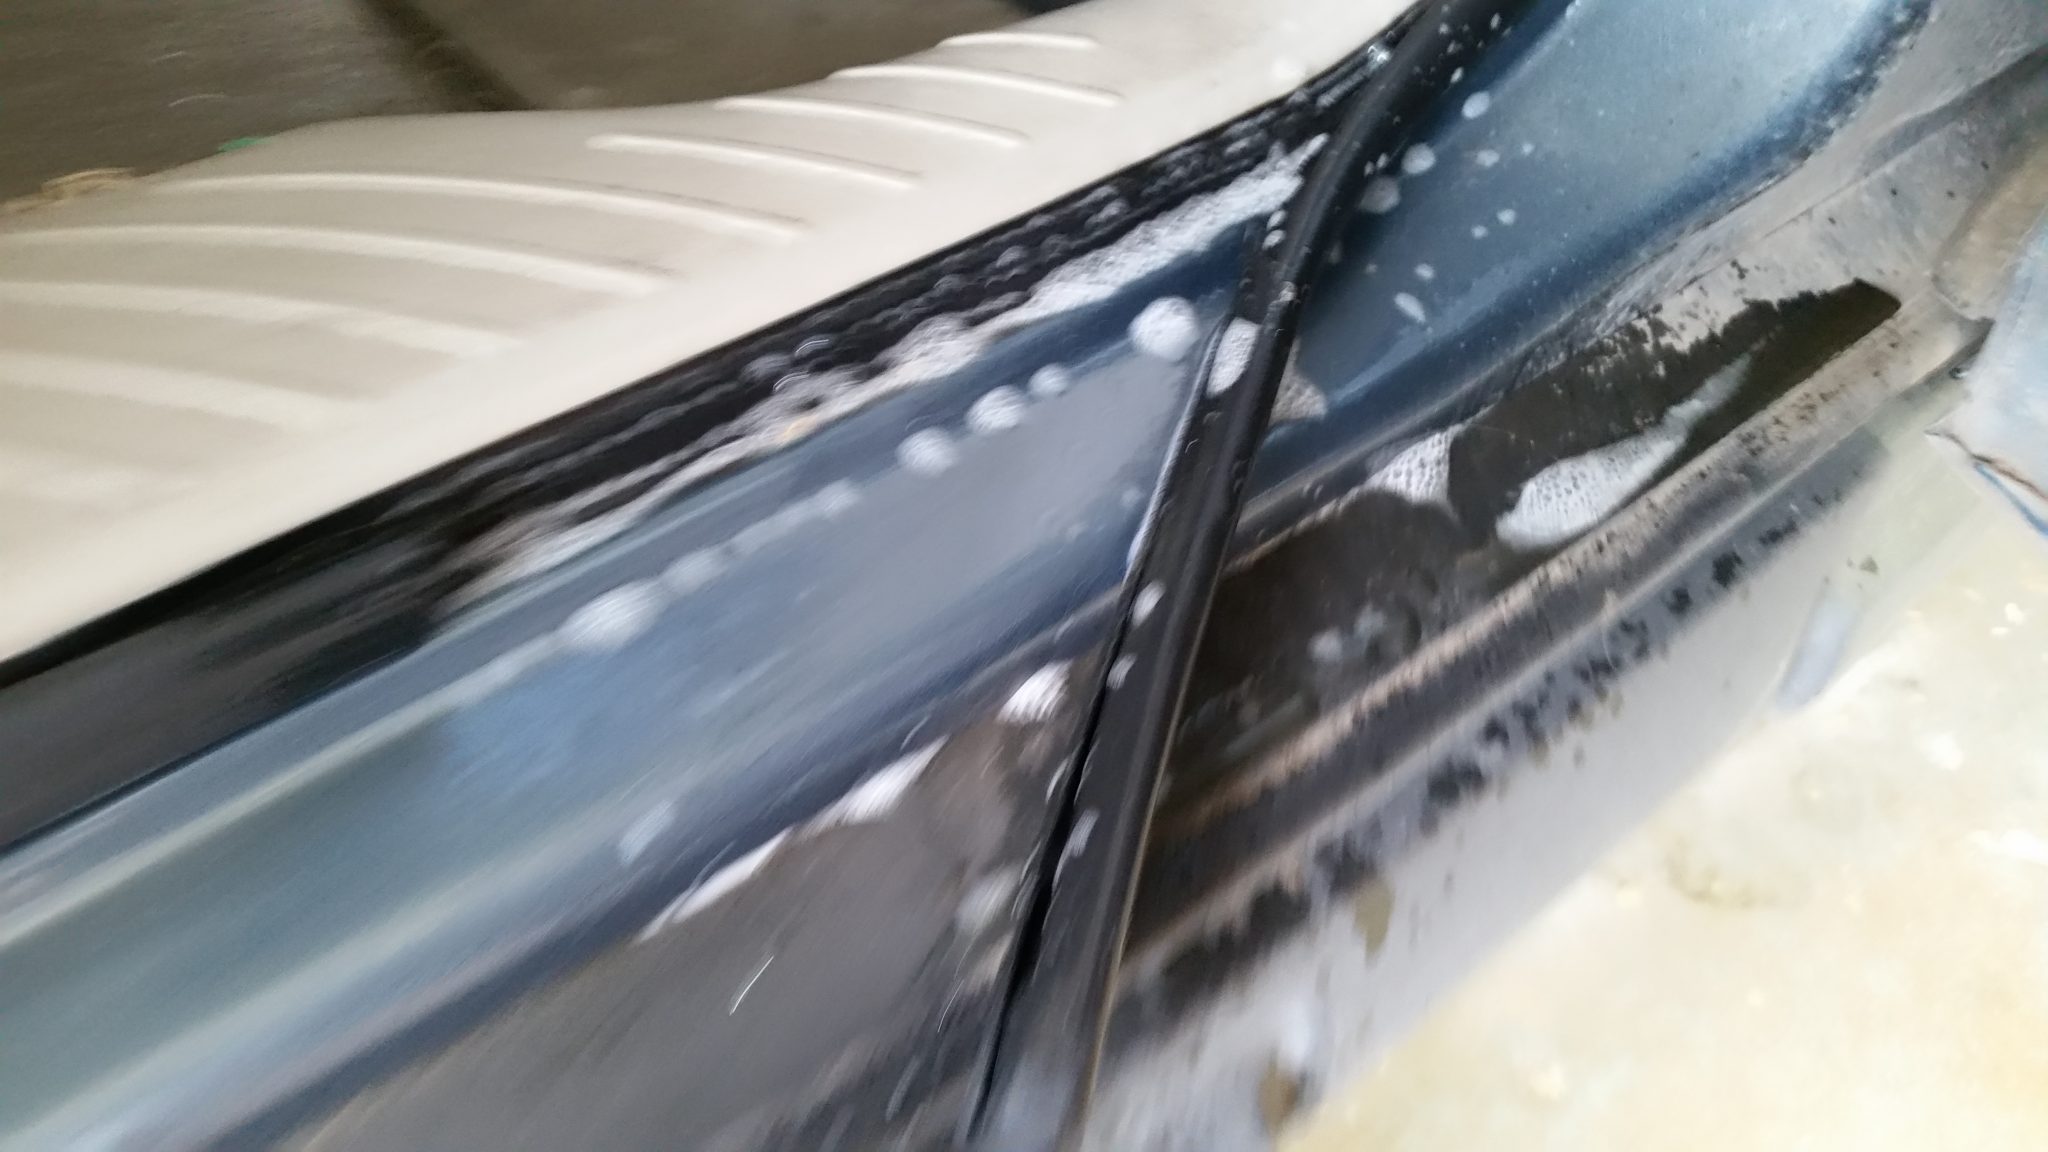
Cleaning the Weatherstripping for Repair
Next, I applied some sealant inside the gasket to reattach the little piece of foam tubing that serves to guide two ends of the stripping together. I figured this would help everything stay together when I was finished.

End of Weatherstripping Glued
Next, I applied the adhesive according to the directions on the package to the cleaned section of car door. Essentially the directions want you to apply the adhesive and wait an unspecified amount of time for the adhesive to become tacky.
3M Weatherstrip Adhesive Applied to Door
The adhesive seemed to be tacky after a couple of minutes so I carefully moved the gasket over the adhesive and held it in place with my hand for a minute or two.
Holding Car Door Weatherstripping in Place to Set
After it was tacky enough to stay in place on its own, I decided nothing would make a better clamp than the car door itself. I closed the door on the gasket and let it sit for a few hours before coming back to examine my work.
Conclusion
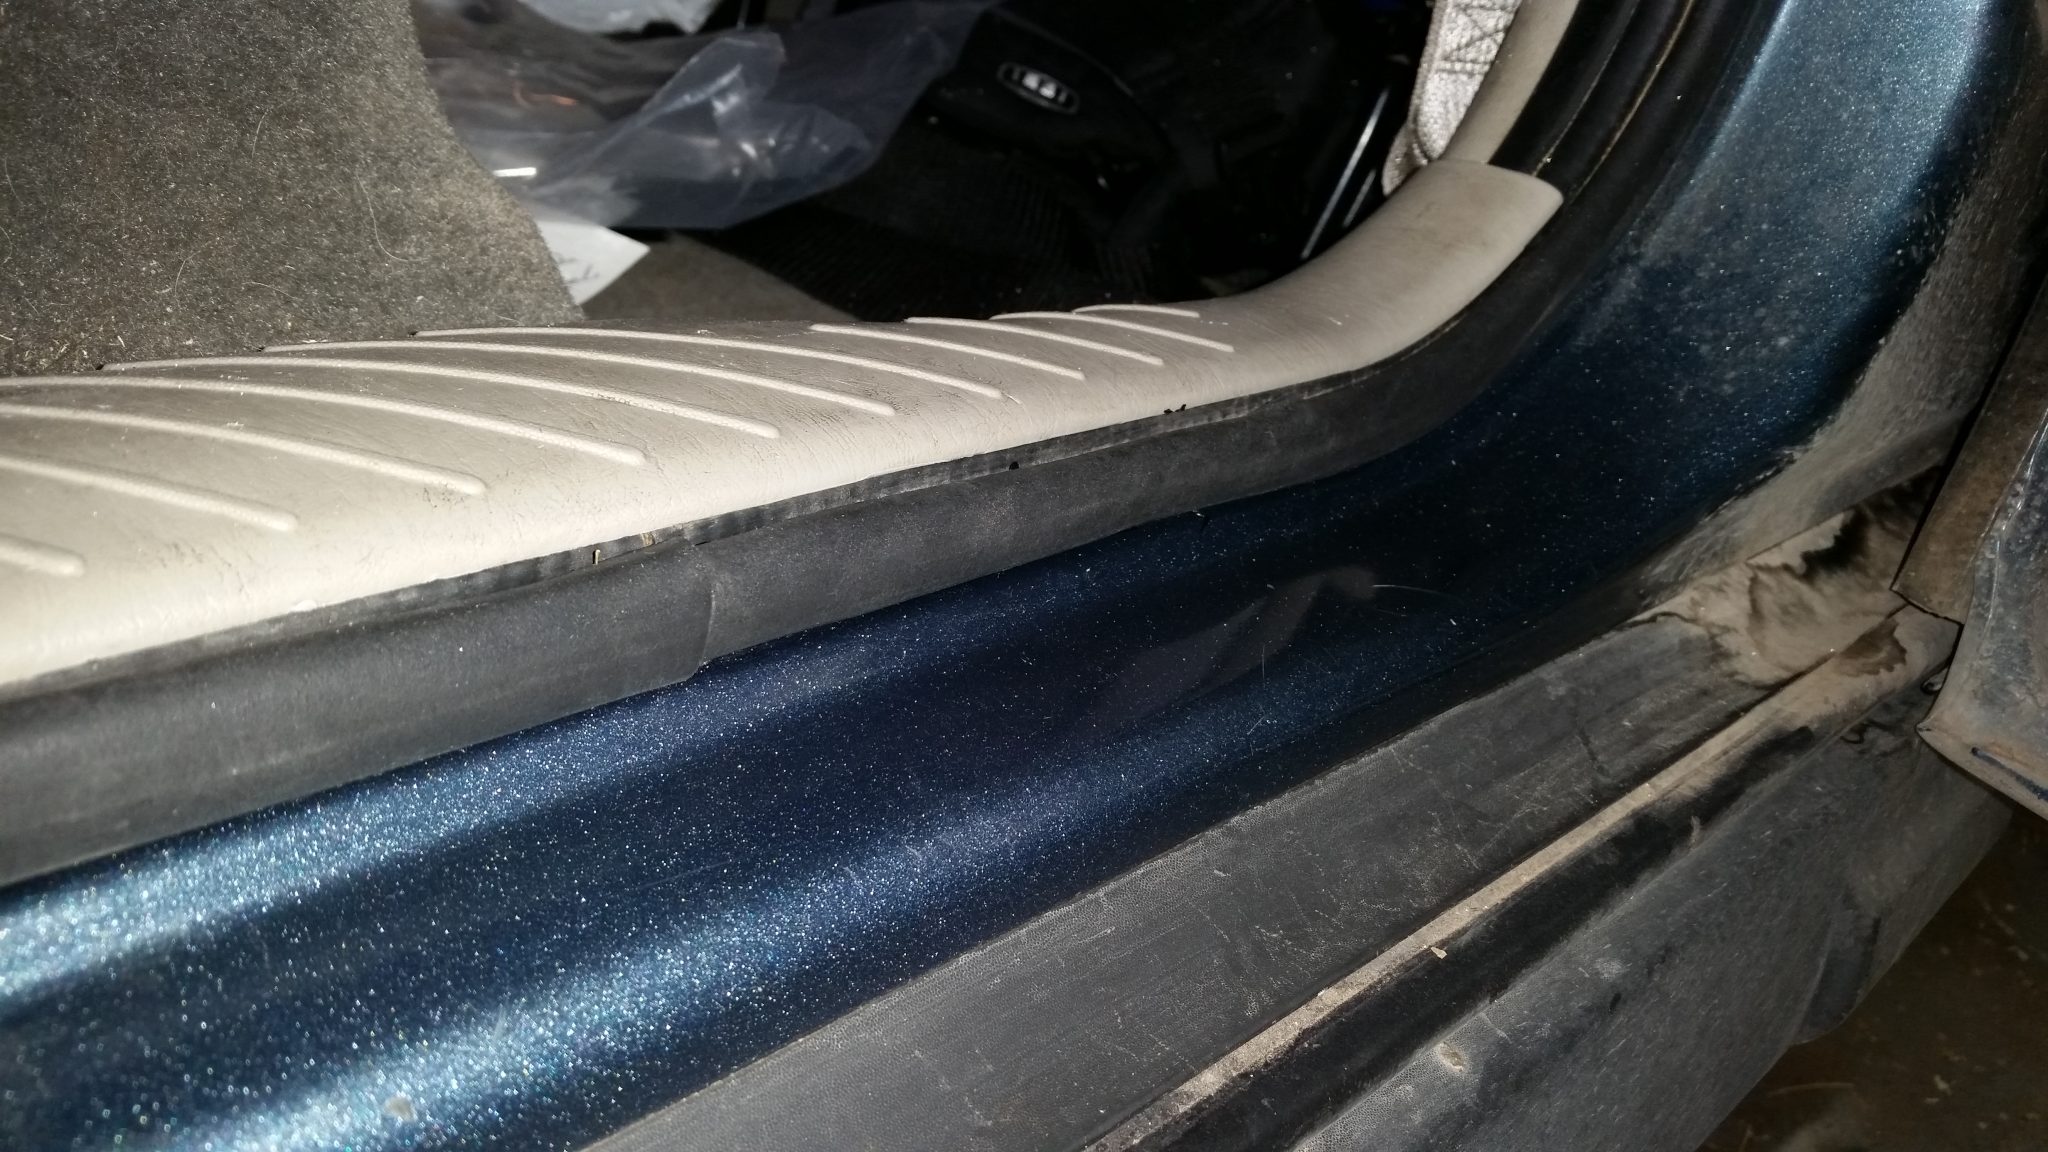
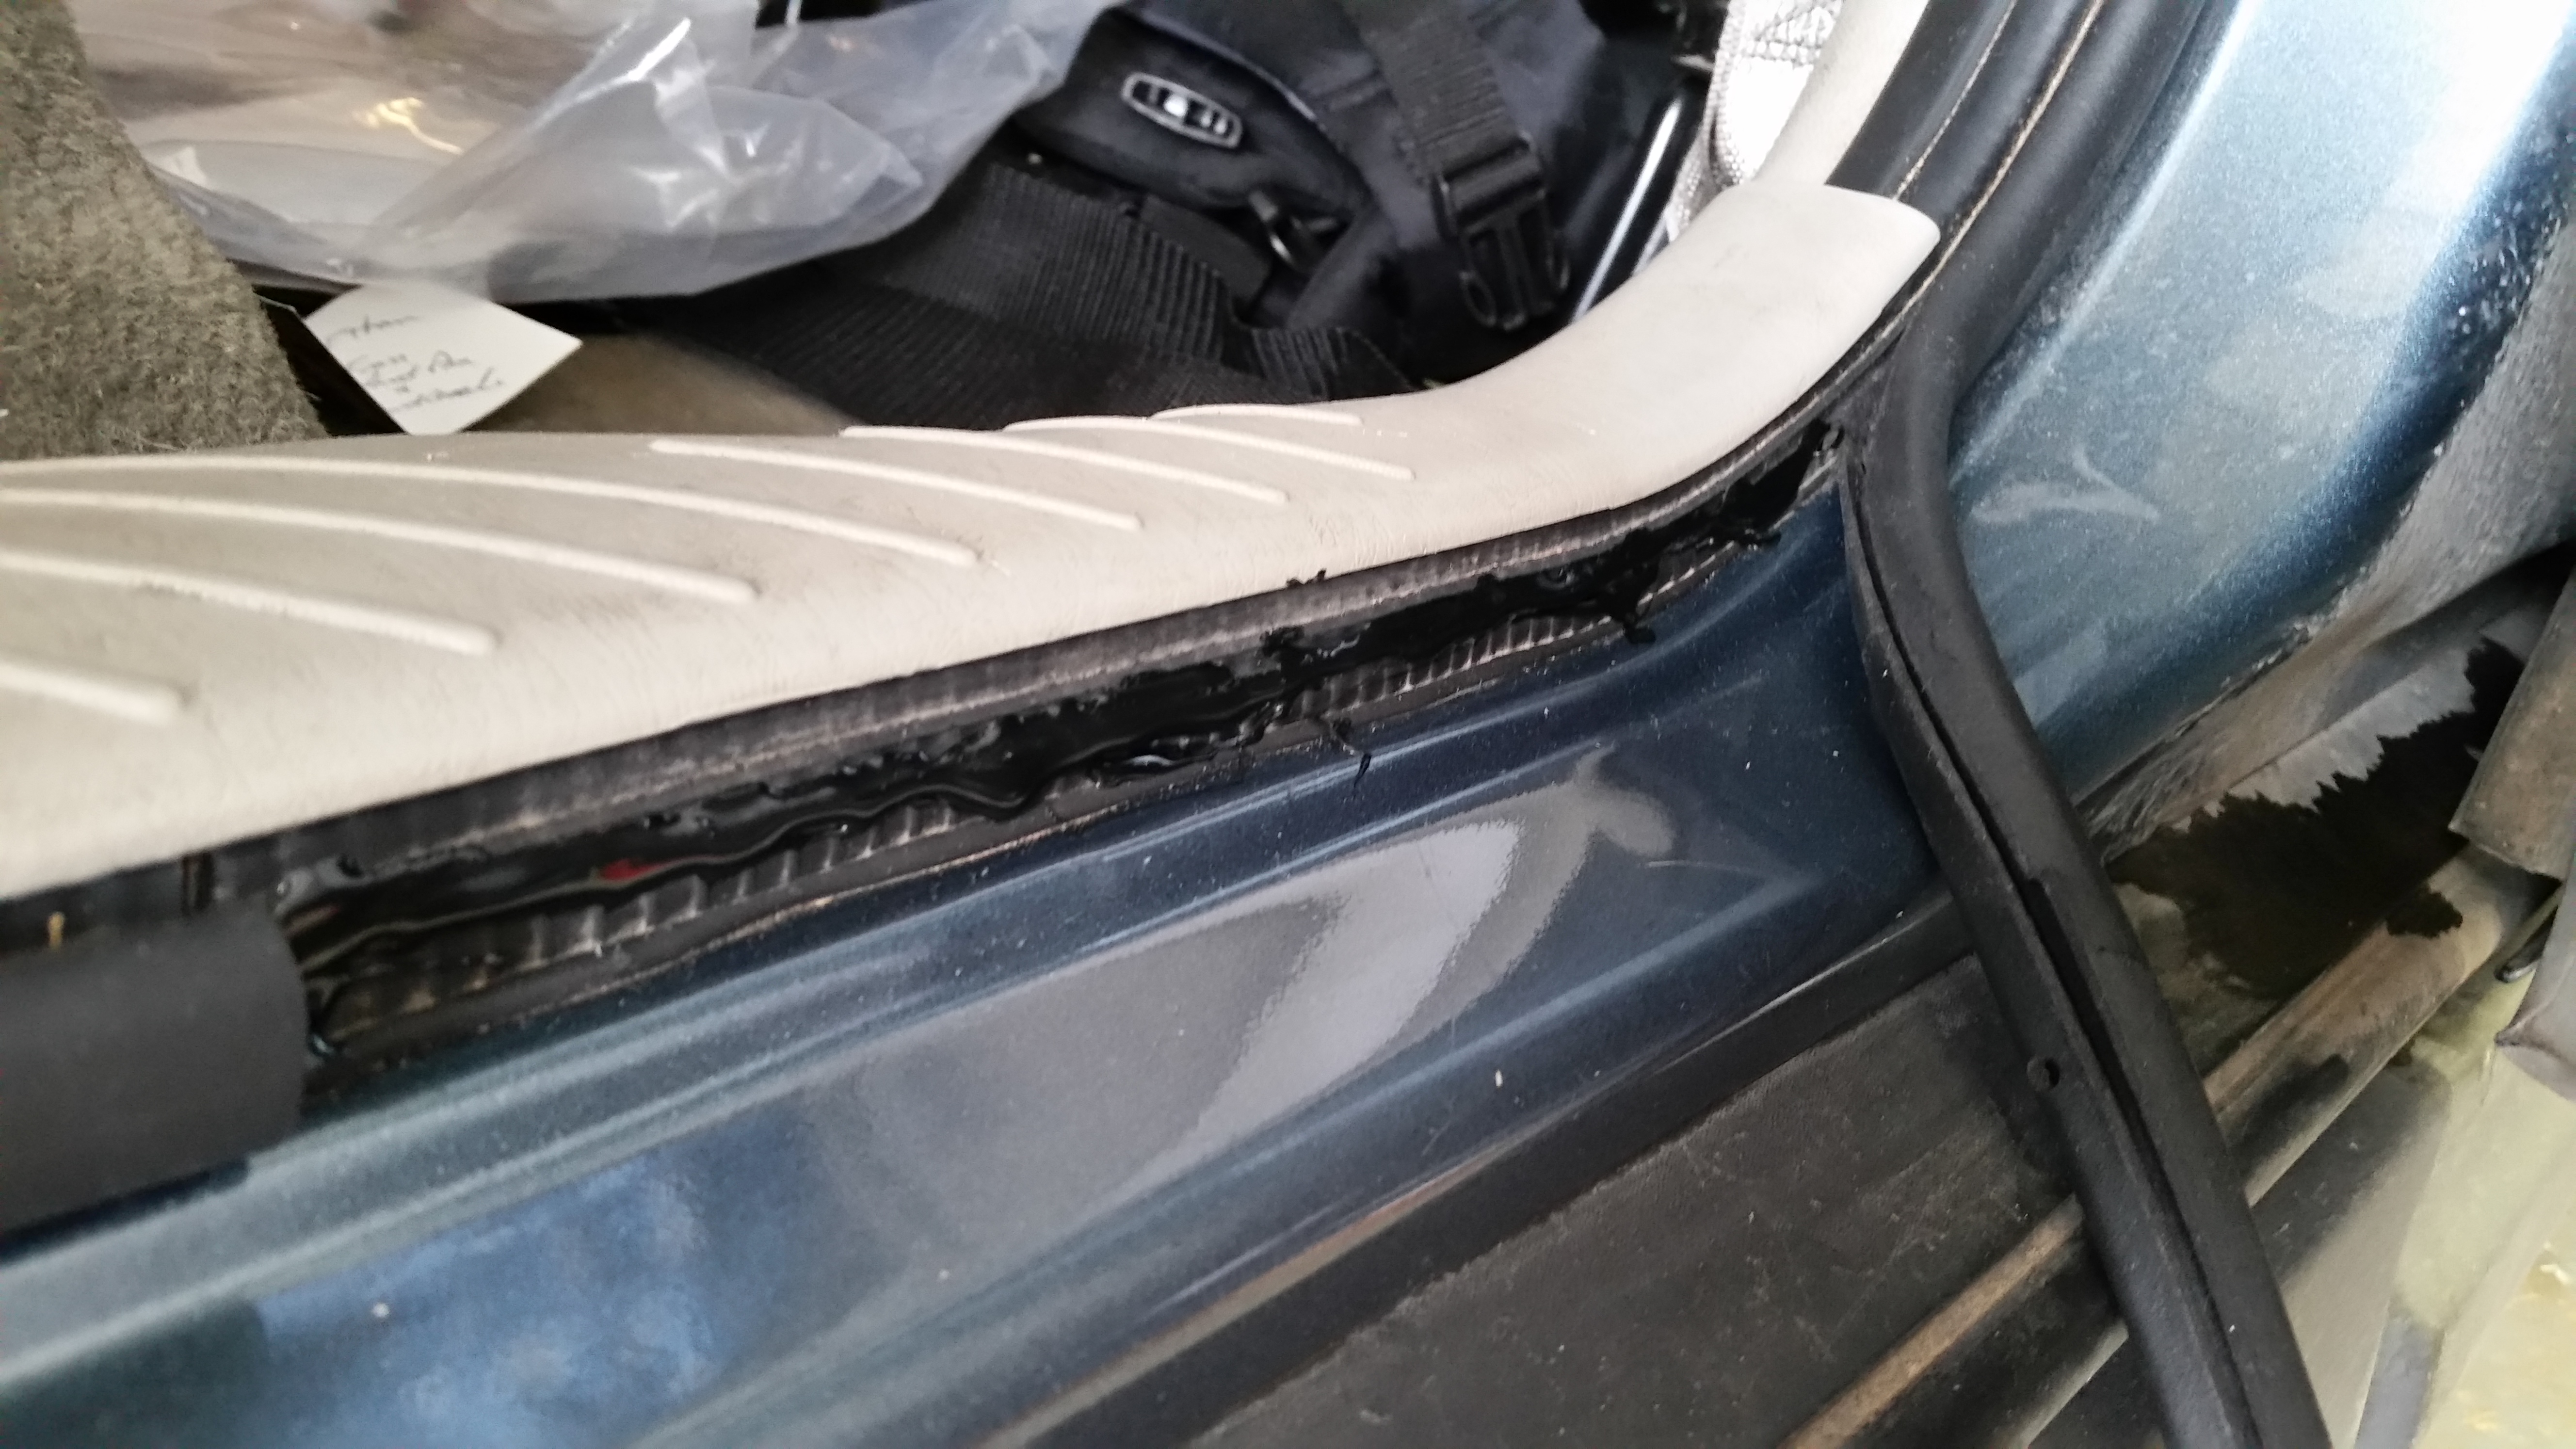
Car Door Weatherstripping After Repair
As you can see in the photo, the adhesive dried and the gasket is once again sealed against the door. The total time to make the repair was about 20 minutes. I repeated this process for two other detached sections and had the same positive results. You will want to watch out for the adhesive because its pretty sticky and hard to clean off if you get it on your skin or clothes. This repair was very simple and inexpensive, plus my wife and I are both much less annoyed getting into and out of the car now.
I can’t seem to find weatherstripping, that is car specific, for my 2001 Mazda Tribute. Do you have any idea where I can get it?