
Summary
Staining and applying a polyurethane finish to a DIY piece of furniture for my son’s room. This post includes information on applying stain and finish, as well as the mistakes that I made along the way.
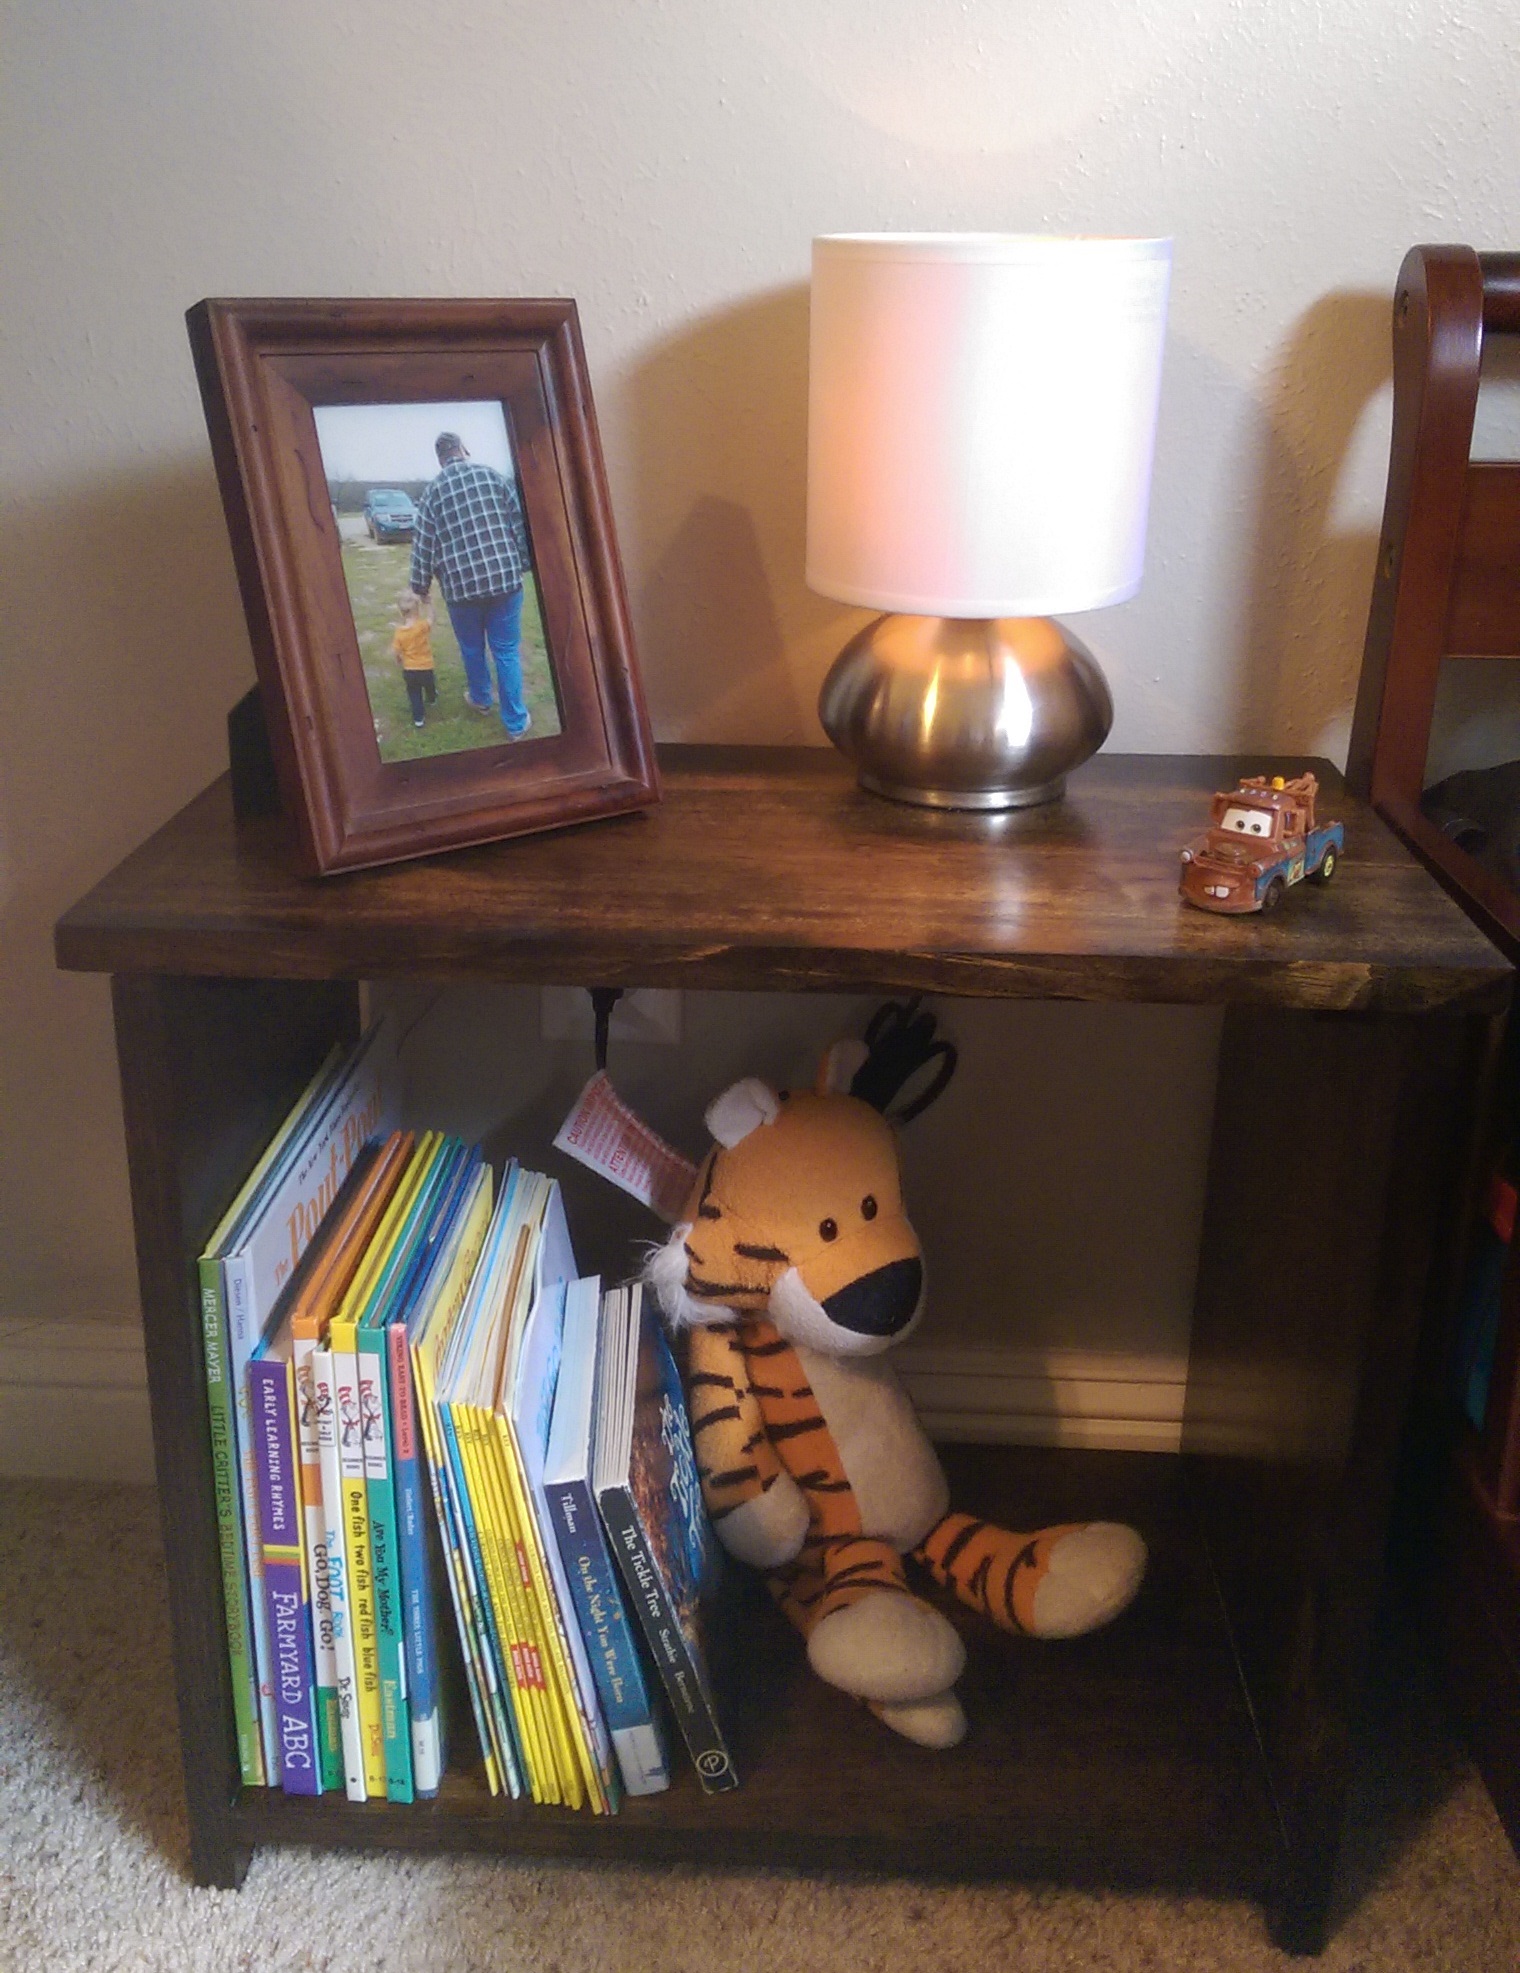
Finished Toddler Night Stand Front View
Background
In my last post, I described how I designed and built a night stand to go next to my two year old son’s toddler bed. I decided to apply a stain and finish rather than paint it so that it would more closely match the store bought furniture in the room.

Assembled Toddler Night Stand
Tools and Materials
line
Description
Supplier
Unit Cost
Units
Ext. Cost
1
Minwax Dark Walnut Stain
Walmart
$6.38
1
$6.38
2
Minxax Wipe On Poly - Oil Based
Home Depot
$13.25
1
$13.25
3
Various Grit Sand Disks
Total
$19.63
line
Description
New?
Link (If applicable)
1
Black and Decker Workmate Table
Black And Decker Website
2
Black and Decker Orbital Sander
3
Lint Free Cloths (Used T-Shirts)
Preparation
Prior to applying any stain I did my best to sand the whole piece smooth with 220 grit on my orbital sander. I then wiped the whole piece down with a damp cloth and let it dry completely. I did not use any of the fancy sounding pre-stain wood conditioner that Minwax sells, though I probably ought to next time, especially with such cheap wood.
(I’ll mention it again later, but I really should have made sure and removed all wood glue from the surface where I was going to be applying stain at this point.)
Applying the Stain
For a stain, I chose some Minwax Dark Walnut I had left over from another project. I wanted the night stand to be pretty dark since the toddler bed and the crib in the room were a dark finish, what’s usually called espresso for store furniture. I could have bought espresso, but figured this would be dark enough.
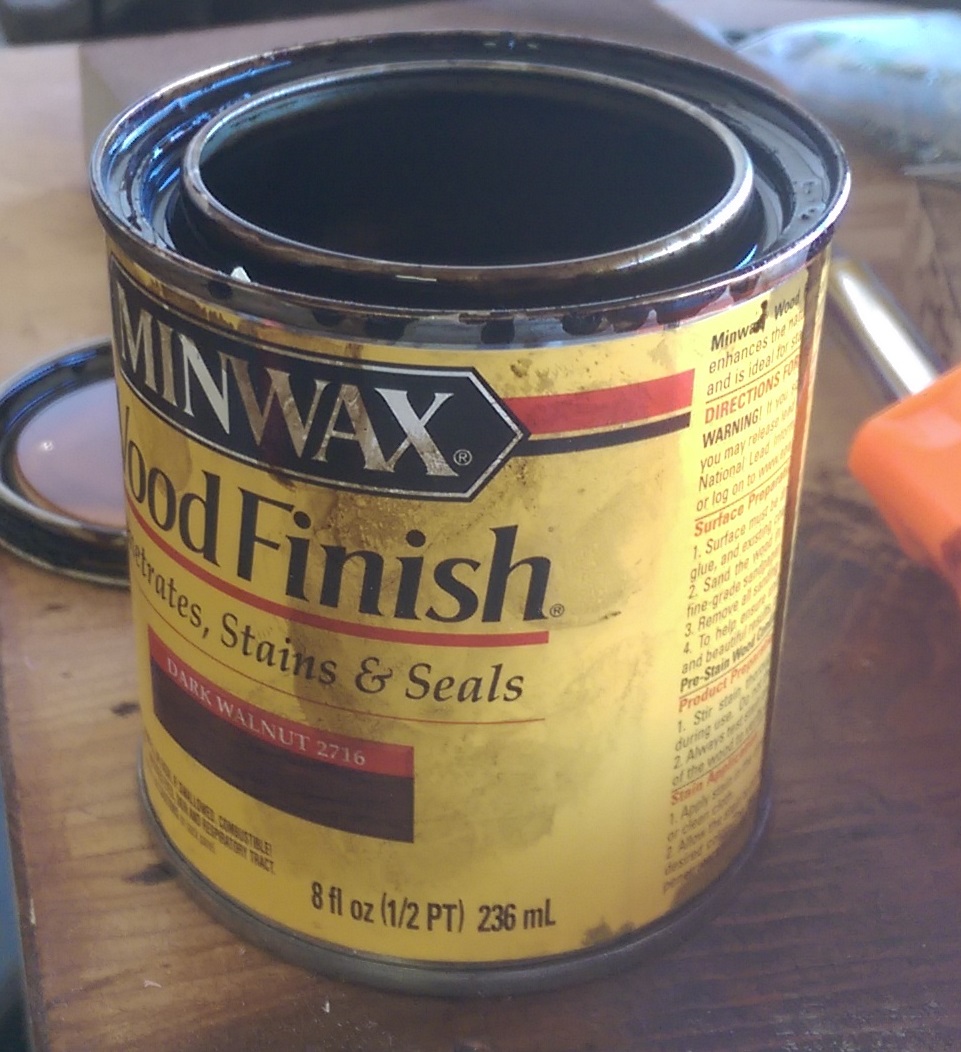
Minwax Dark Walnut Stain
Prior to this I hadn’t stained anything larger than some small wooden block lamps, which I’ll probably feature in a later post because they turned out pretty cool. The directions for applying the stain are:
Stain Application:
- Apply stain in the direction of the grain with a brush or clean cloth.
- Allow the stain to penetrate 5-15 minutes to achieve desired color. The more time the stain is allowed to penetrate, the richer and darker the color will be.
- Remove stain that has not absorbed into the wood with a clean cloth. Wipe in the direction of the grain, while blending light and dark areas to obtain uniform color. DO NOT ALLOW STAIN THAT HAS NOT PENETRATED INTO THE WOOD TO DRY ON THE WOOD SURFACE.
- To darken the color, apply a second coat after 4-6 hours, repeating directions above. DO NOT SAND BETWEEN COATS OF STAIN.
Sounds easy right? Well… mostly. I did my application with some old cut up t-shirts. The trick is to be patient and thorough with the stain. You need to let it sit longer than you want, and that second coat is probably a good idea unless you want it light.
Applying the stain to the bottom shelf I ran into my first major issue. Apparently there was too much glue on the joint and it looked really ugly.

Stain Issue Over Wood Glue (UGLY)
I tried a variety of methods to get the glue out of the joint, but ultimately found that using a sharpened 5-in-1 tool was my best bet. I used this technique on pretty much all places the glue had dried on the wood, sanded the corners, and then went back to staining. (Sanding in the inside corners is really hard, and I never got it where it wanted it.) I had to work hard to get the stain into the pocket holes, I ultimately just saturated the rag and squeezed the stain out to drip into the hole.
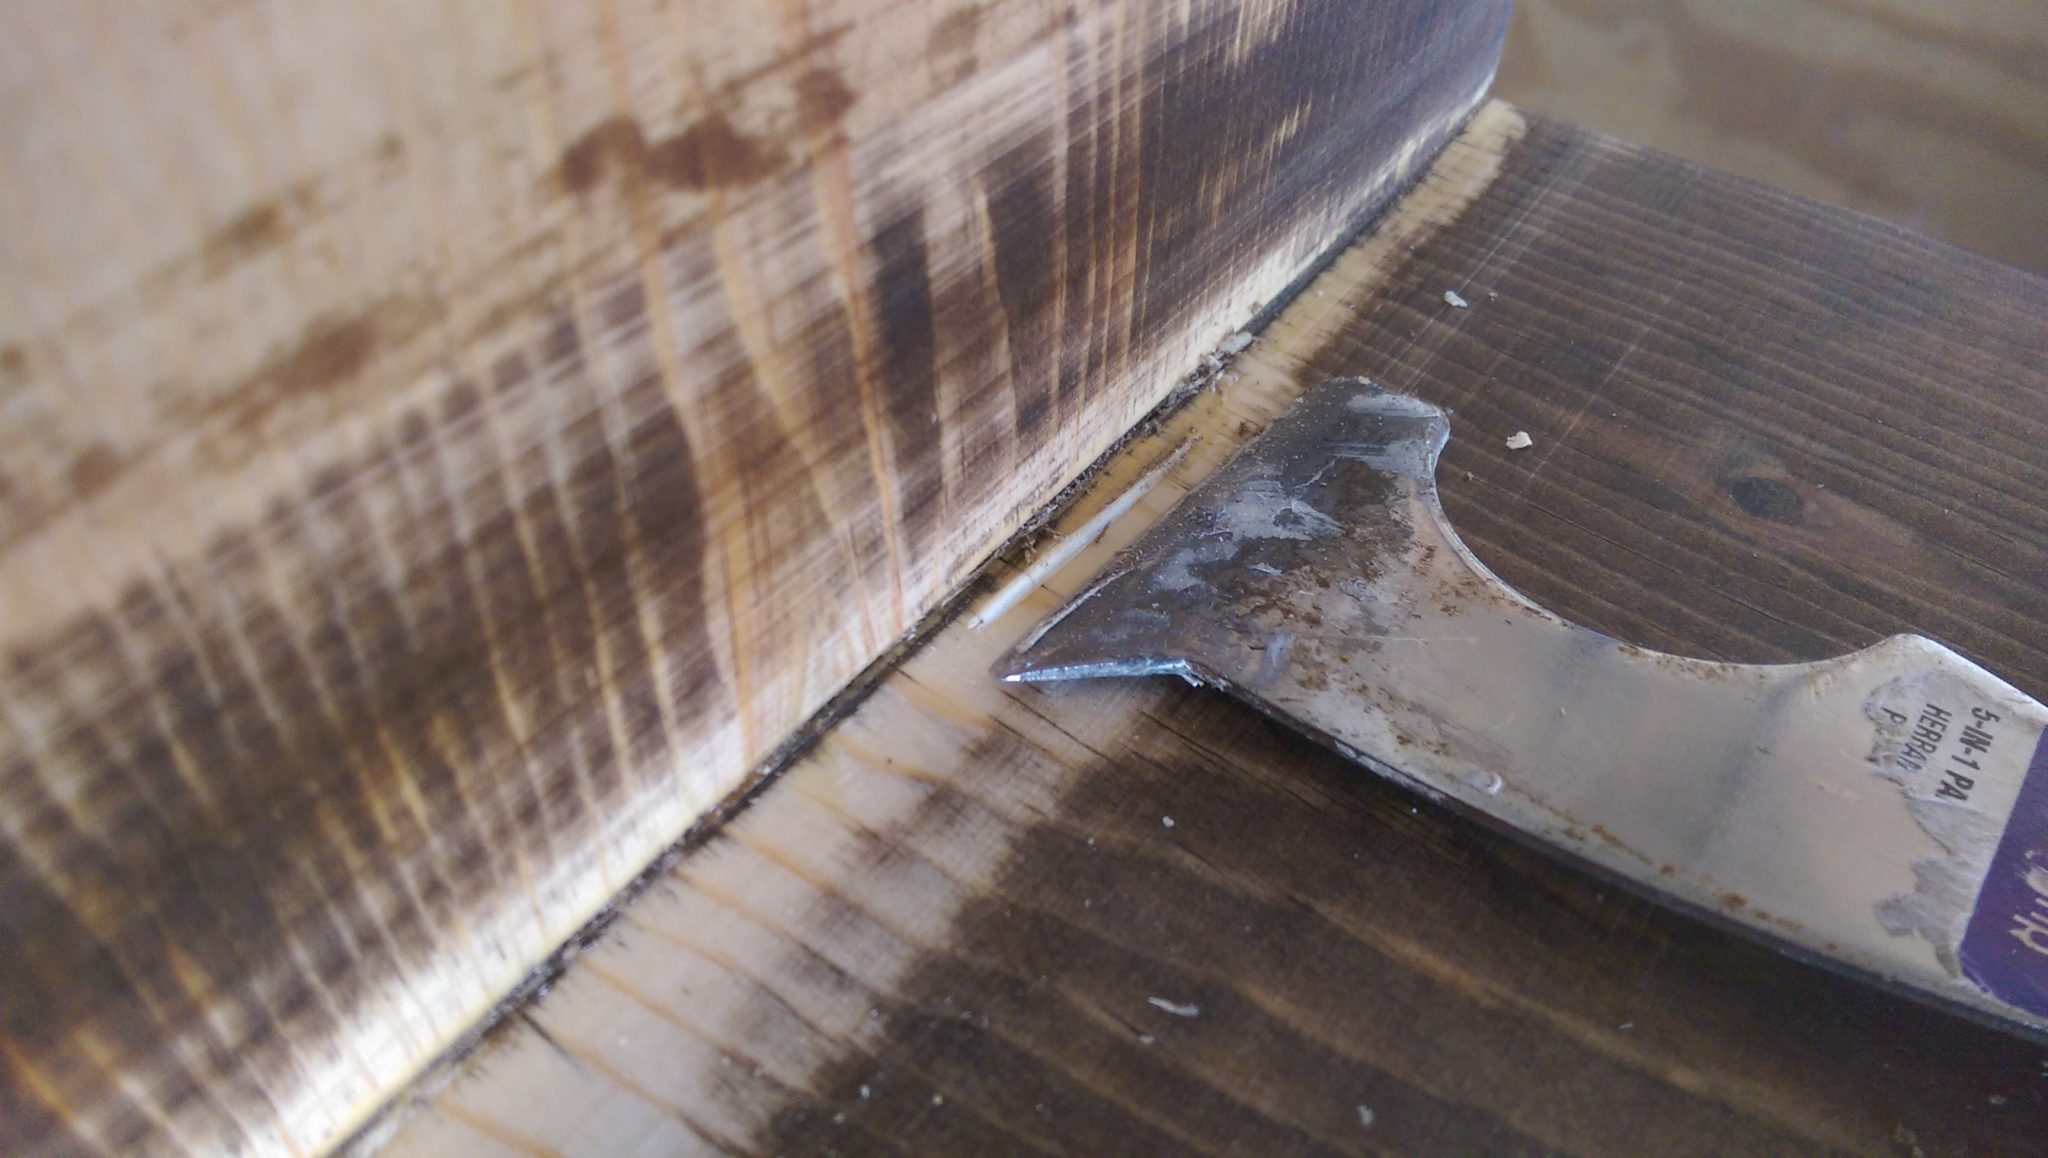
Using 5 in 1 Tool to Scrape Off Glue
I ultimately ran out of stain just as I was doing the top. Oh well, no second coat for me. (Tip: if you run out of stain, just buy more, don’t be in a hurry like me.) You can see a spot or two where the stain did not stick at all, I think some wood glue was left there. Its not exactly uniform, but it looks somewhat natural. The are some splotches on the inside, but who is going to even see it?
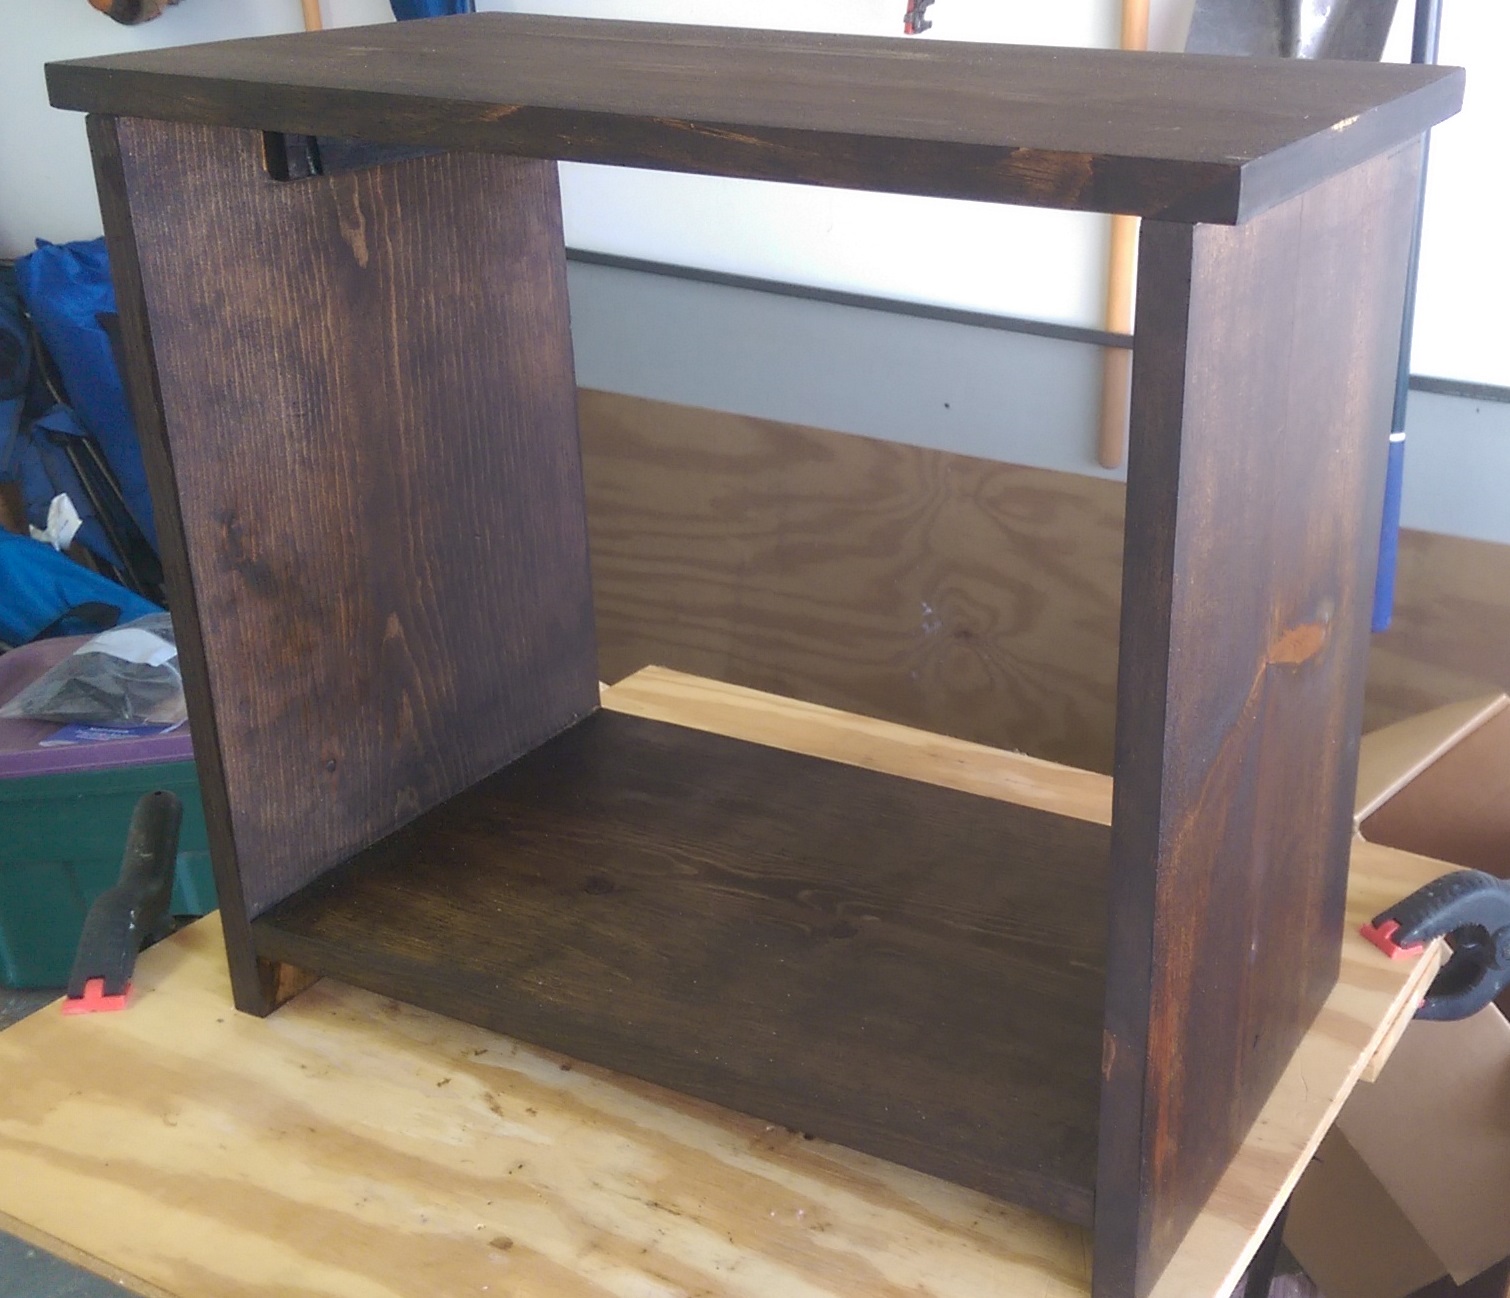
Night Stand After Stain Dried
Choosing the Finish
I knew I wanted some sort of finish to strengthen and protect the soft wood that the night stand was made of. I did some research which suggested that since I had used an oil based stain, I would be safest to use an oil based polyurethane finish. Of course, that still left me with a huge problem of choosing a polyurethane finish from way too many options. In the end I decided to look at Minwax since they are pretty ubiquitous and even available at Walmart.
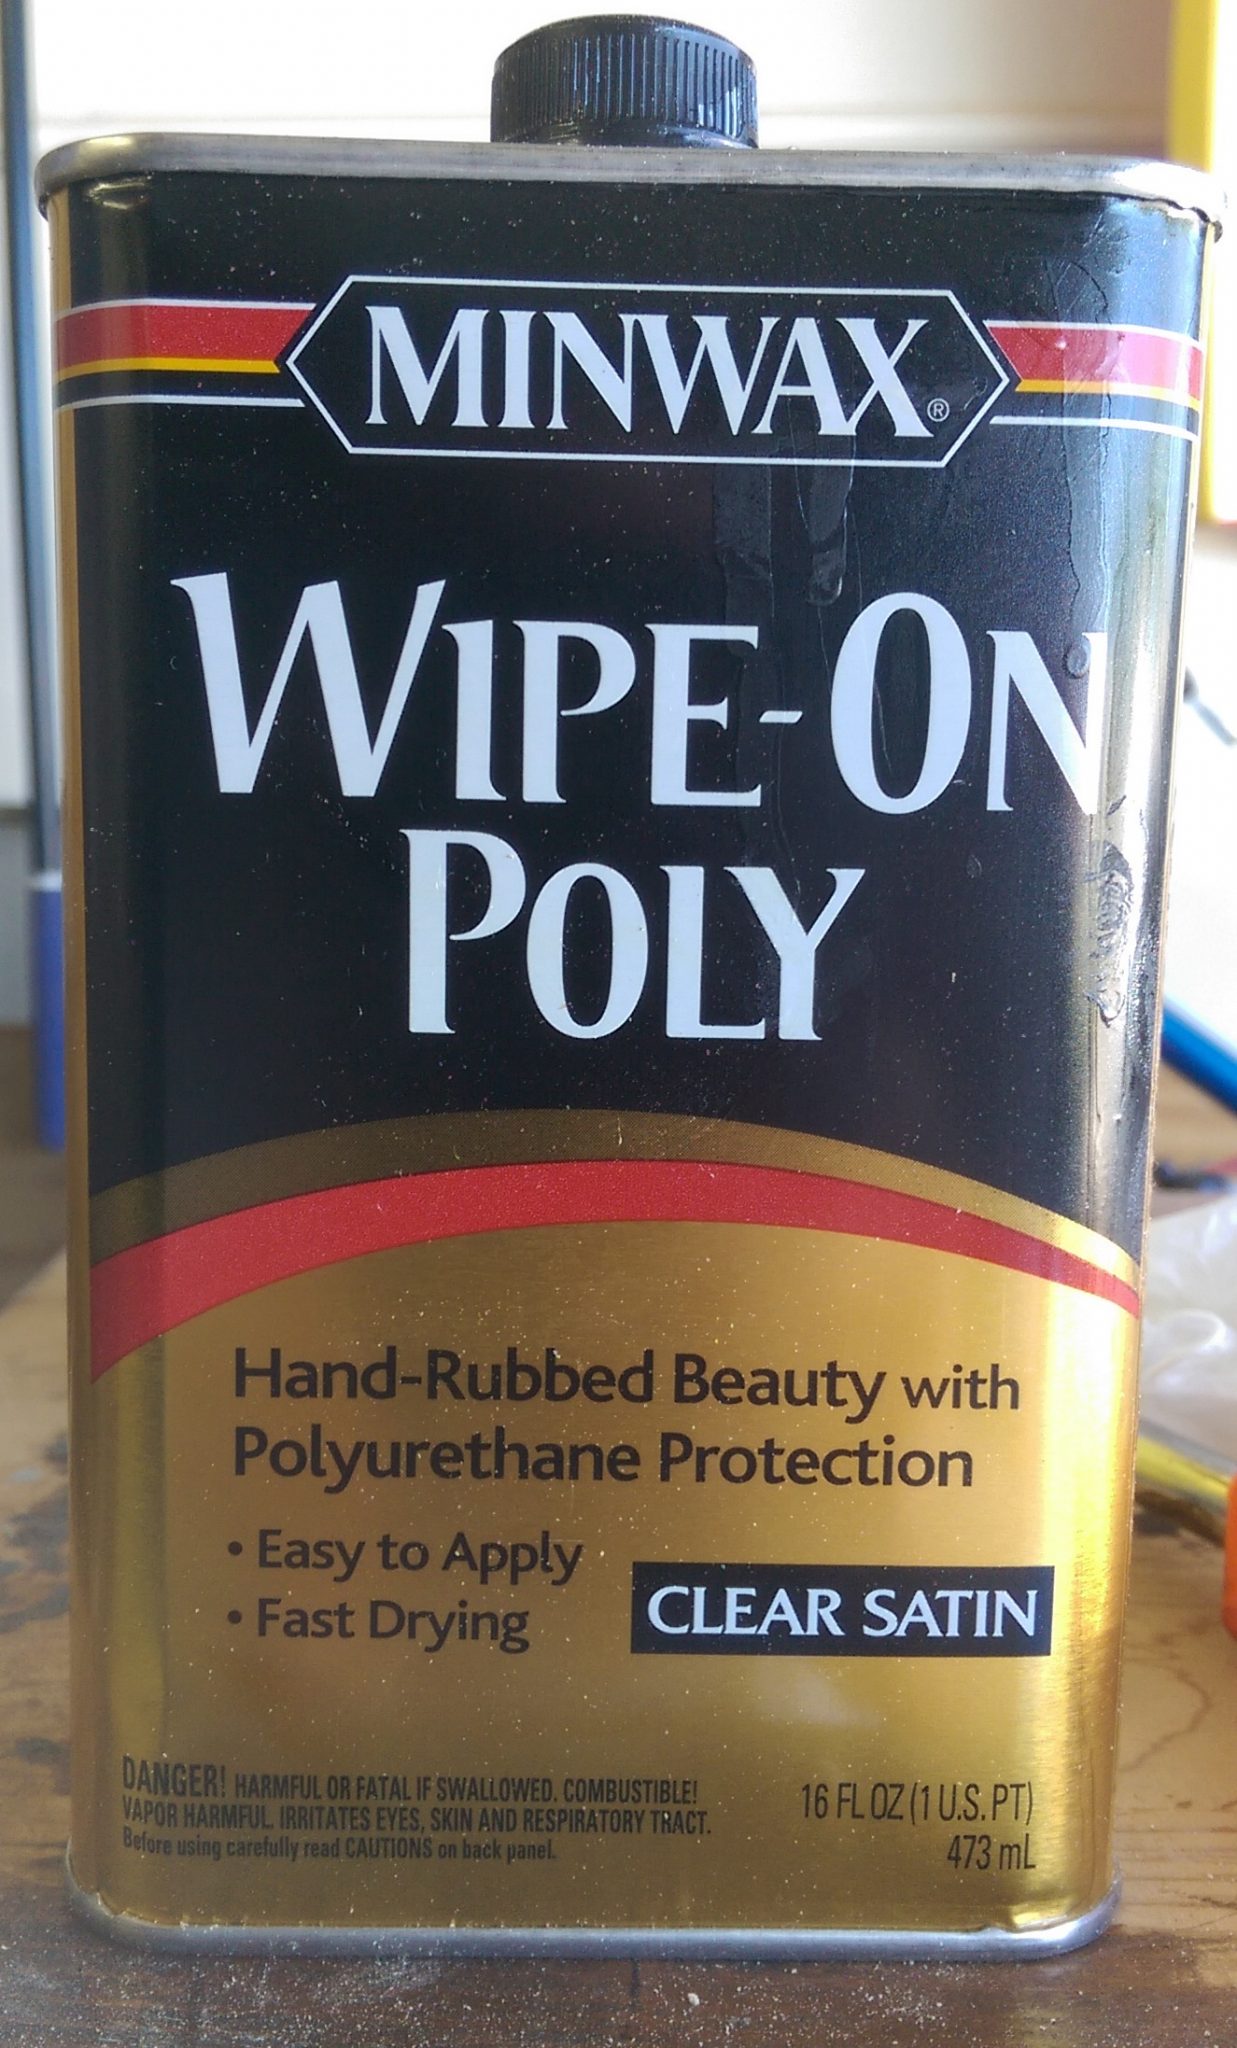
Minwax Wipe-On Poly Clear Satin (Oil Based)
I read through the Minwax website and decided I liked the sound of the Wipe-On Poly. I chose the wipe-on product because:
- The wipe-on wouldn’t leave brush marks, and I do terrible brush work.
- It could be applied with cloths that could be disposed of rather than cleaned if needed. This is great because I am somewhat lazy and try to avoid working with paint thinner or mineral spirits.
- Reviews were largely positive with some reviewers absolutely swearing by the product
If there were any cons is was that the thin nature might require an extra coat or two. I was OK with multiple coats because I figured I would need the practice anyways. If I had it to do over, I would also strongly consider a gel polyurethane since it can be applied in a similar manner.
The directions to apply the finish were as follows. How hard could it be?
- Surface must be dry and free of old finishes in poor condition, wax, grease, polish, dirt or other foreign matter.
- Sand to obtain a smooth, uniform surface. Remove all dust.
- If desired, apply stain, such as Minwax® Wood Finish™ Stain, to unfinished interior wood surfaces. Follow directions for application instructions and dry times.
- Shake Minwax® Wipe-On Poly container thoroughly before and during use to eliminate settling on the bottom of the can.
- Apply a liberal amount of Wipe-On Poly to a clean, soft, lint-free cloth and rub it into the wood.
- Let dry 2-3 hours. Then lightly sand entire surface with fine sandpaper (220 grit) to ensure an even finish and proper adhesion. Remove all dust.
- Apply a second coat. If a third coat is desired, repeat step 6 before application.
- After final coat, allow 24 hours before light use.
Applying the First Coat of Polyurethane
The only real prep I did before applying the first coat was to run over the piece with a cloth to try and remove any excess stain. I decided to begin my application on the back as I usually do in case I make a mistake. I ran through the directions, poured some finish onto a piece of old shirt, and began to apply. I then ran into my first issue:
5. Apply a liberal amount of Wipe-On Poly to a clean, soft, lint-free cloth and rub it into the wood.
I was not sure what a liberal amount would be, but I’m pretty sure my first attempts were not liberal enough. I applied as best as I could, but wound up with a pretty thin coat. I think part of my problem was that the cloth I used was too absorbent.
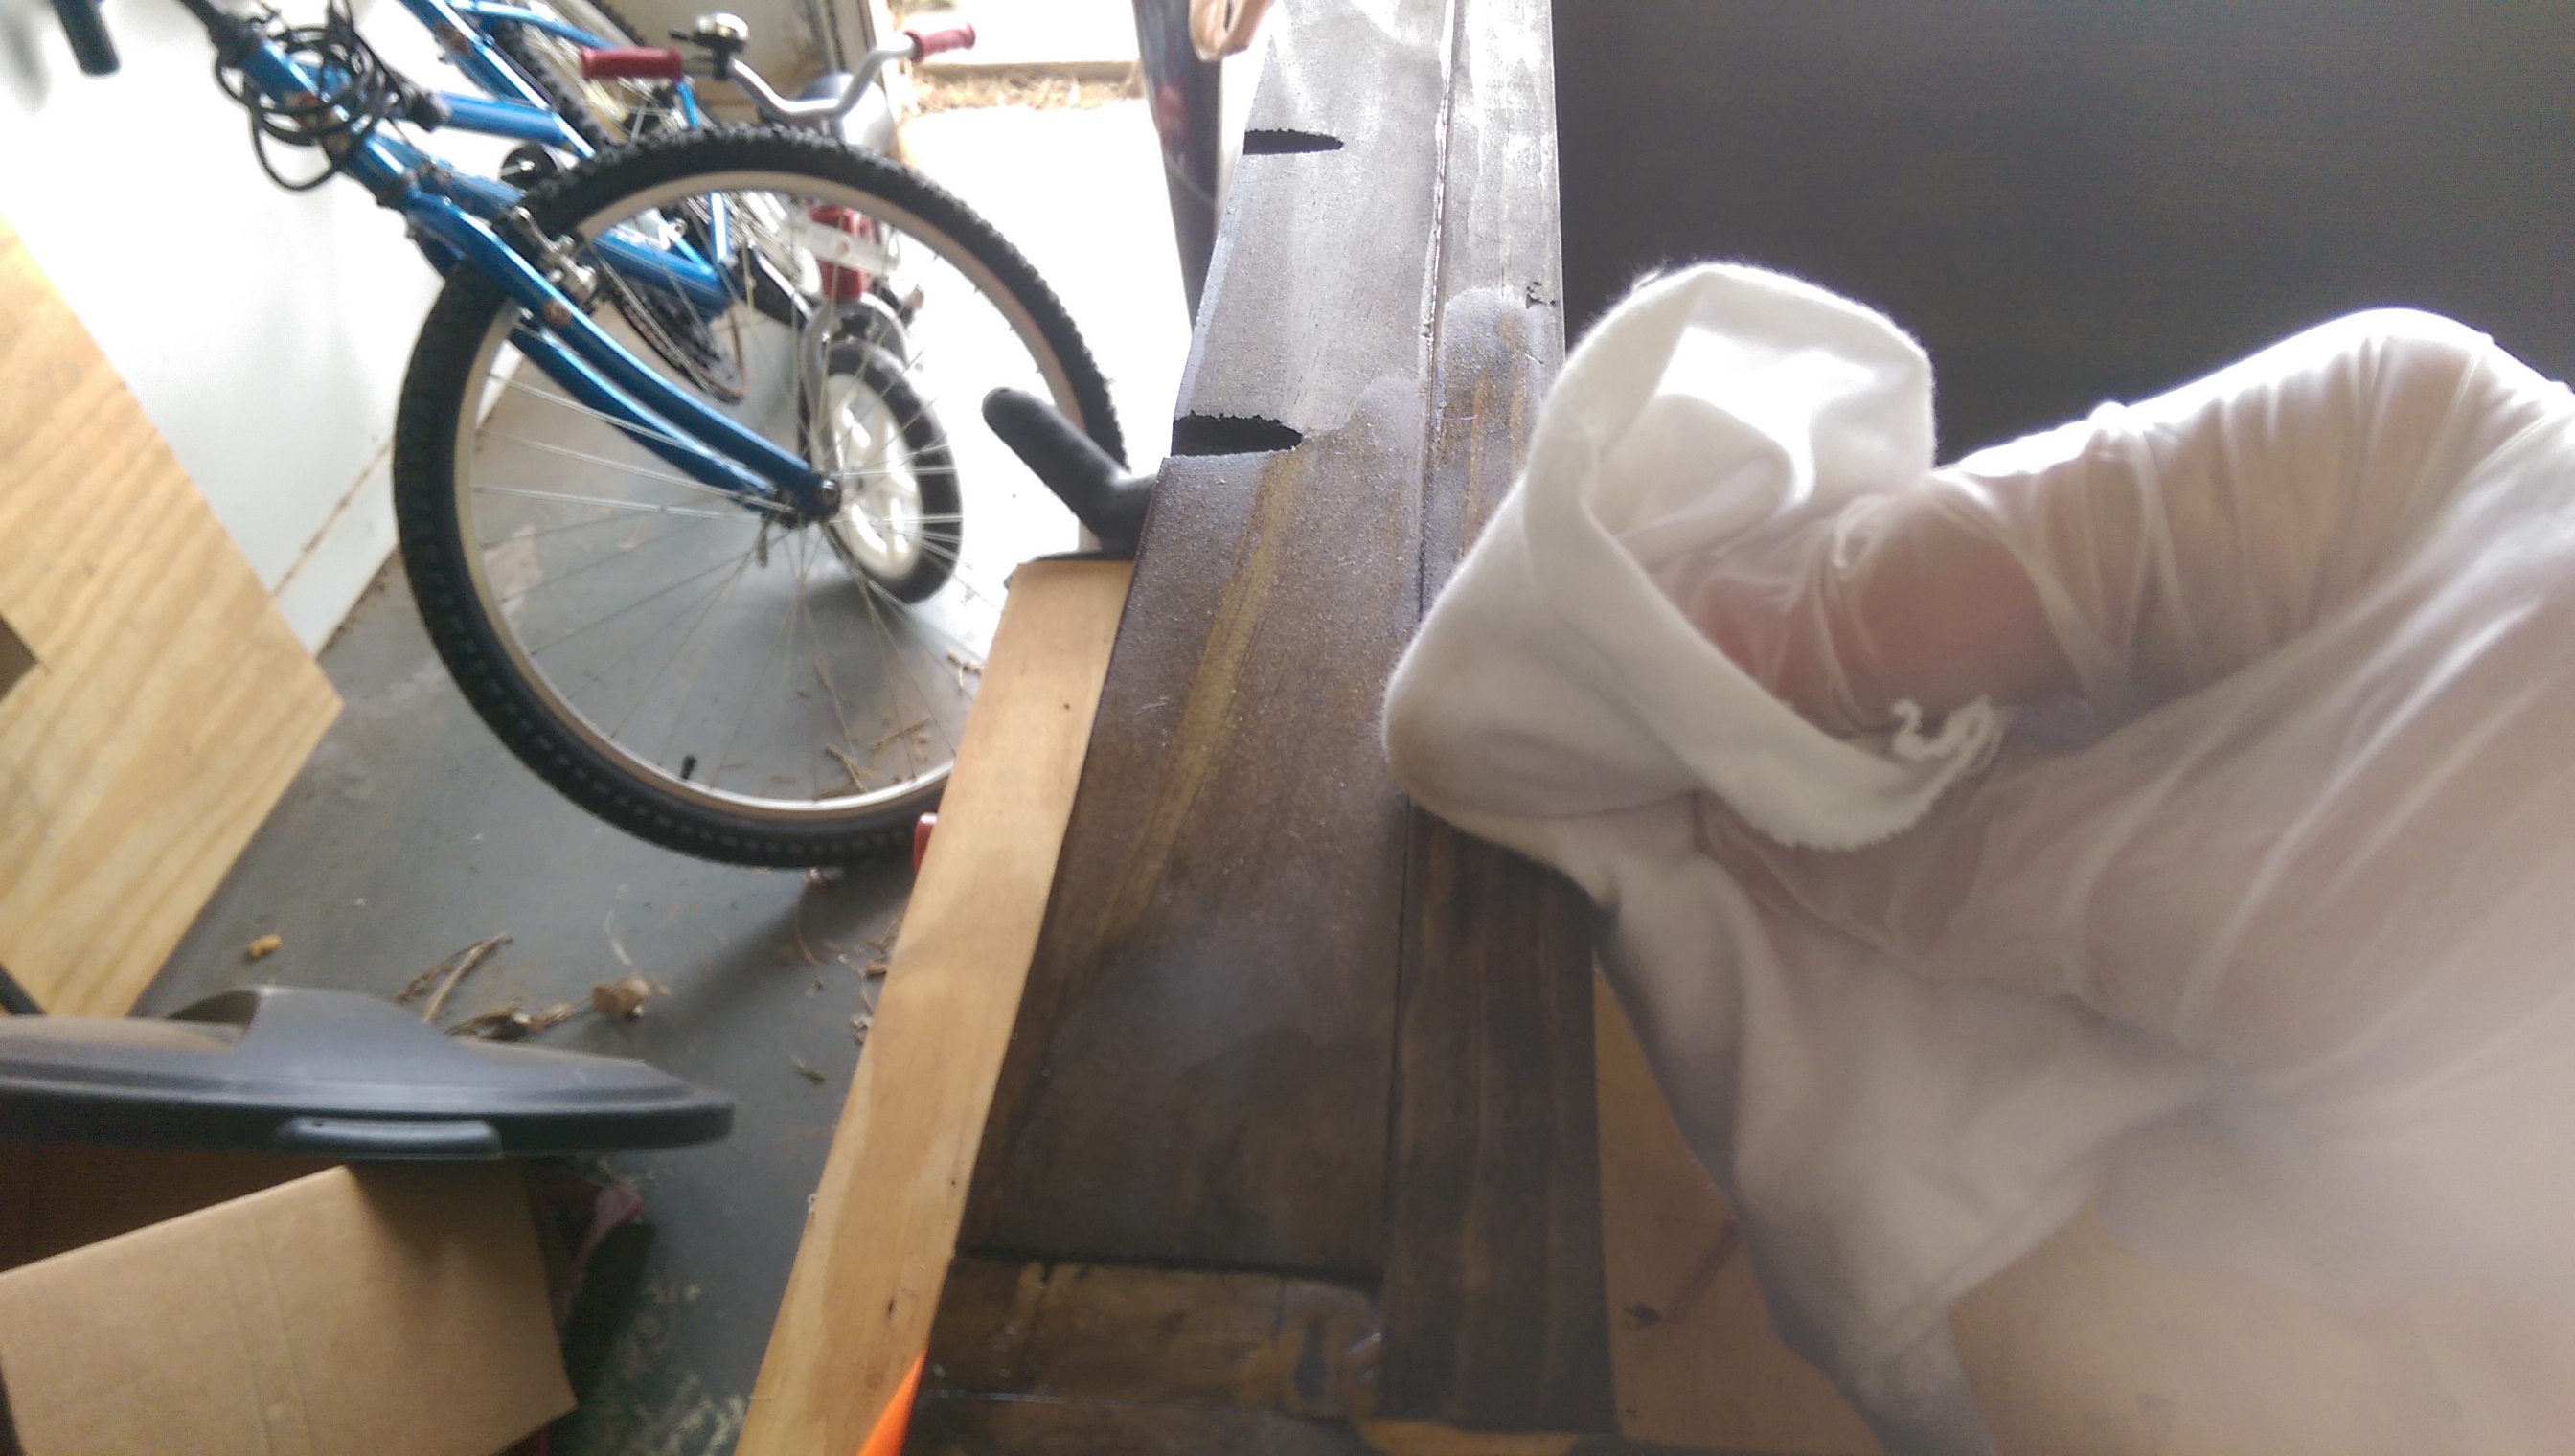
Applying Wipe On Polyurethane
I went ahead and worked my way around the piece, except for the bottom, and left it to dry for a day. I then came back to follow the next step of the directions
6. Let dry 2-3 hours. Then lightly sand entire surface with fine sandpaper (220 grit) to ensure an even finish and proper adhesion. Remove all dust.
I started to hand sand with some 220 grit paper and instantly worried I had screwed everything up. It felt very unnatural to be sanding off my just applied finish. Even worse, sanding off the poly was leaving some sanding marks and scuffing the whole thing up so that it had a dull white appearance. I realize now that this was just what happens to the poly when you sand it, but it was enough at the time to make me stop and take a break before coming back to finish the sanding.
My technique for the sanding was to go with the grain as much as possible, with as light of touch as possible. After I figured out I was more scuffing than sanding, I got to work and softly sanded the piece until all sides were evenly dull.
Applying the Second Coat
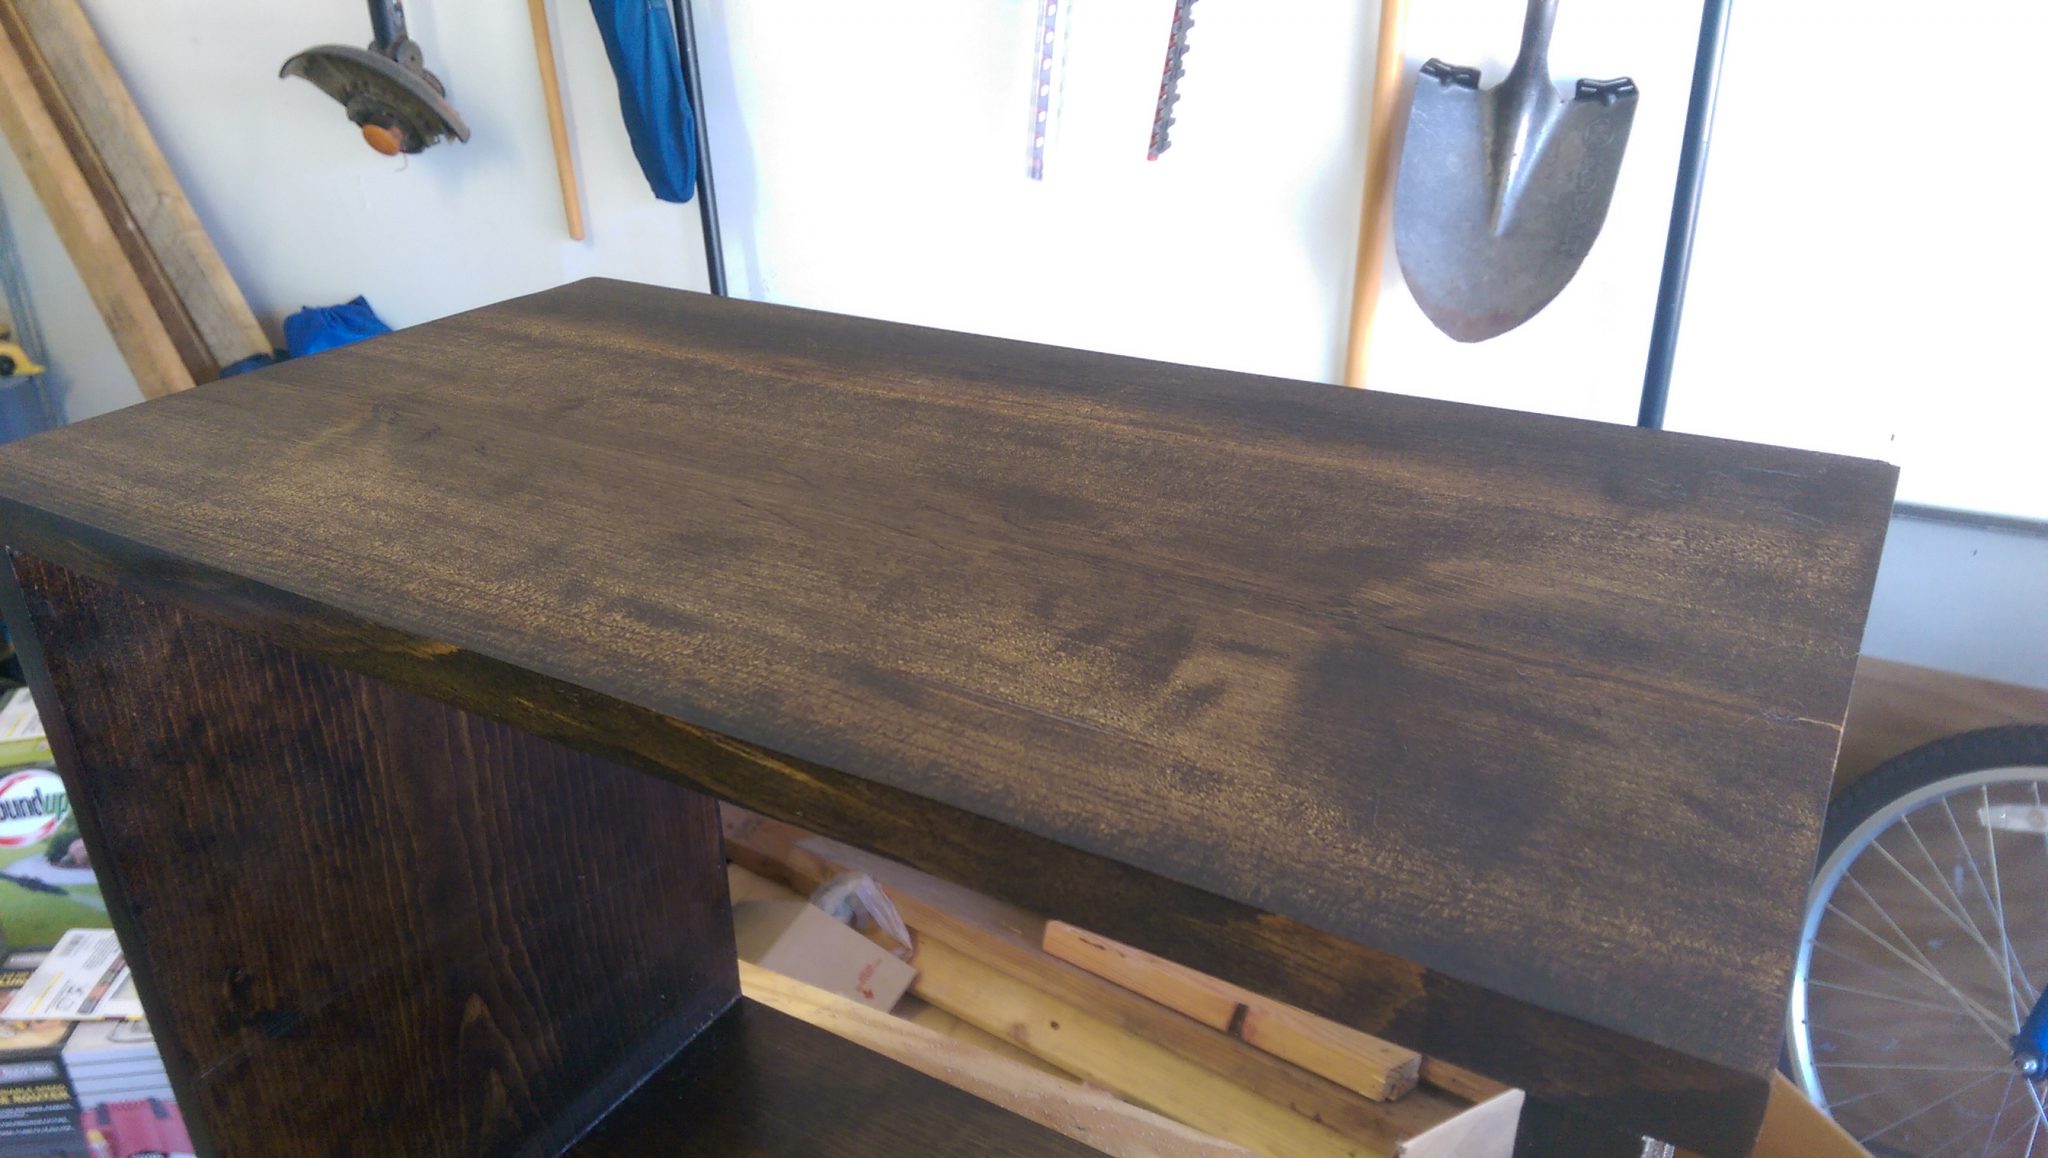
I applied the second coat similarly to the first, but tried my best to be more liberal with the amount. I then let it dry and came back to take a look at it the next day.
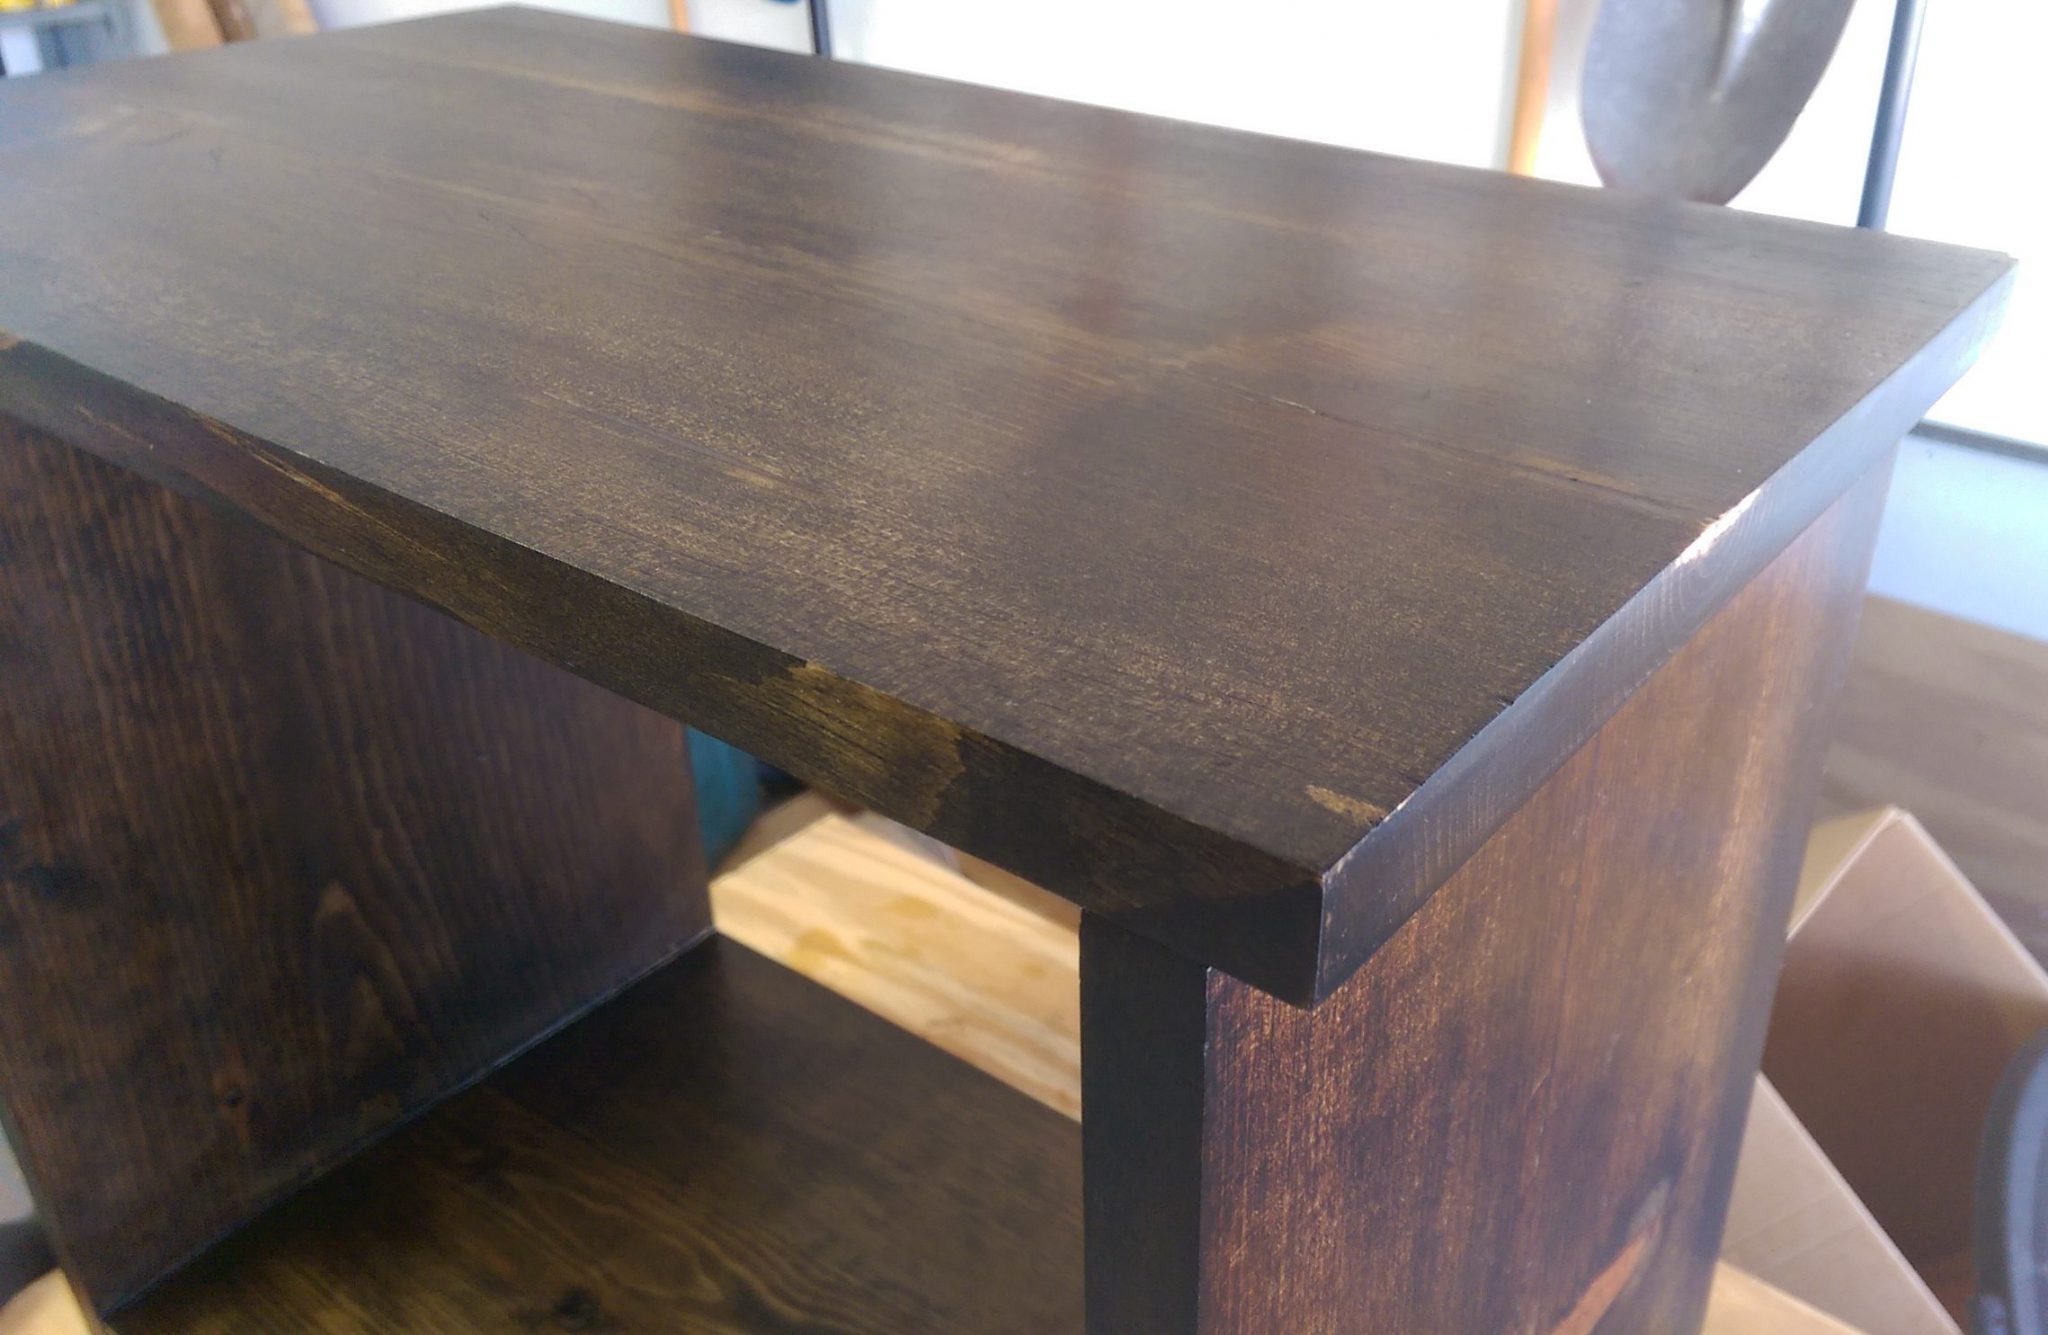
Night Stand After Second Coat of Poly
Ruining, Then Re-Finishing the Top
After the second coat dried I was surprised to find a pretty nice looking finish. I conferred with my wife and decided to do a third coat, but only on the top and bottom shelf, which would be the most used surfaces. Also, we really wanted the thing out of the garage and in our boys room so we could put a lamp on it for him.
Having had mixed luck hand sanding, I had the idea of using a 220 grit sand disk on my orbital sander for this final coat. Big Mistake. I’ll let you see for yourself.
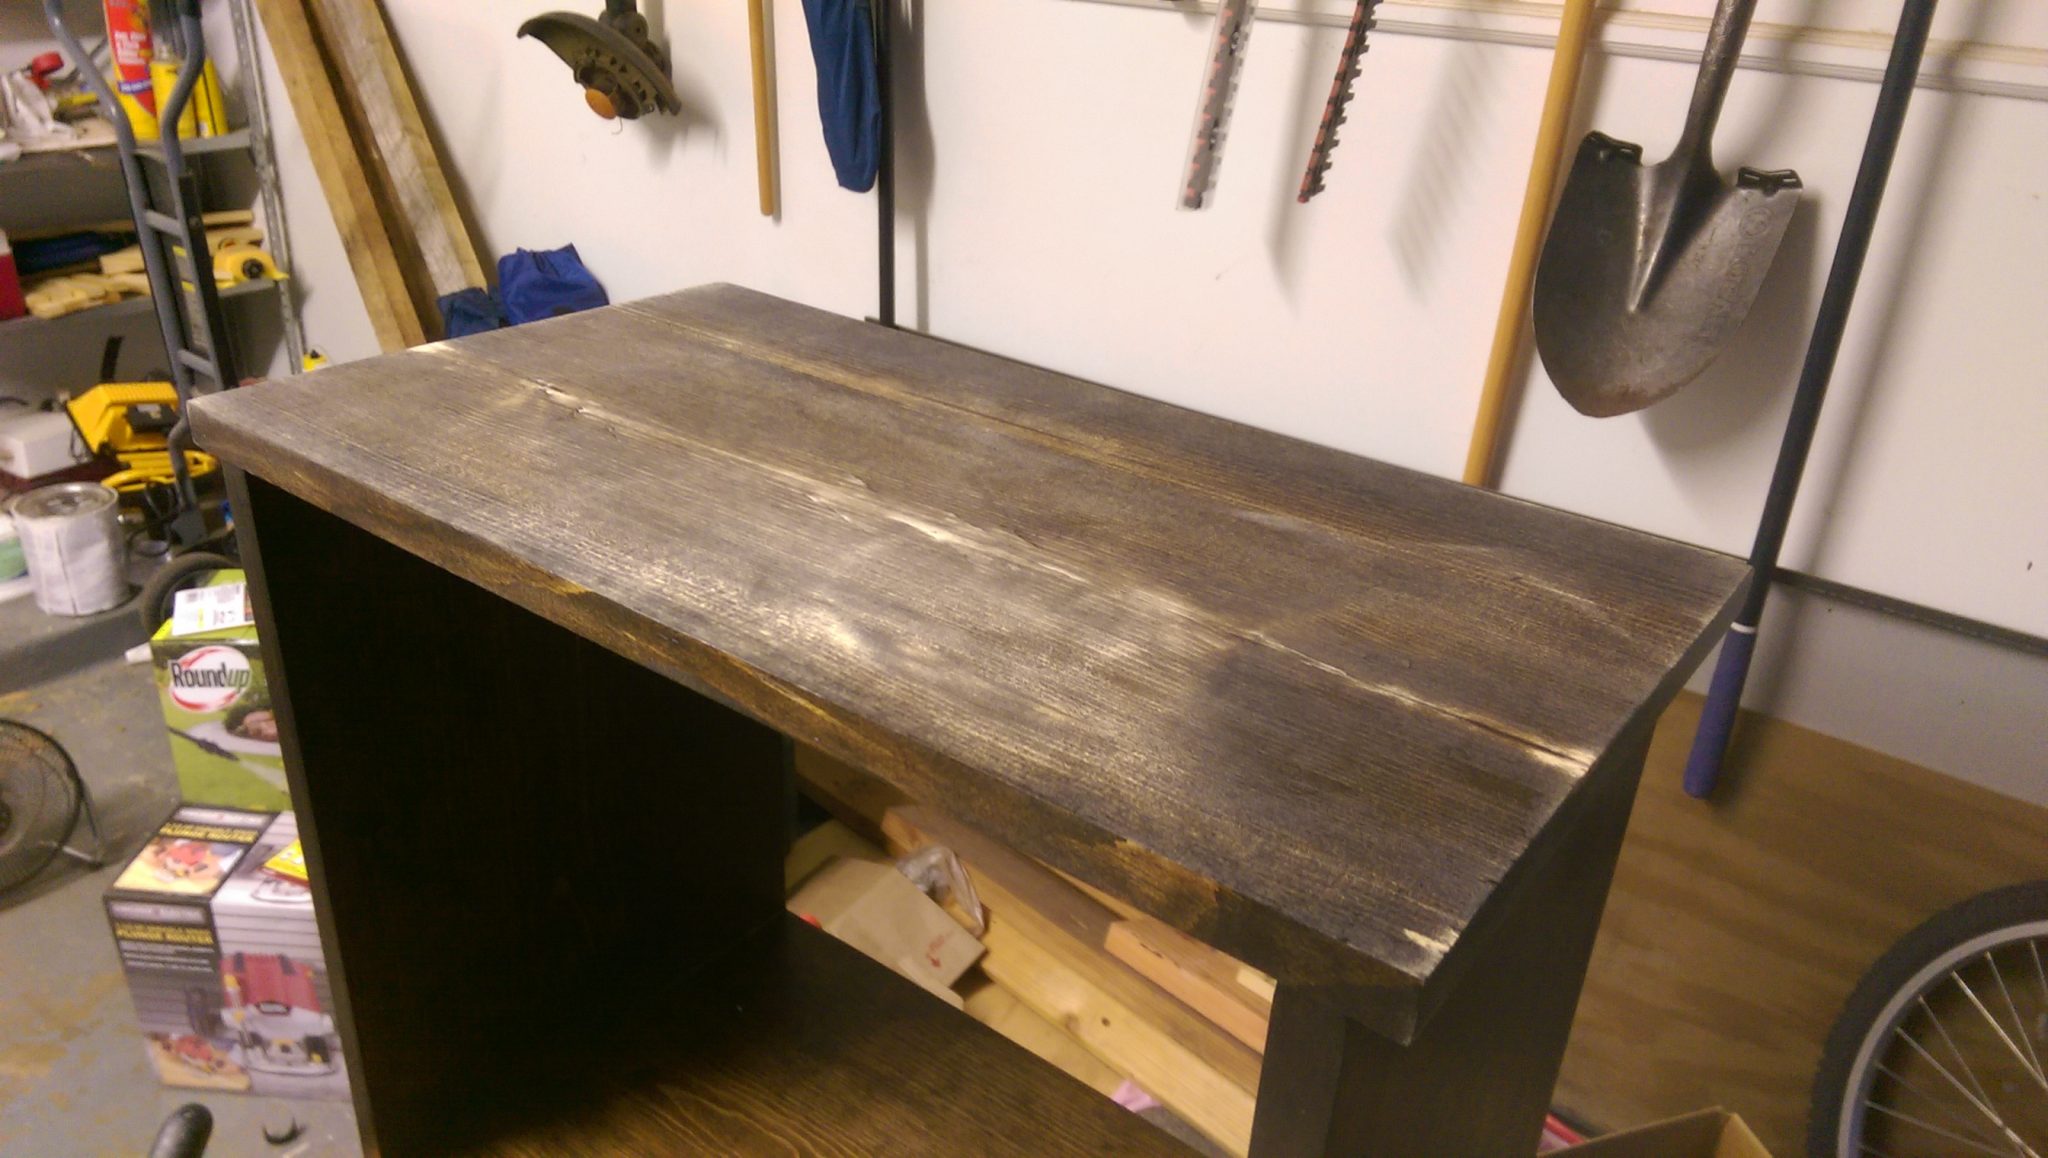
Night Stand with Messed Up Top After Sanding
I was hard headed enough to go ahead and put another coat of poly on at this point, but after it dried the next morning it was so ugly I decided to sand it all off and redo the top. It was a good opportunity to learn from my mistakes and maybe get at least one nice surface on the thing. The next day I went to the store and bought some more stain, and then set about the Sisyphean task of sanding the top down to bare wood.
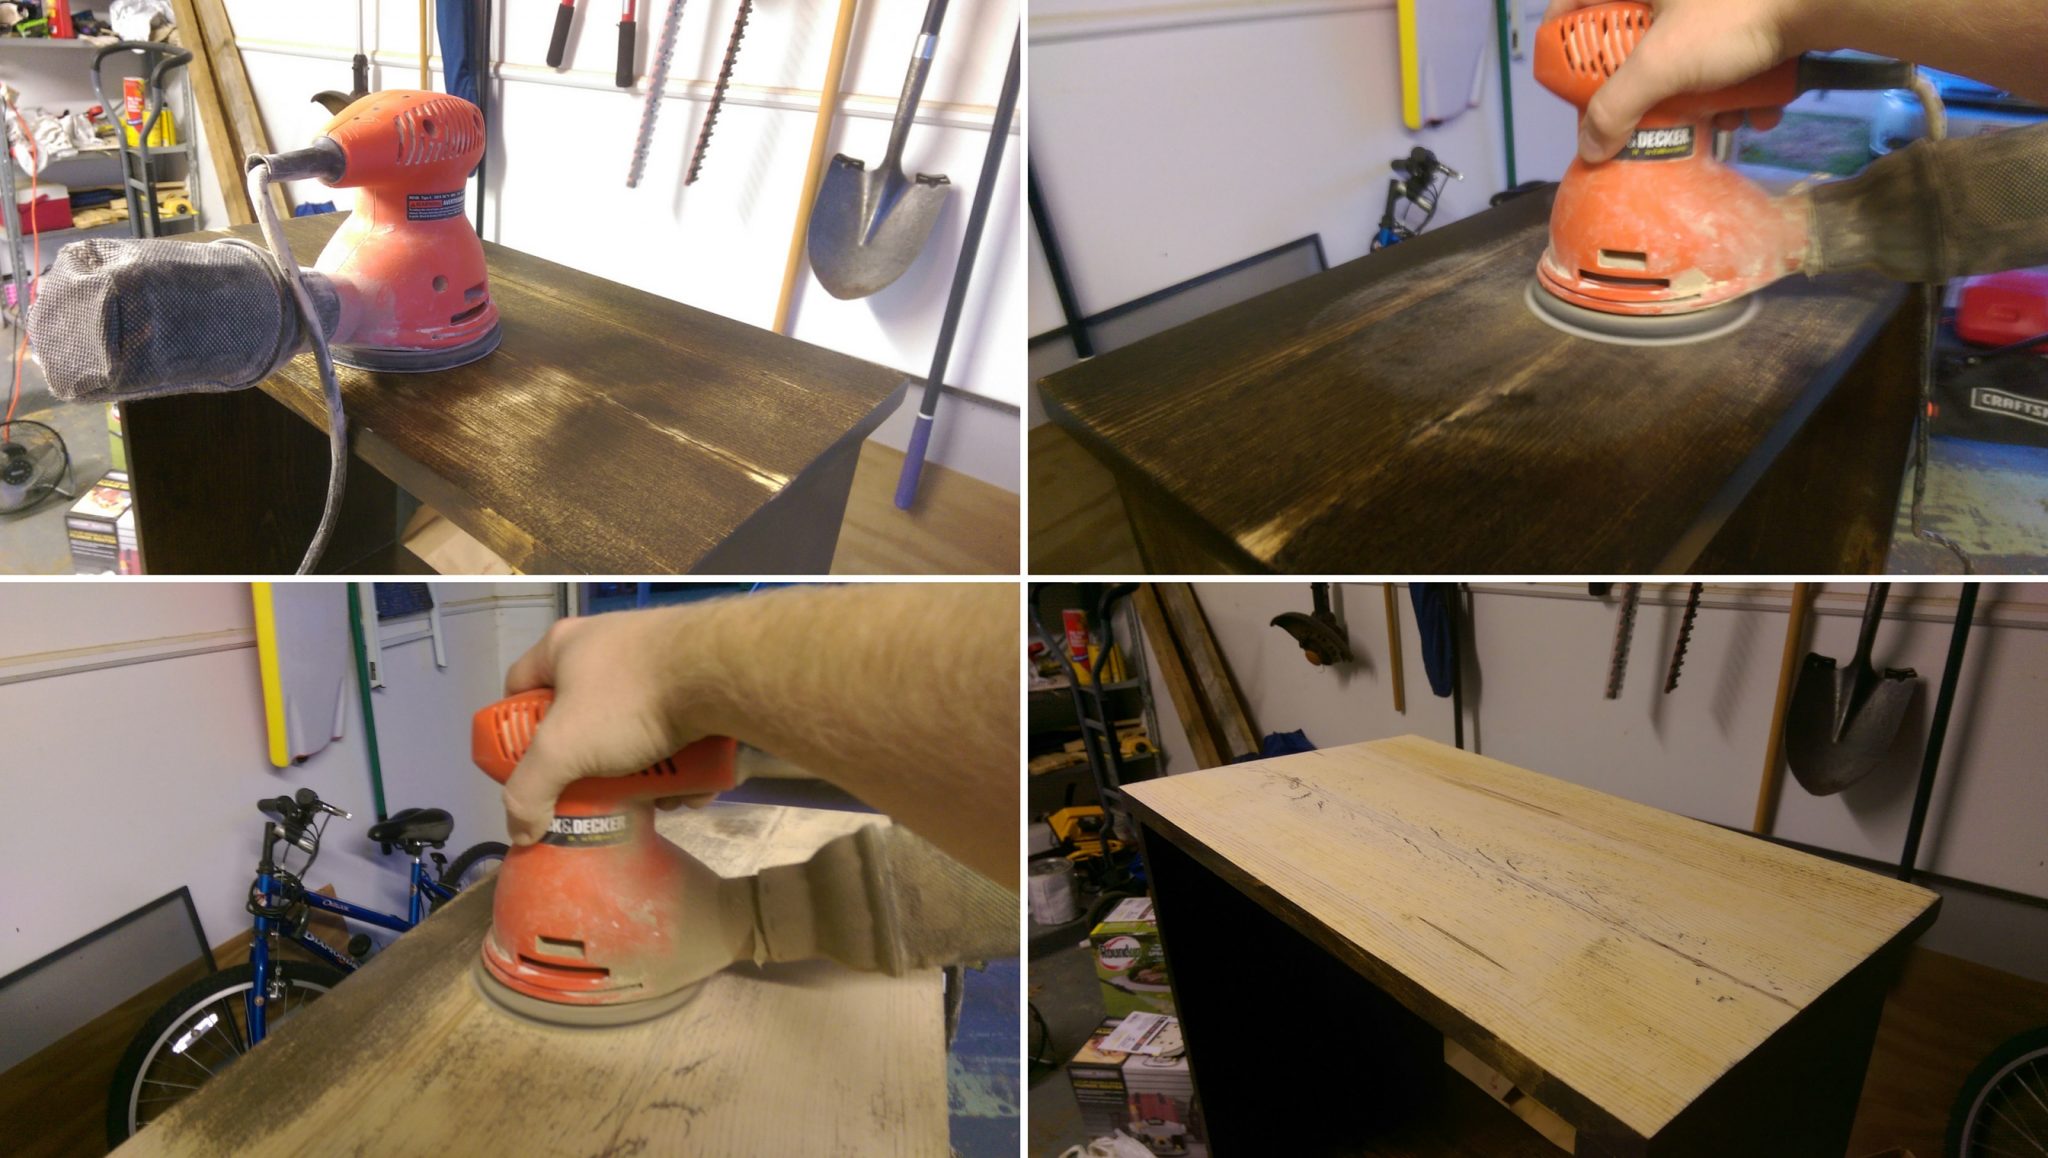
Sanding Top of Night Stand for Re-finishing
I used a 100 grit disk to get the finish and stain off, then 220 to get it ready for more stain. As you can see from the following picture, I applied the stain much more liberally than before, and let it soak a bit longer too. I think it came out a good deal better, but not perfect. Here is a picture of the stain soaking so you can see how much I put on.
Stain Soaking on Top Shelf
Here it is after wiping and letting it dry overnight.
Top of Night Stand with New Stain
I then proceeded to apply poly to the top, hopefully my best coat yet. You can see my new technique is to pour some on the flat surface, then gently wipe it around until it looks even.
Poured on Polyurethane
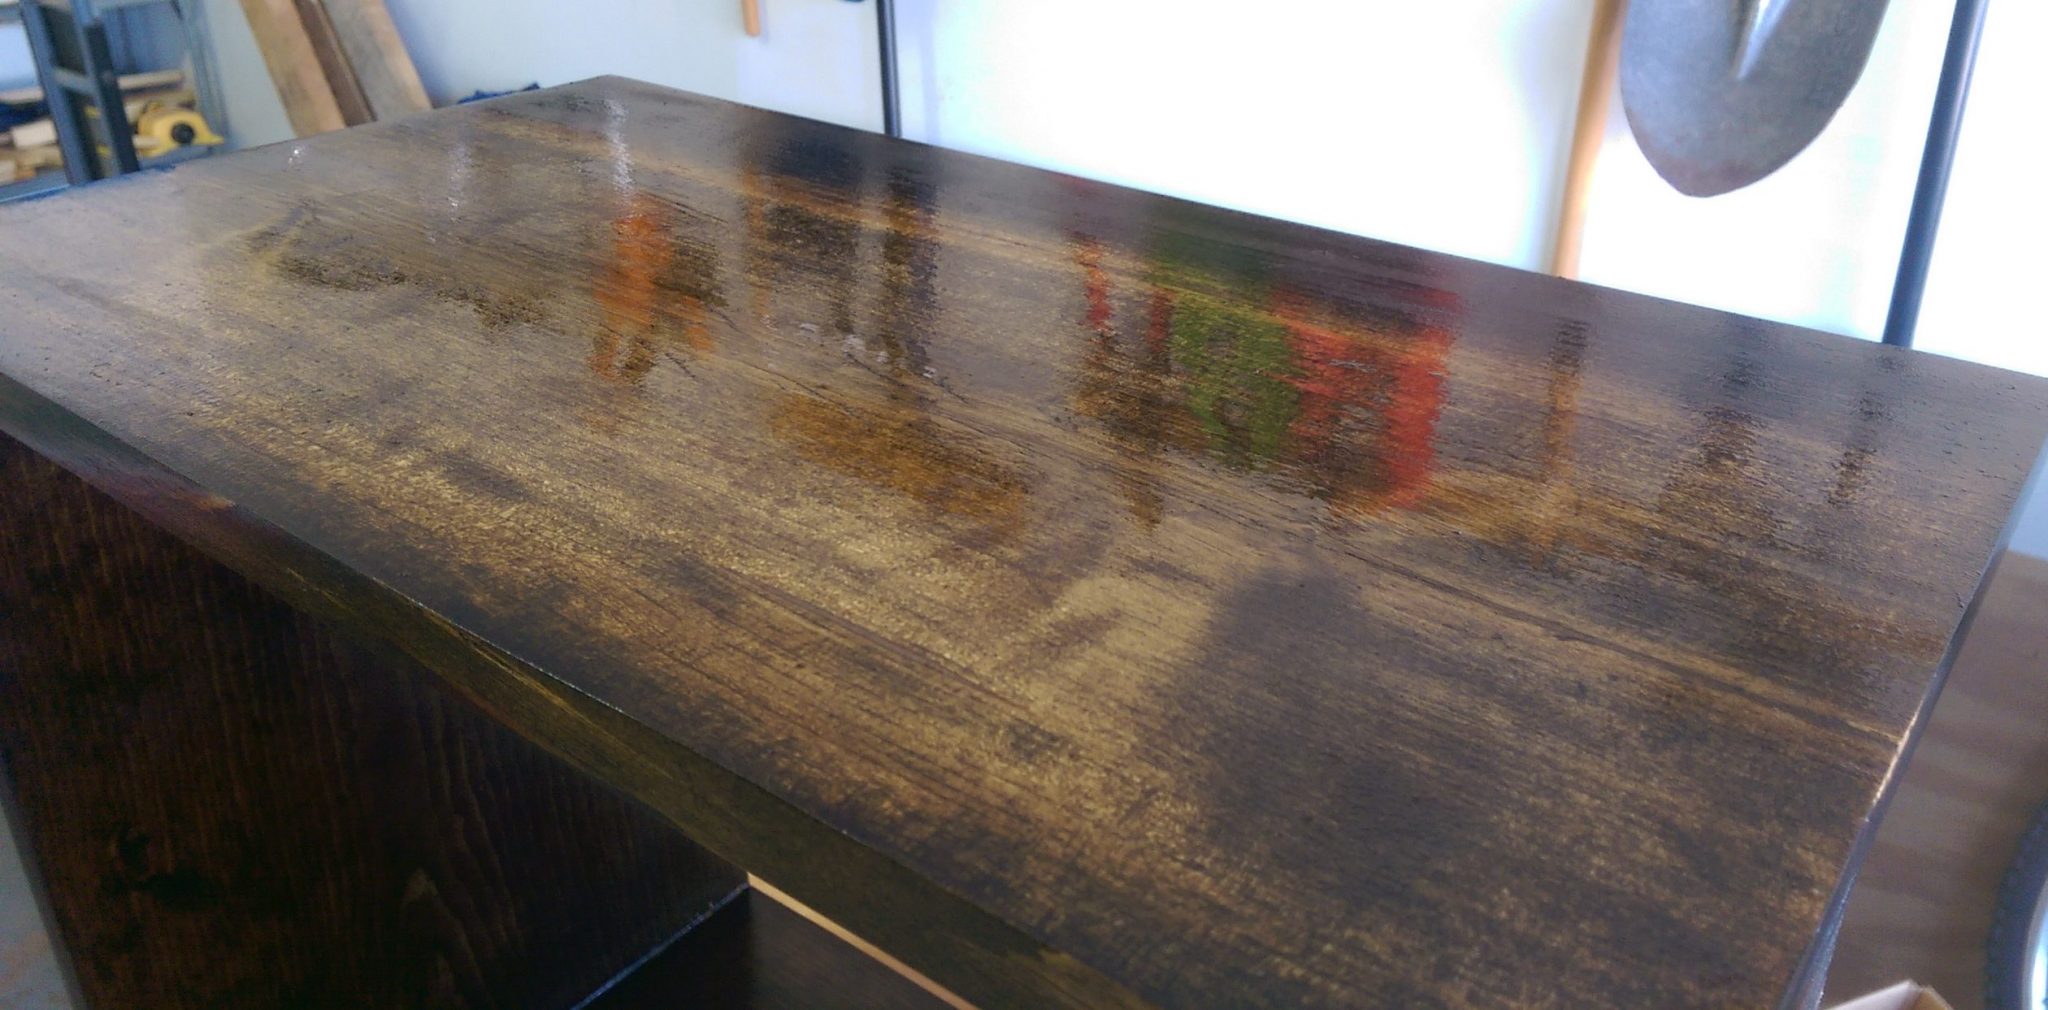
Wet Coat of Polyurethane
I then applied a second coat to the top without sanding. I think that might be the trick with the thin wipe-on stuff, two coats, then sand.
The Finished Product
I’m starting to realize that in order to anything well, you must first do it poorly. I would insert some quote about masters making thousands of mistakes and all that, but you have probably heard that line before. With no further ado, here is the finished product in place next to my son’s bed. He was very excited to have it, as well as the touch lamp we put on it for him.

Finished Night Stand Collage

Finished Toddler Night Stand Next to Toddler Bed
Finished Toddler Night Stand Front View
Staining and finishing with all the starts, stops, and mistakes, took basically forever, or at least 6 person hours. In real life time for me right now, 6 hours is basically 6 weeks, though you might could do it in a week if your stain comes out good the first time.
I made several mistakes along the way, here are the summarized tips I could give someone trying to do a better job than me:
- Don’t expect miracles from cheap wood
- Get all the glue off before you try and stain it
- If you think you have it sanded well, you probably still need to sand it more, pay special attention to inside corners
- Staining takes patience, let it soak longer, and apply a second coat if you don’t like it at first
- Apply wipe-on polyurethane liberally, and don’t be afraid to let it soak a few seconds
- Don’t power sand wipe on poly between coats, or find some way to do it better than I did
- If you want to match dark furniture from the store exactly, buy darker stain that I used
- When using wipe on poly, you might do two coats between sandings rather than one