
1-Gang Box to 2-Gang Box Conversion
Summary
Convert an existing 1-gang electrical box into a 2-gang box. This is useful if you want to add a plug next to a light switch, or if you want to add a second light switch in an existing location. New boxes are also larger and allow for easier installation of GFCI outlets or LED dimmers which may not easily fit in older and shallower electrical boxes.
This is necessary if you want to add a new switch next to an existing switch, if you want to add a plug next to a switch, or if you want to add a second pair of plugs next to existing plugs in your house.
Background
I have had to utilize this technique twice in the last few months. First, I converted a ceiling fan to two switch operation so that the light and fan could be turned off and on separately. Then, I added a plug next to the light switch in our old house’ master bathroom which only had a single plug. In each case I had to remove the original box from when the house was built then add a new “Old Work” box in it’s place.
Just so there is no confusion, the type of box you put into a house that has already been built is called an “old work” box. The type of box that goes into a house that is being built that is nailed directly into the studs is called a “new work” box. “New Work” boxes are nailed directly into a stud with long nails while “old work” boxes use plastic tabs to pull snug with drywall rather than be nailed into a stud. “Old work” boxes can go pretty much anywhere. “New work” boxes must be placed on a stud while the wall is open.
Tools and Materials
Tools
- Drywall Saw
- Pry Bar
- Non-contact AC Voltage Detector
- Screwdriver
- Electricians Pliers
Materials
- “Old Work” 2-gang box
- Electrical Tape
- Whatever goes in the new slot (plug, switch, dimmer, etc.)
Taking out the existing box
Before beginning any of the work you need to find and disconnect the breaker for the box you will be working in. If you haven’t mapped out the breakers in your house yet, I suggest you do so if you plan on working on any electrical projects like this. After the breaker is off you should still check and see if there is any live voltage in the box with your non-contact AC voltage detector.
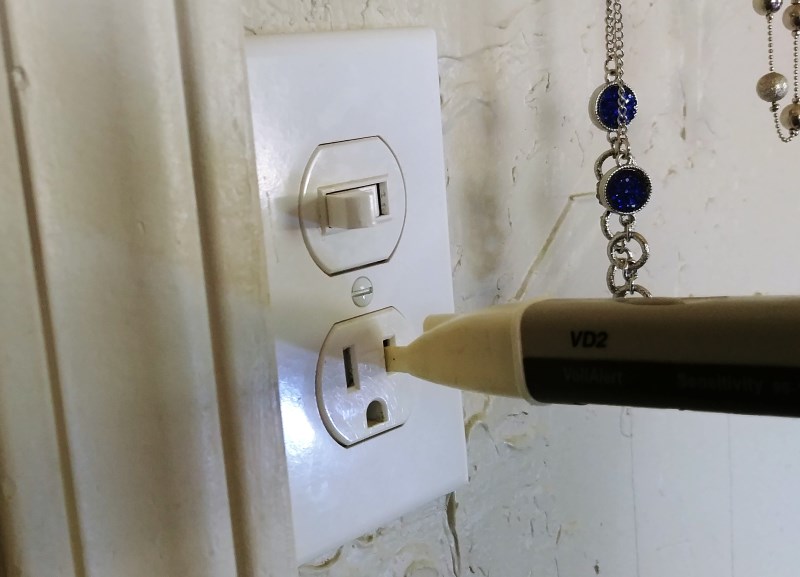
Check Outlet with Non-Contact AC Voltage Detector
After you are sure the power is off, unscrew the face plate and remove the existing plug or switch from the box. If you are dealing with a switch you will want to document which leg of the wiring is coming in hot and which is heading to the light so that you can wire it up correctly when you are done.
Next, hold up the new “old work” box and trace out the footprint on the wall. Make sure the box is level and lines up with the old box. You will want to trace the inside lines of the box and avoid the tabs that stick out. After you are satisfied with the box placement, cut the hole for the new box with a drywall saw.

Opening Cut for 2-Gang Box
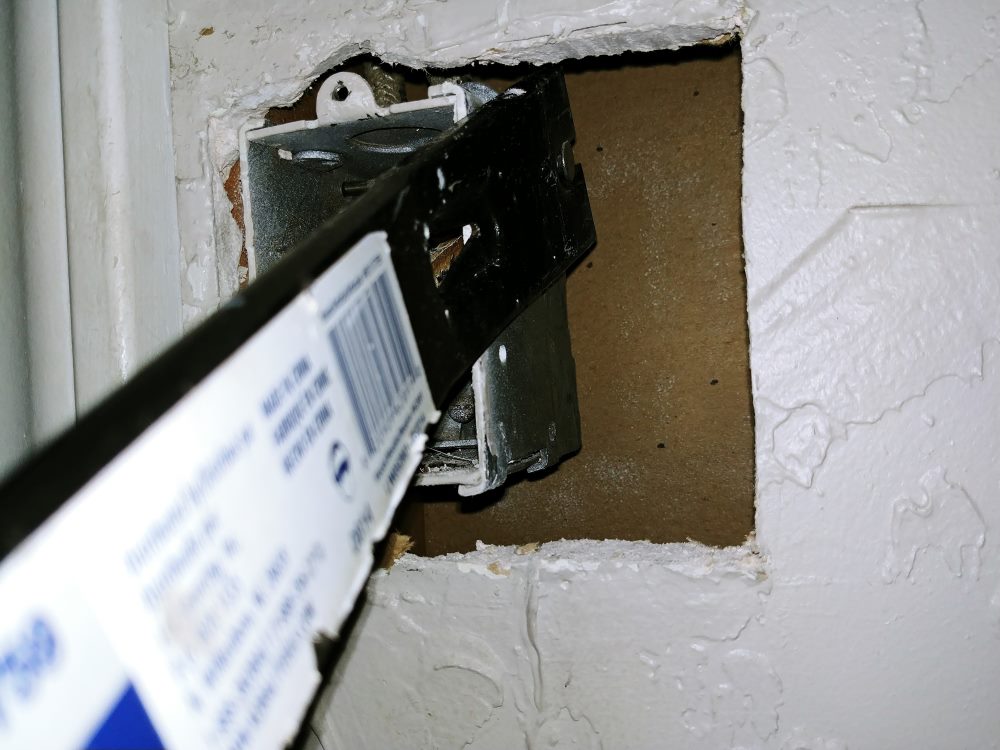
I have found that the easiest way to remove the old box is with a pry bar. First, wedge the pry bar between the existing box and the stud and loosen the box a little. If needed, you can hit the bar with a hammer to separate the old box from the stud. If you are replacing a 1-gang box with a new 1-gang box you will have to try and completely pry the box out using this method.

Loosen Old Electrical Box with Pry Bar
If you are converting to a 2-gang box then the new larger hole you cut in the drywall makes removing the old box quite easy. Find the loosened nail on the other side of the box and pry it loose until the box is detached from the stud. You can either let the box fall into the wall, or try and catch it and pull it out.
Pry Nail from Old Electrical Box with Pry Bar
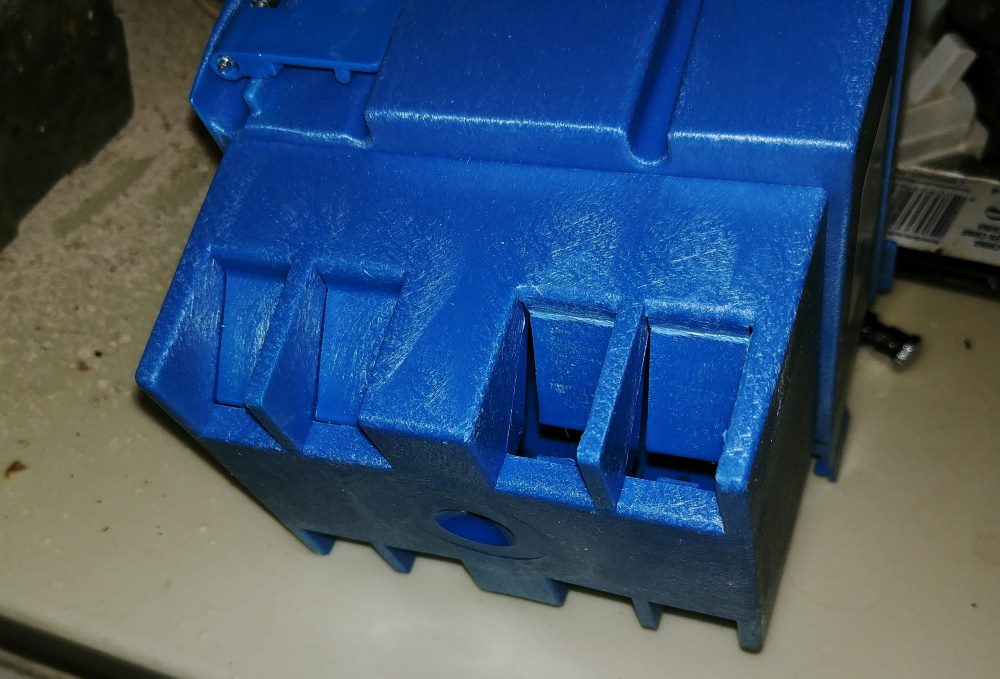
The old box should be out of the way now!
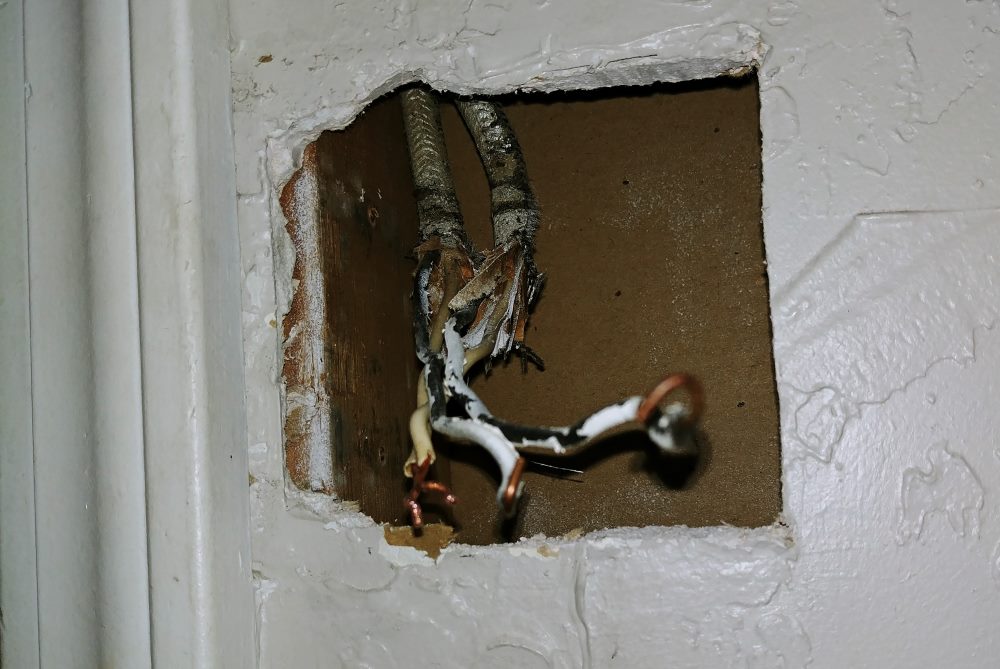
2-Gang Box Conversion After Old Box Removed
Installing the New Box
First, push the wiring out of the way and dry fit the new box. You may need to take your drywall saw and remove a bit more drywall to get a perfect fit.
Next, take your electricians pliers and knockout the openings for the wires you need to bring into the new box. In my case I needed the two top left entrances.
Knockout Cable Entrance in New 2-Gang Box
In order to get the old wires into the new box, you will need to cut off the twisted ends and straighten the copper as best as you can. Be careful not to break the wires or cut too much length off because you can’t stretch the cable any longer! I found that taking some electrical tape and wrapping it around the frayed cloth outer insulation on the old 2-wire in my house really helped get the wires into the box.

2-Gang Box Installed with Wires
After everything is where you want it, tighten the screws on the “old work” box to pull it snug to the drywall. Then perform any connections you need for the new and existing equipment in the box. This post is not geared towards any specific electrical change so I am not covering the connections for any specific project here.
Conclusion
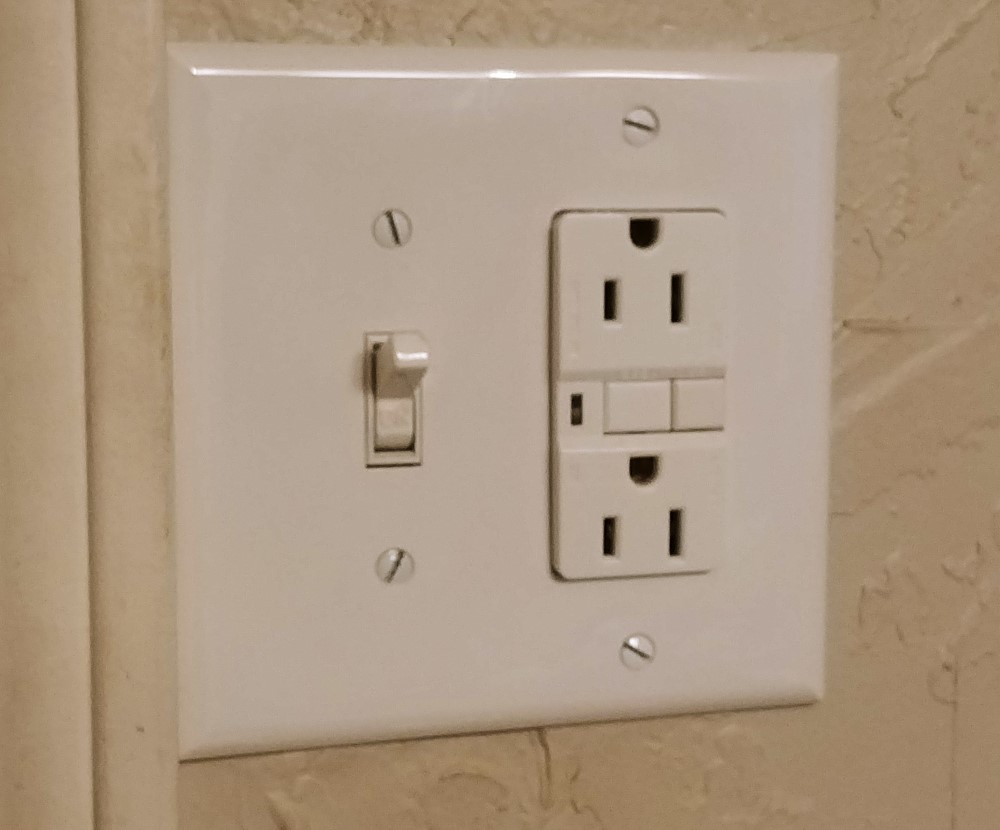
2-Gang Box Conversion Complete
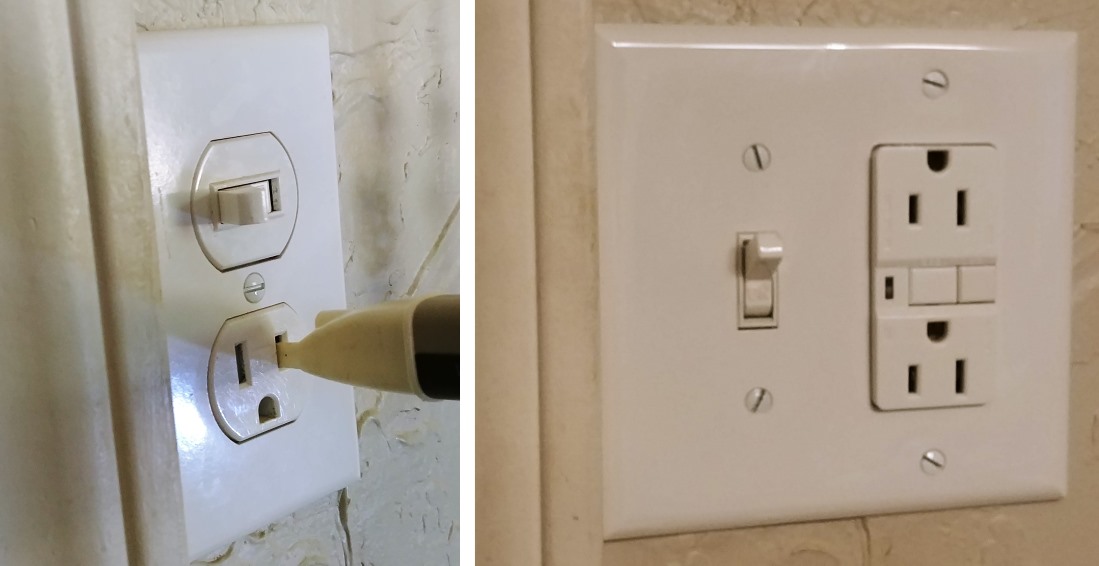
I think I spent somewhere around an hour on this project. Closed back up everything looks great. My wife wanted me to point out that the ground pins are at the top rather than the bottom which is considered upside down in the US. For this reason I will eventually have to open the box back up and flip the plugs over. On the other hand it is not possible to plug in the hair dryer and the curling iron at the same time!
This (the ground pin direction) is not necessarily upside down. Most homes that are built today are built with plugs ground up AND ground down. If ground is up that means one of the plugs is switched (controlled by a wall switch). If the plug is ground down this means that the plug is live all the time (not switched).
I am not sure when they started doing this. My old house was built in 2003 and used ground up switched format while my second home (1994) does not use the ground up format. Both homes are in Phoenix.
While I’m not a licensed electrician, I believe that new codes dictate that the ground to be on top so that if a conducting rod of any type falls onto a loose plug it will land on the ground post and won’t land across the two conductors and short the outlet and potentially cause a fire.
Thanks for helping me add a gang box in place of a single box so my ceiling fan will have a switch and my light will have its own switch. The electrician ran the correct wiring when my house was built but they only installed one switch. You made it sound easy by using the “old work” gang box. I did not know they made those.
My comment on your plugs being upside down…I installed my plugs upside down when I wired my building. I made the wires too short to be able to turn them over without unwiring and wiring everything back again. It worked fine so I dealt with it. However, years later where I had something plugged in that had a big square plug (like a hairdryer has) I started having problems with it getting loose and not staying plugged in. The weight of the large square plug plus the wire going to the plug being above the plug caused a slight strain on the receptacle and wore it out prematurely. I knew there was a reason I should have done it over (correctly) instead of letting it go but it took several years before I found out what that reason was. LOL