Summary
Use this simple technique to DIY repair a staple-bound (also called saddle stitched) picture book if a page gets ripped out. This repair can be done in about 15 minutes and should make the book stronger than when you started.
Background
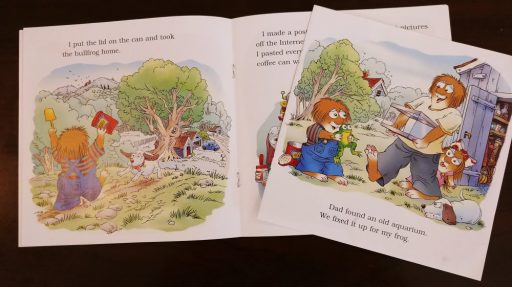
I have had the privilege of accruing a large number of books for my two sons over the last few years. Story time before bed is one of my favorite traditions. I love it so much in fact that I even wrote a children’s book myself last year! The thing about little kids who love books is that sometimes they love them sooo much that they get damaged. One of my favorite jobs as a dad has been to fix the broken things which also includes the inevitable torn book. I have found that ripped pages can be put back together pretty well with clear packing tape. A page that has been ripped out of the binding is another issue altogether. I have not yet found a good way to repair pages ripped out of perfect-bound books, but I did work up the following procedure the repair the saddle-stitched, or staple-bound books we have.
Tools and Materials
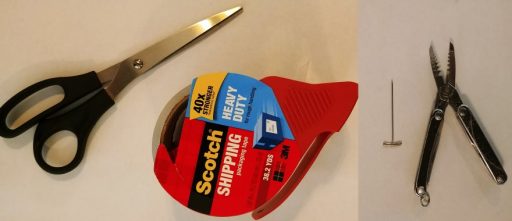
The tools required are simple items anyone might have around the house
Tools
- Scissors
- Large needle or pin
- Small needle nose or jewelry pliers
Materials
- Piece of printer paper
- clear packing tape
Repairing the Book – Patch The Damaged Page
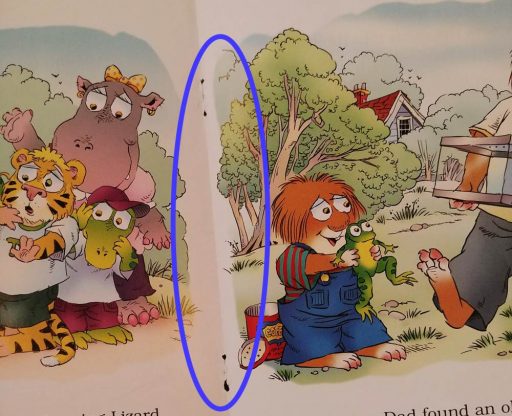
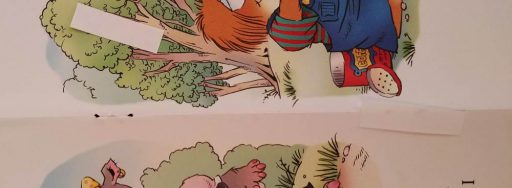
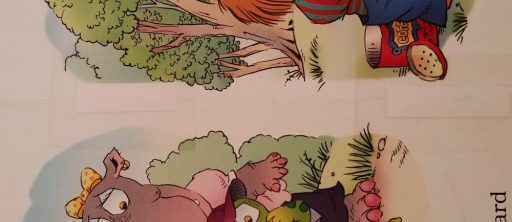
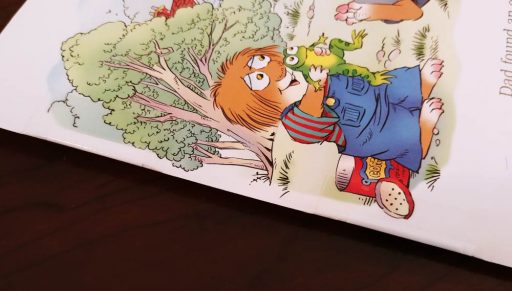
First, examine the page that has been ripped out. If the page is in multiple pieces you will want to tape it into a single piece before proceeding. The repair strategy will be to reinforce the gutter where the staple tore through so if one side of the page has more white space or uniform color that would be a good choice for the reinforcement. In my example, you will see that one side of the page is white on the gutter, so a white patch will not be very visible.
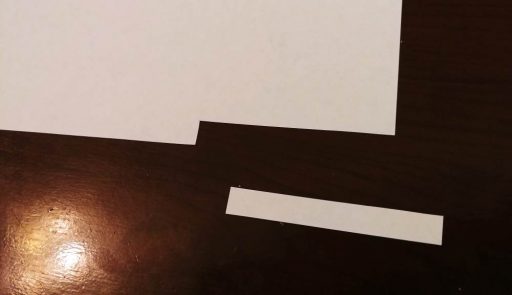
Next, cut out a small strip of paper wide enough to cover the staple hole with a bit extra on either side. I am using white paper because the section I am patching is white. If you feel like its worth the effort you can try and color match.
Then cut the strip to cover the number of staples in the binding and test the fit.
After you are sure everything is lining up, cut a piece of packing tape and apply it over the paper reinforcements. Then flip the page over and tape the other side for good measure.
Repairing the Book – Re-Fold The Page
The next step is to try and re-introduce the gutter fold. Carefully refold the page and put as much force as you can to fold the tape and paper reinforcement on the page. You won’t get it perfectly folded due to the added thickness, but the more crease you can get the better.
Repairing the Book – Re-Install the Patched Page
Now you are going to punch new holes for the staples to go through. I found this really handy T-Pin to do the trick, but anything pointy will do. If you use a smaller pin, try and wallow it around to enlarge the opening because the book binding staples are usually a little bigger than office staples.
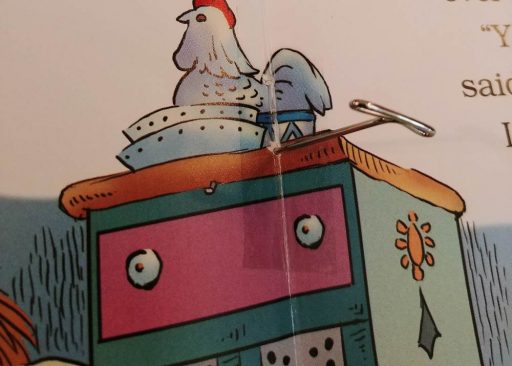
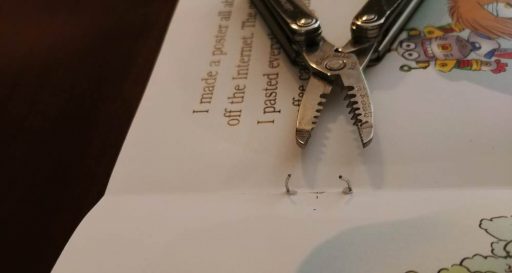
The next step is the hardest part. Using your needle nose or jewelry pliers carefully open up the staples in the book and point them straight up. Then insert the repaired page back into the staples.
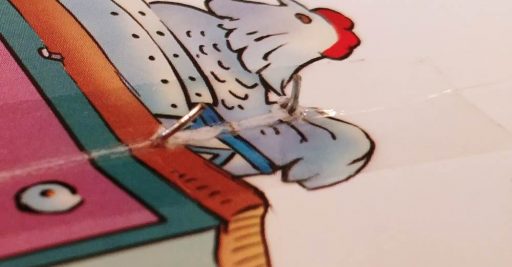
Finally, bend the staples back down as close the original shape as possible. If the staples are still protruding more than you want you can try and tap them down gently with a hammer.
Conclusion
The book might not look quite as good as new, but the reinforced binding is probably stronger than when it came out of the factory. I have used this technique a couple of times to great success and it keeps me from throwing out otherwise great books when they get handled too roughly. I am still looking for a good way to repair perfect bound books when the pages come lose so if you find one, let me know!


Thank you! I had this exact problem, except with a calendar.
Worked like a charm