
Summary
Fix a bathroom light fixture over a vanity hanging loose from the wall. This issue may also occur with wall sconces or other fixtures hung on drywall.
Background
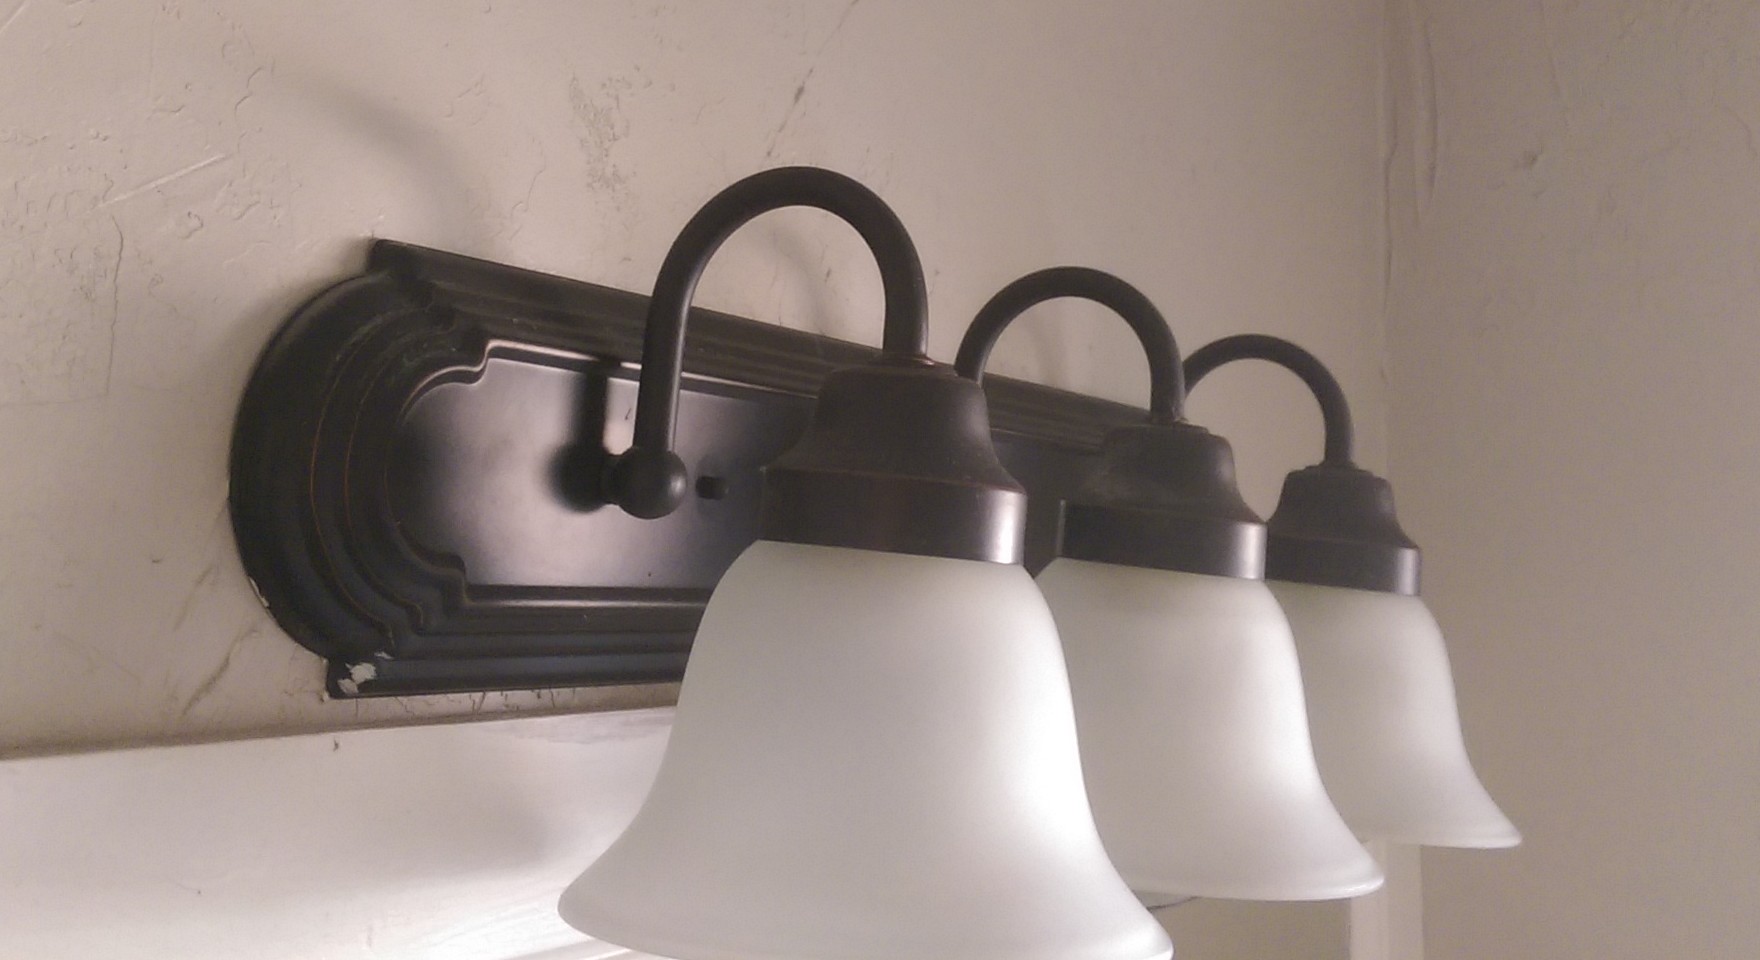
The light fixture over the sink in my master bathroom was pulling away from the wall by over an inch on the left side. It hadn’t fallen down on us yet, but it had always made me nervous. The fixture is somewhat heavy with three thick glass globes. As you can see in the following picture, it was pulling away from the wall on the left side by over an inch.
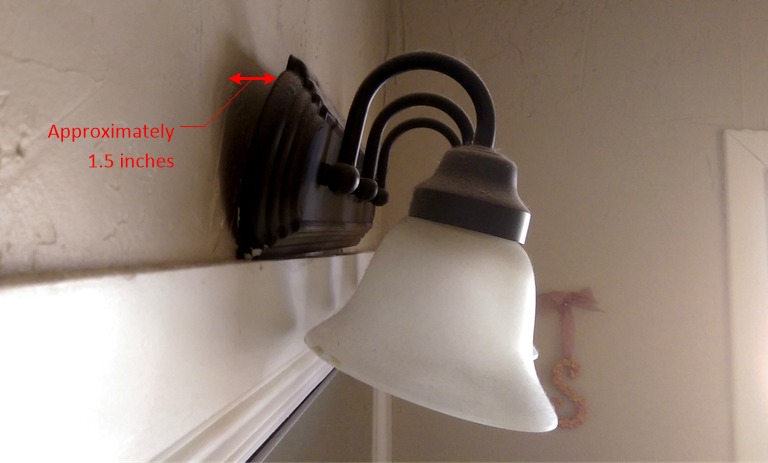
Loose Hanging Bathroom Light Fixture
I suspect this fixture was added during the most recent remodel to the home which while pretty from afar, left some real ugly issues for us later homeowners to discover. I’ll get into more of those issues in later posts though.
Tools and Materials
All the tools and materials that I used for this project were already in my toolbox and hardware kit.
| No. | Description | Link |
|---|---|---|
| 1 | Black and Decker 12V Drill | |
| 2 | 1/4" Drill Bit | |
| 3 | Non-contact AC voltage detector | |
| 4 | Wire Nippers |
I would like to emphasize that if you don’t have one, you should go by a Non-contact AC voltage detector right now. You can find them for a little as Five Dollars ($5) and I generally refuse to do any electrical work without one in hand.
| No. | Description | Link |
|---|---|---|
| 1 | Wire Nuts | |
| 2 | Electrical Tape | |
| 3 | Drywall Anchors |
Disassembly
It can be difficult to figure out how to take something apart if you aren’t the one who put it up. Lots of people are afraid at this step because forcing something apart is a great way to break it.
Before I began disassembling the fixture or removing the bulbs, I made sure the lights were off. I also taped down the light switch so no one, including me, could turn it on while I was working. If this is not enough to make you comfortable I strongly suggest using this tactic at the breaker box instead. This was to protect myself from electrocution. I also used the non-contact AC voltage detector while working on the fixture to ensure that none of the wires were hot.
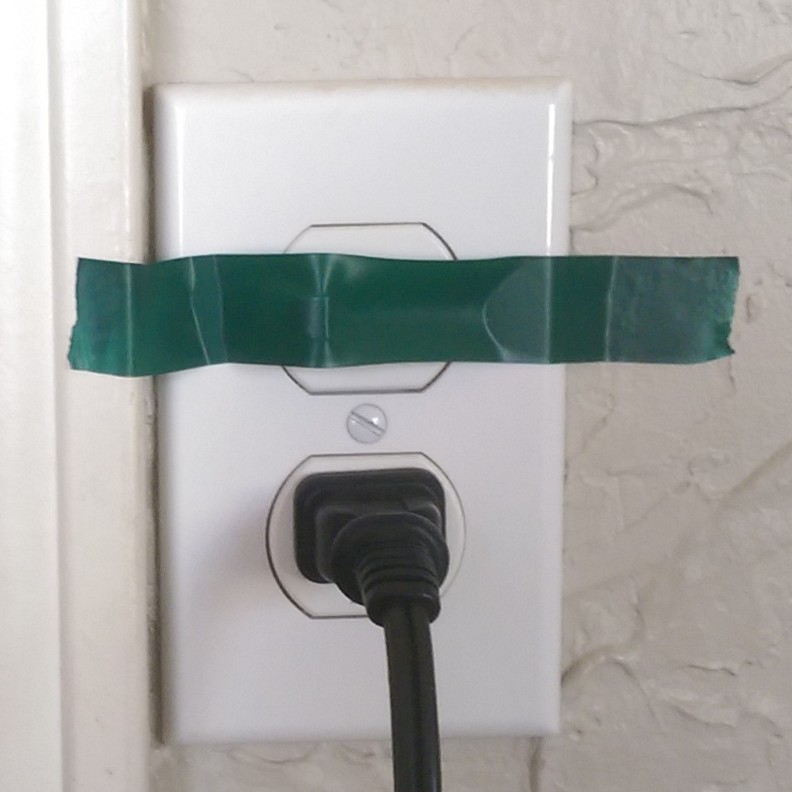
Switch Taped Off
My main concern with getting the light fixture off the wall was to not break any of the glass and to keep it from falling on my head. First, I removed the bulbs. The next step was to remove the glass globes from the fixture by unscrewing the socket ring while holding up the globe. I then removed the globe and set it aside.
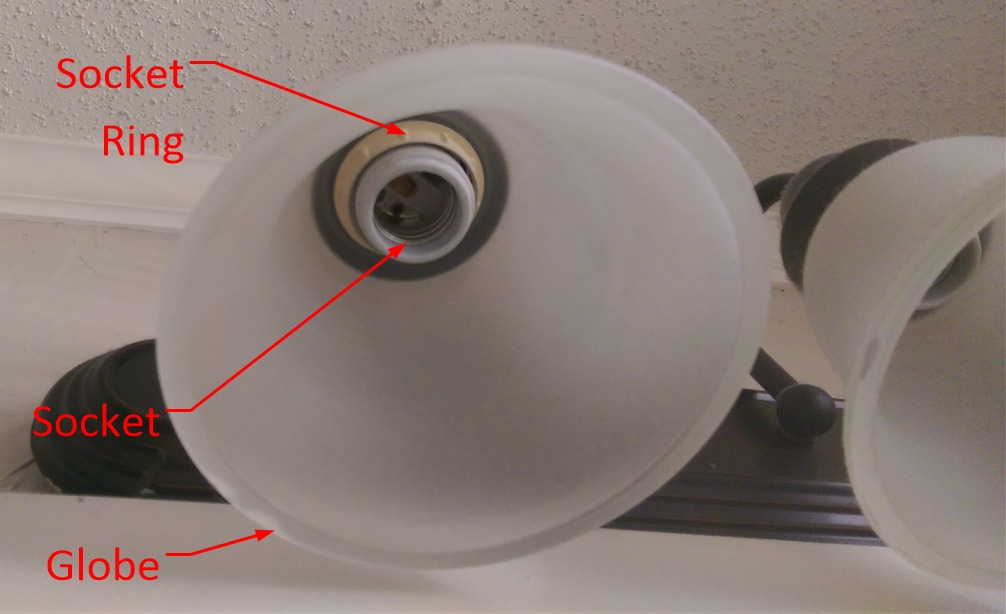
Bathroom Light Fixture Parts
I had to look up the name for the socket ring part so I thought it was worth pointing out here for anyone else who wondered what it was called. If you loose or break one of these (they also come in plastic), you should shop for a “Socket Ring.”
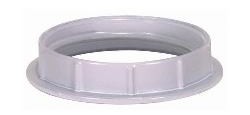
Lamp Socket Ring
Here is the fixture with all three globes removed.
Light Fixture with Globes Removed
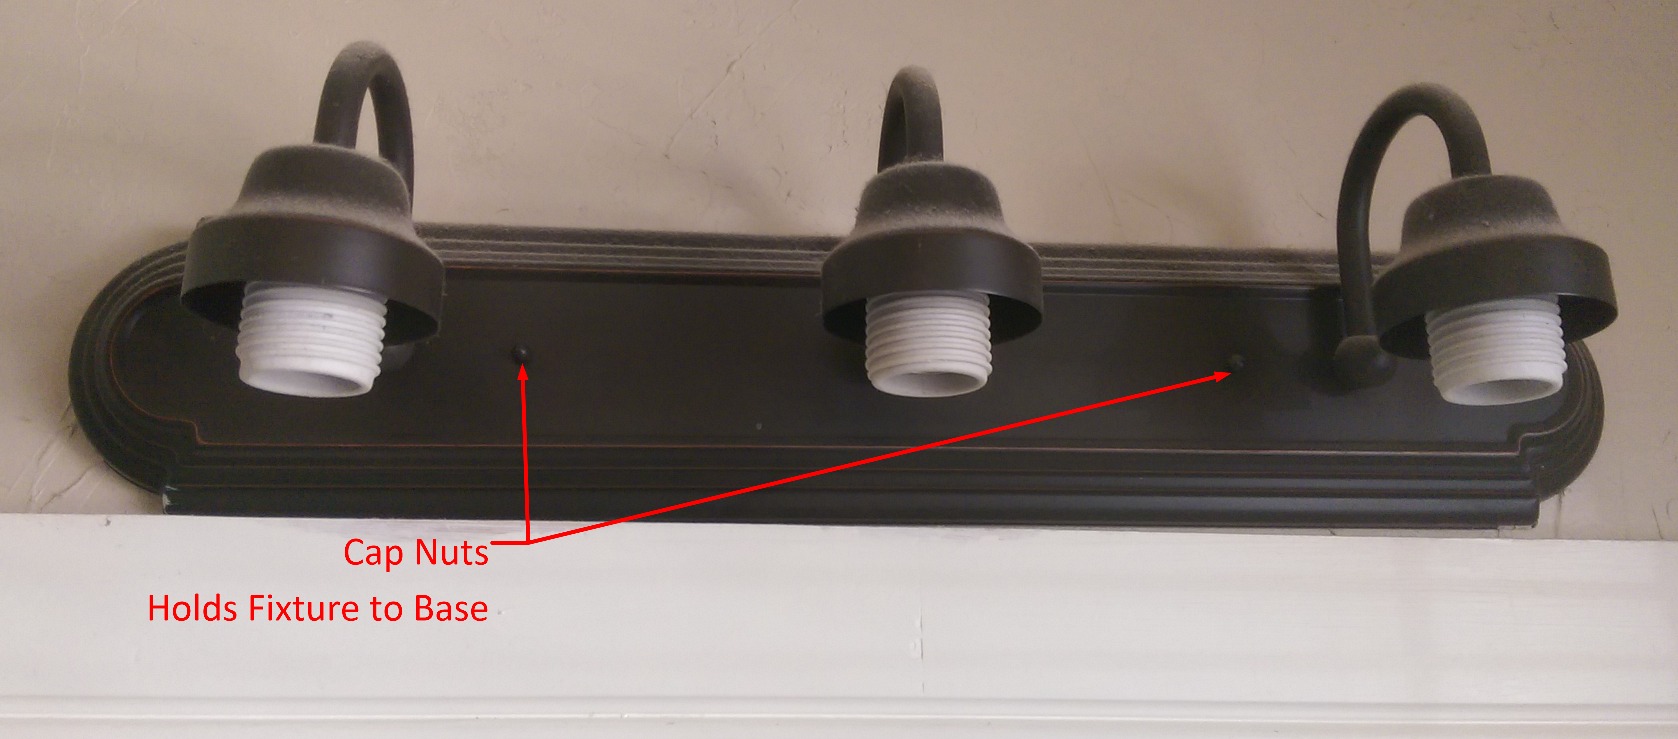
The next step was to remove the cap nuts that hold the fixture to the fixture base. These nuts are unscrewed by hand.
After the cap nuts are removed the fixture can be pulled of the base. However, it was still attached electrically. I removed the existing wire nuts so that I could set the fixture aside and look at the base.
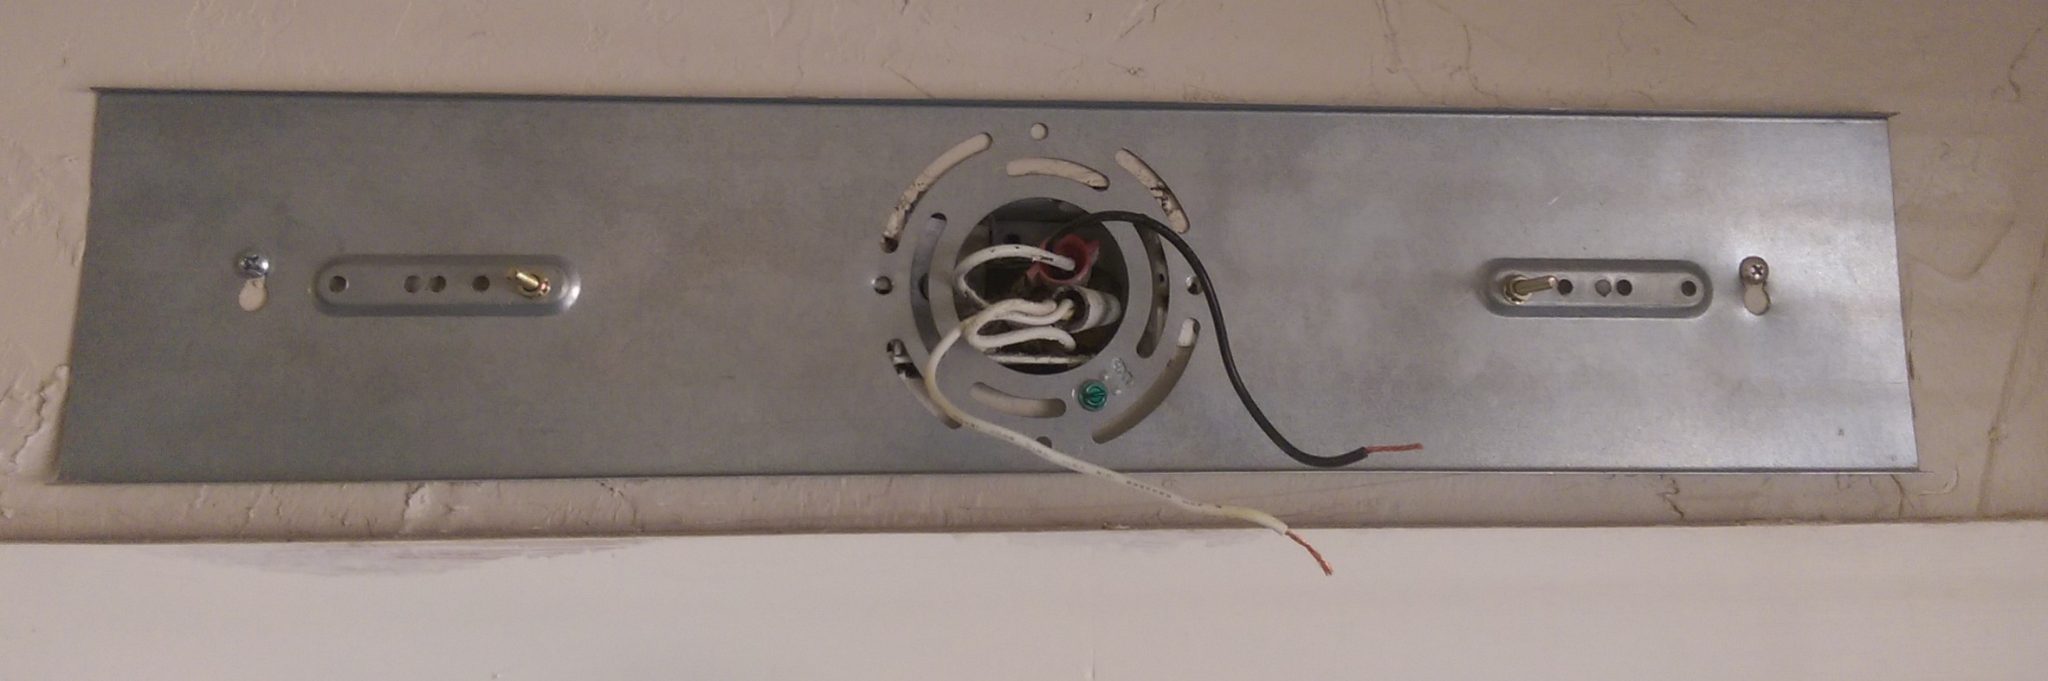
Diagnosing the Issue
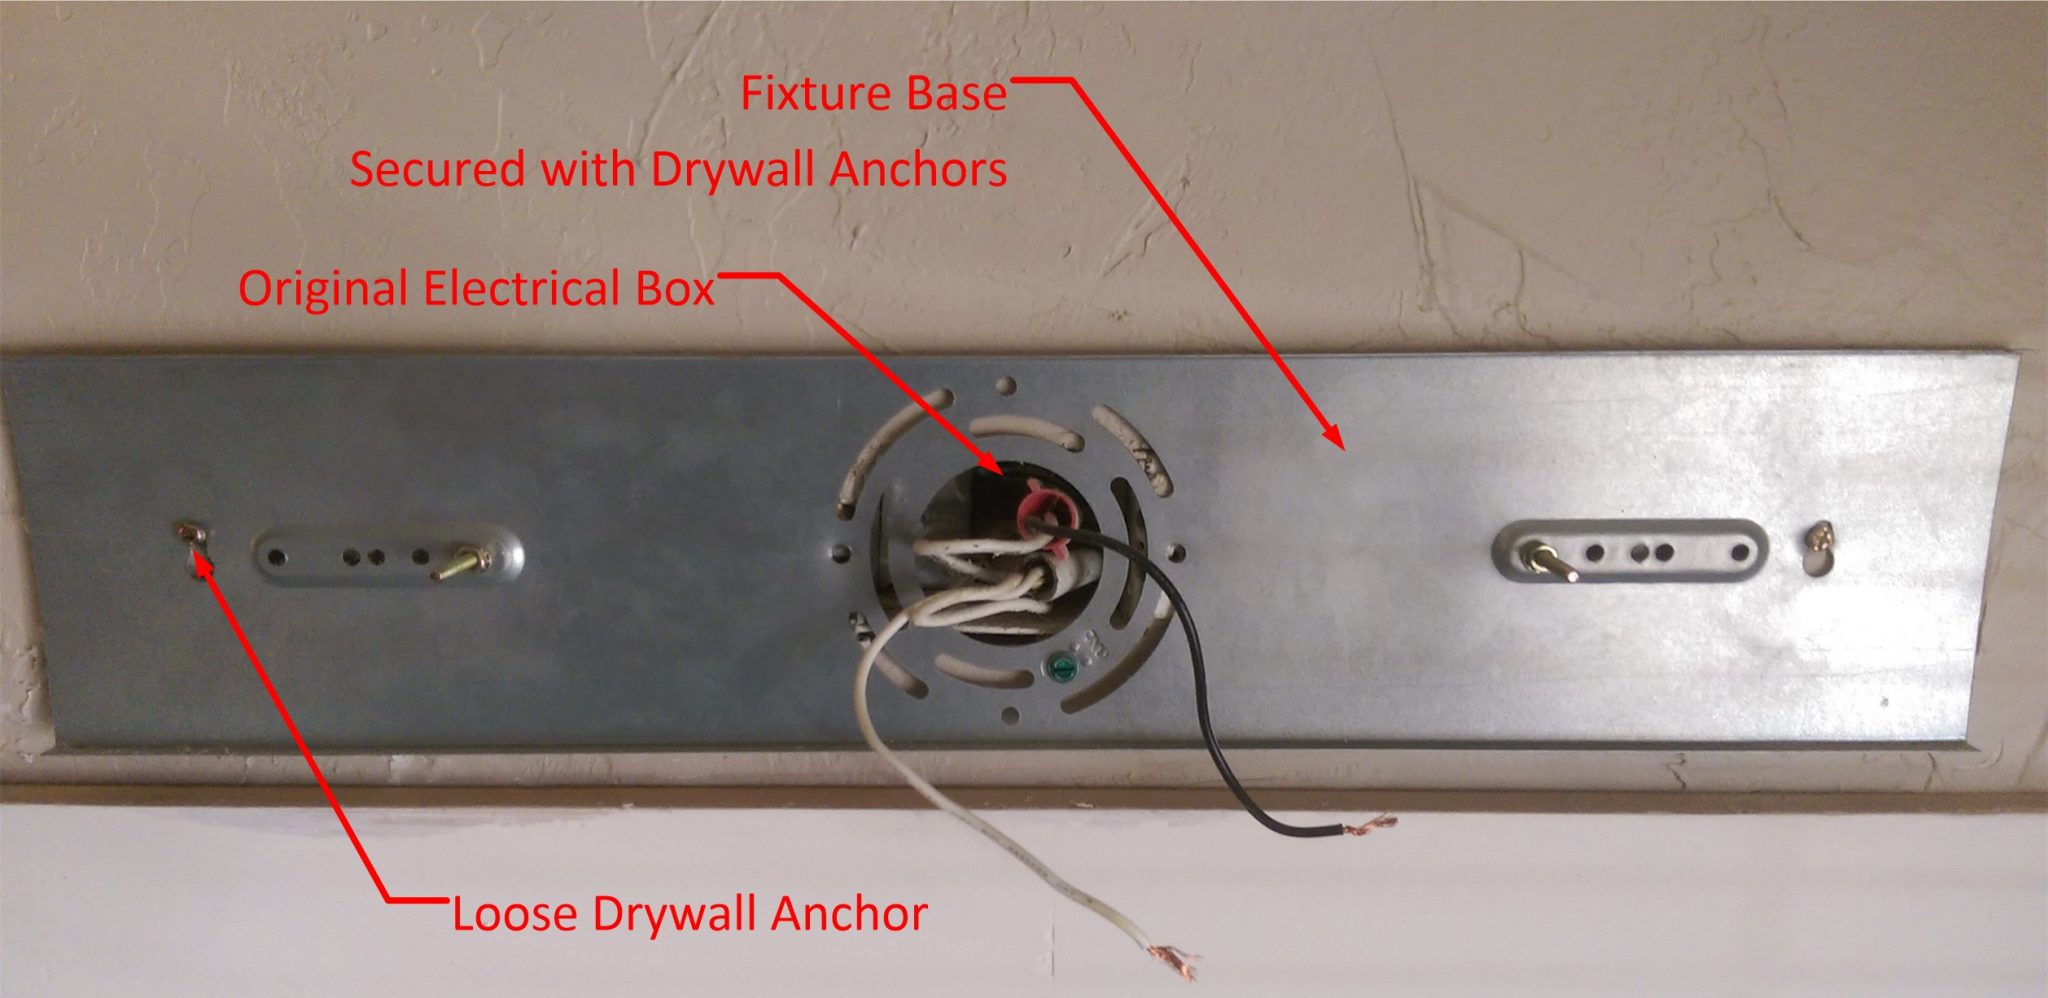
Light Fixture Base
With the fixture removed it immediately became obvious what the issue was: the drywall anchor on the left side of the base pulling away from the wall. It appeared to either have been wallowed out over time, or possibly drilled to large for the installed anchor. Also, the anchor was pretty low quality, probably having been shipped with the fixture.
Fixing the Problem
I removed the base from the anchors and decided to replace both the left and the right in order to feel confident that the heavy fixture was not going to fall. The anchor on the left was loose enough to be pushed into the wall with a screwdriver. The anchor on the right required a bit more work. I was able to pull it out a bit and cut off the flange with some nippers, then push the remaining plastic into the wall leaving the bare hole. This is the standard trick for removing old wall anchors. You might also cut away the flange with a box cutter or razor blade.
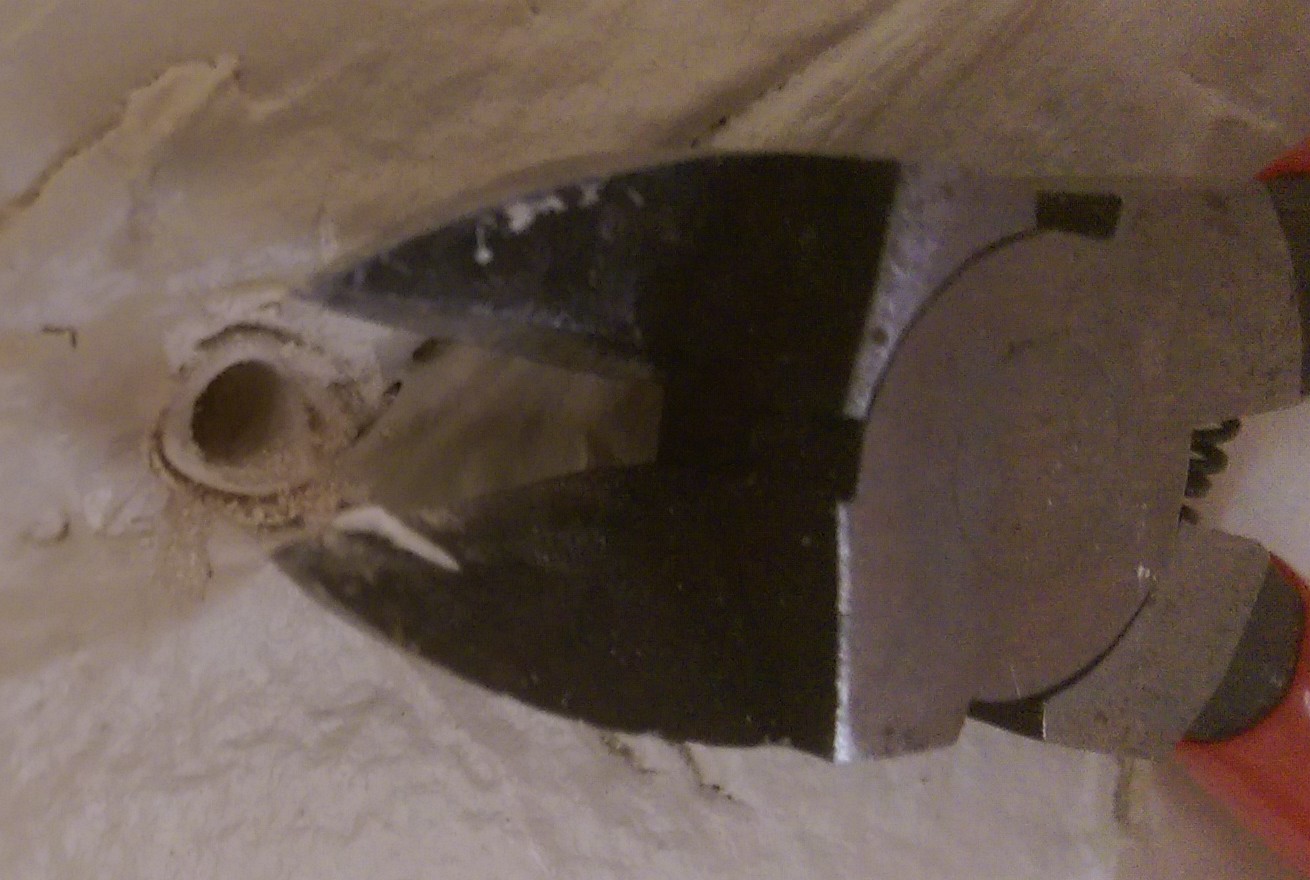
Using Nippers to Cut Wall Anchor
Pushing Old Anchor Into Wall
For new drywall anchors I reached into my stock of hardware and found a couple to use. For the left, I found a Cobra Triple Grip in my box of hardware leftovers. I like that it has the plastic that expands behind the drywall to provide a large holding surface.
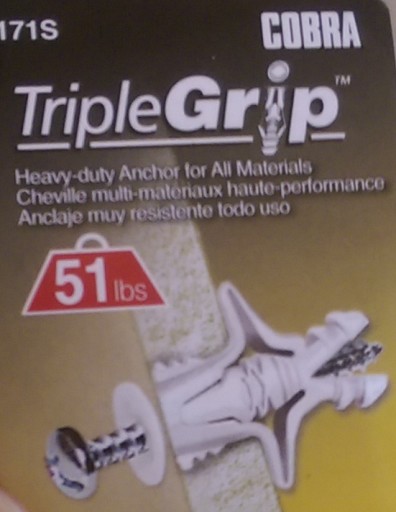
Replacement Drywall Anchor
I found this other wall anchor for the right mounting hole. Its not quite as fancy, but does have those nice teeth to bite into the drywall and hold pretty well.

Replacement Drywall Anchor (Right)
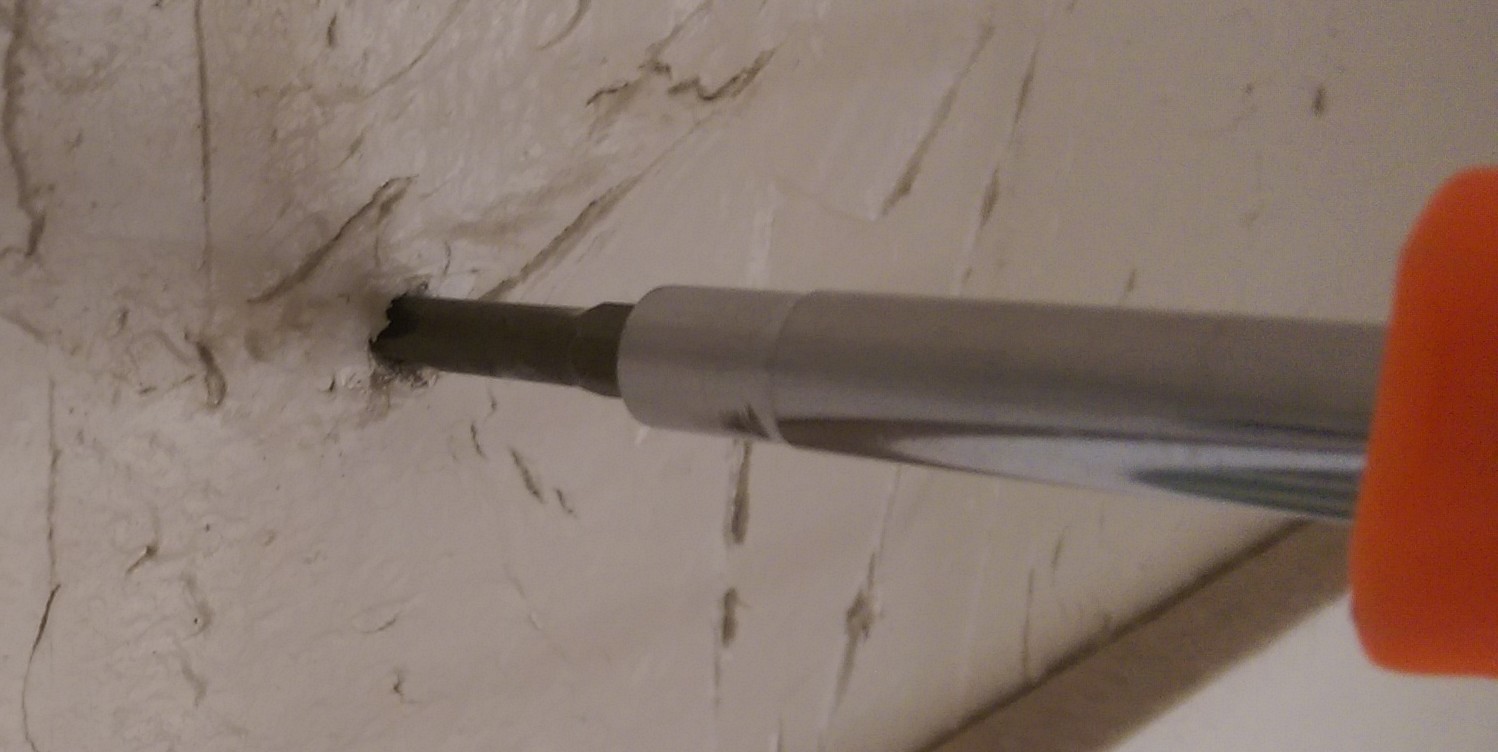
The steps to install the new anchors were:
- Run the hole with a 1/4″ drill bit to ensure proper sizing for the anchors
- Push the plastic anchors in and flush with the wall
- Install the screws in the anchors until almost flush with the wall, leaving room to install the fixture base
I then reinstalled the fixture base and tightened the screws flush.
Fixture Base Re-installed
Before proceeding I decided to give all of the pieces of the fixture a thorough was on the ground. It was hard to clean up there and really hadn’t had a good cleaning since we lived in the house.
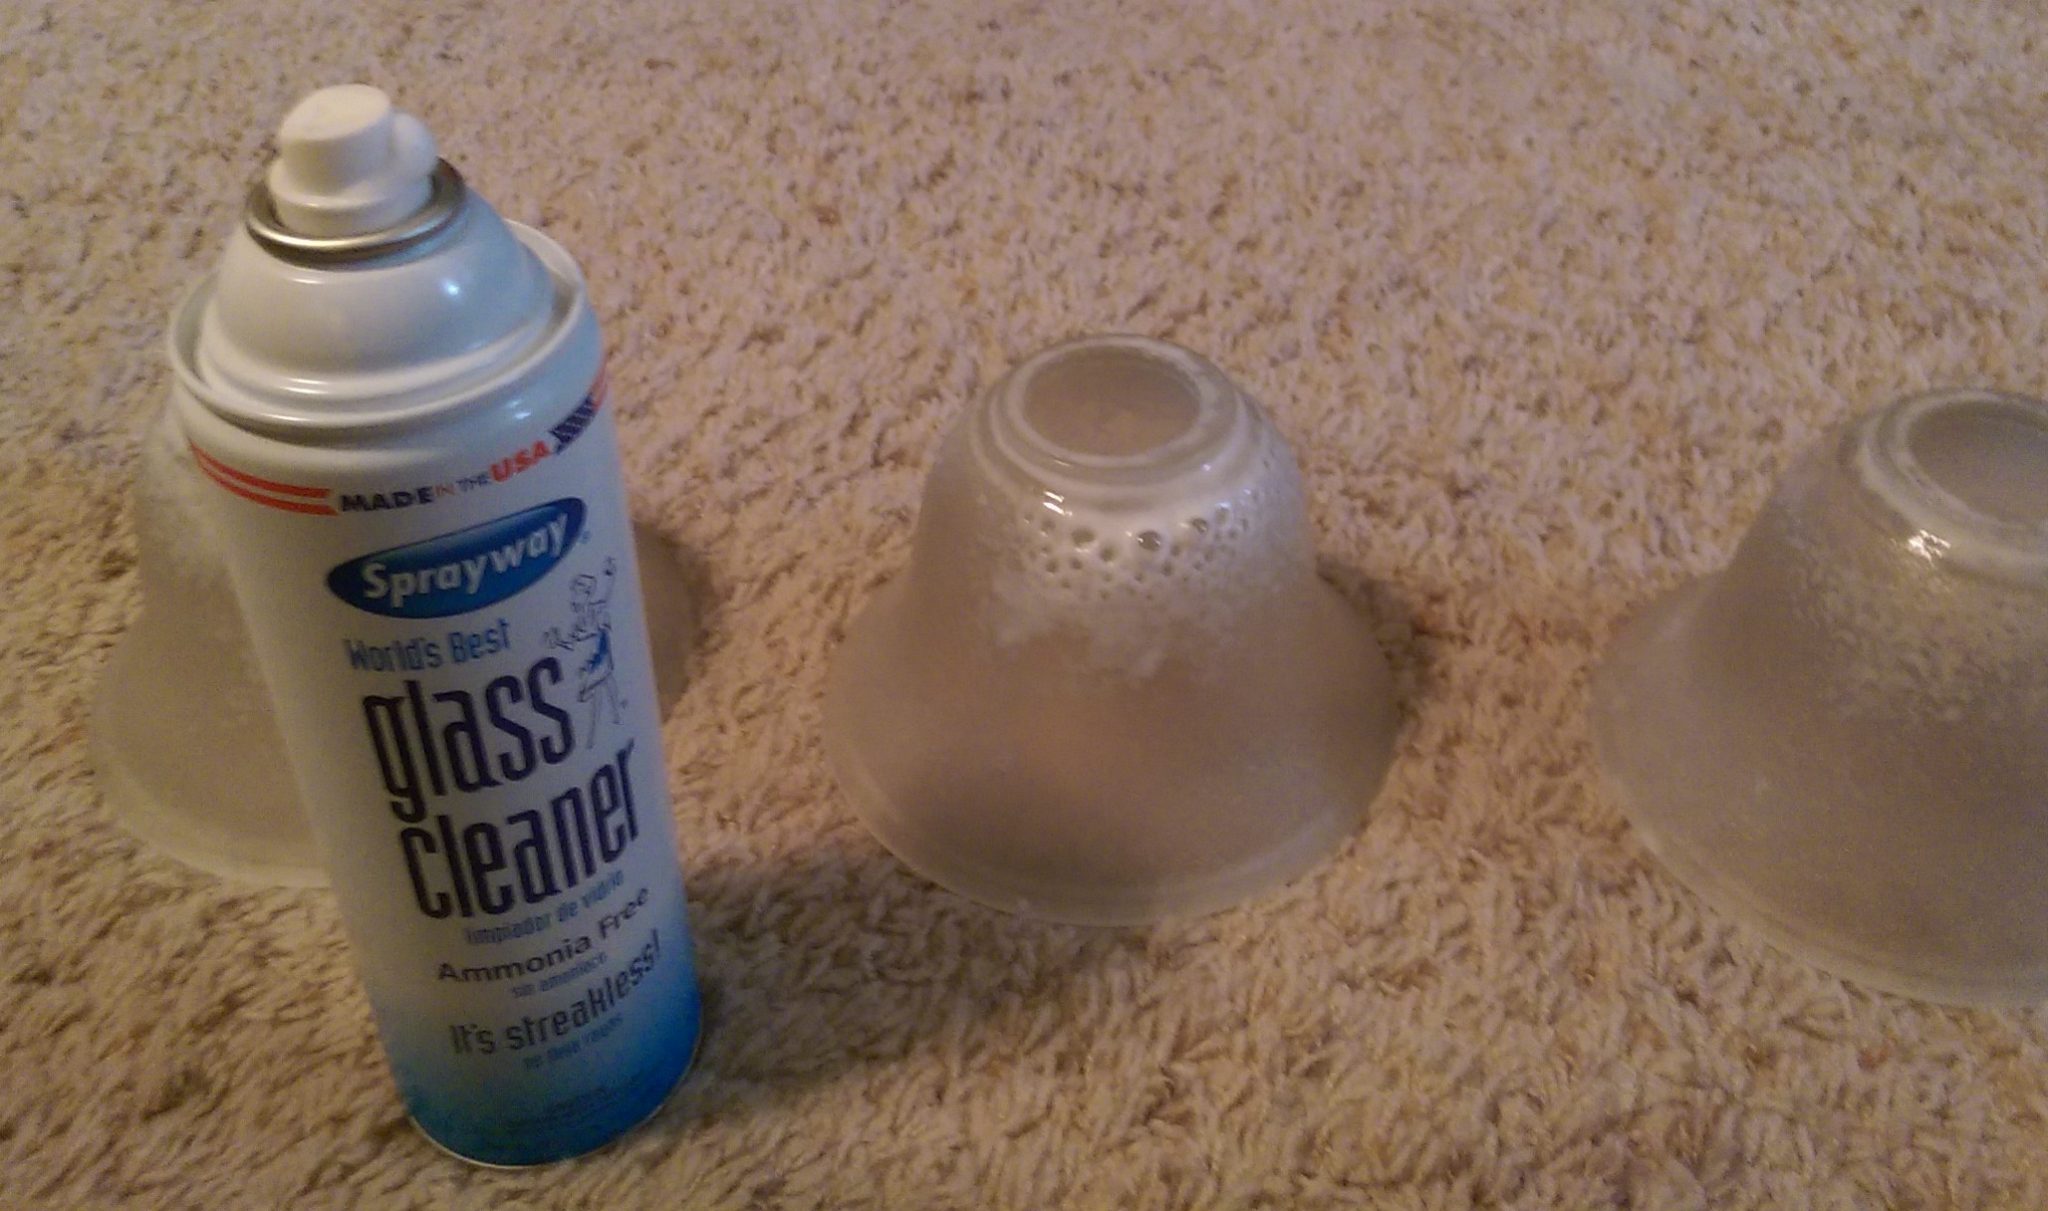
Cleaning the Fixture
At this point it was time to reconnect the electrical wiring and put it all back together. I’m not an electrician, but I have done a handful of electrical projects so I wasn’t too worried about this step. My guidance is to always check for advice or hire an electrician if you are unsure how electrical work should be done. Also, always read the directions. For example, if you buy wire nuts, read the directions very carefully to make sure you are using them correctly. The manufactures test their products well, but it only counts if you follow the directions.
All of the wires are stranded so I first twisted all of the strands clockwise for all of the wires I was going to be tying together with wire nuts. I have found this technique generally gives the best results. Then the tricky part, I had to install the wire nuts on the wires with the fixture hanging loose with only two hands. I managed to do this as you can see in the picture, but not without almost dropping it a few times. You might have better luck with another pair of hands. You can also see that I am of the add electrical tape around wire nuts tribe. If you use them correctly you don’t need to do this, but it always makes me feel better. The ground wire doesn’t currently tie to anything because the house is too old to have a grounded electrical system. I hope to do something about that someday.
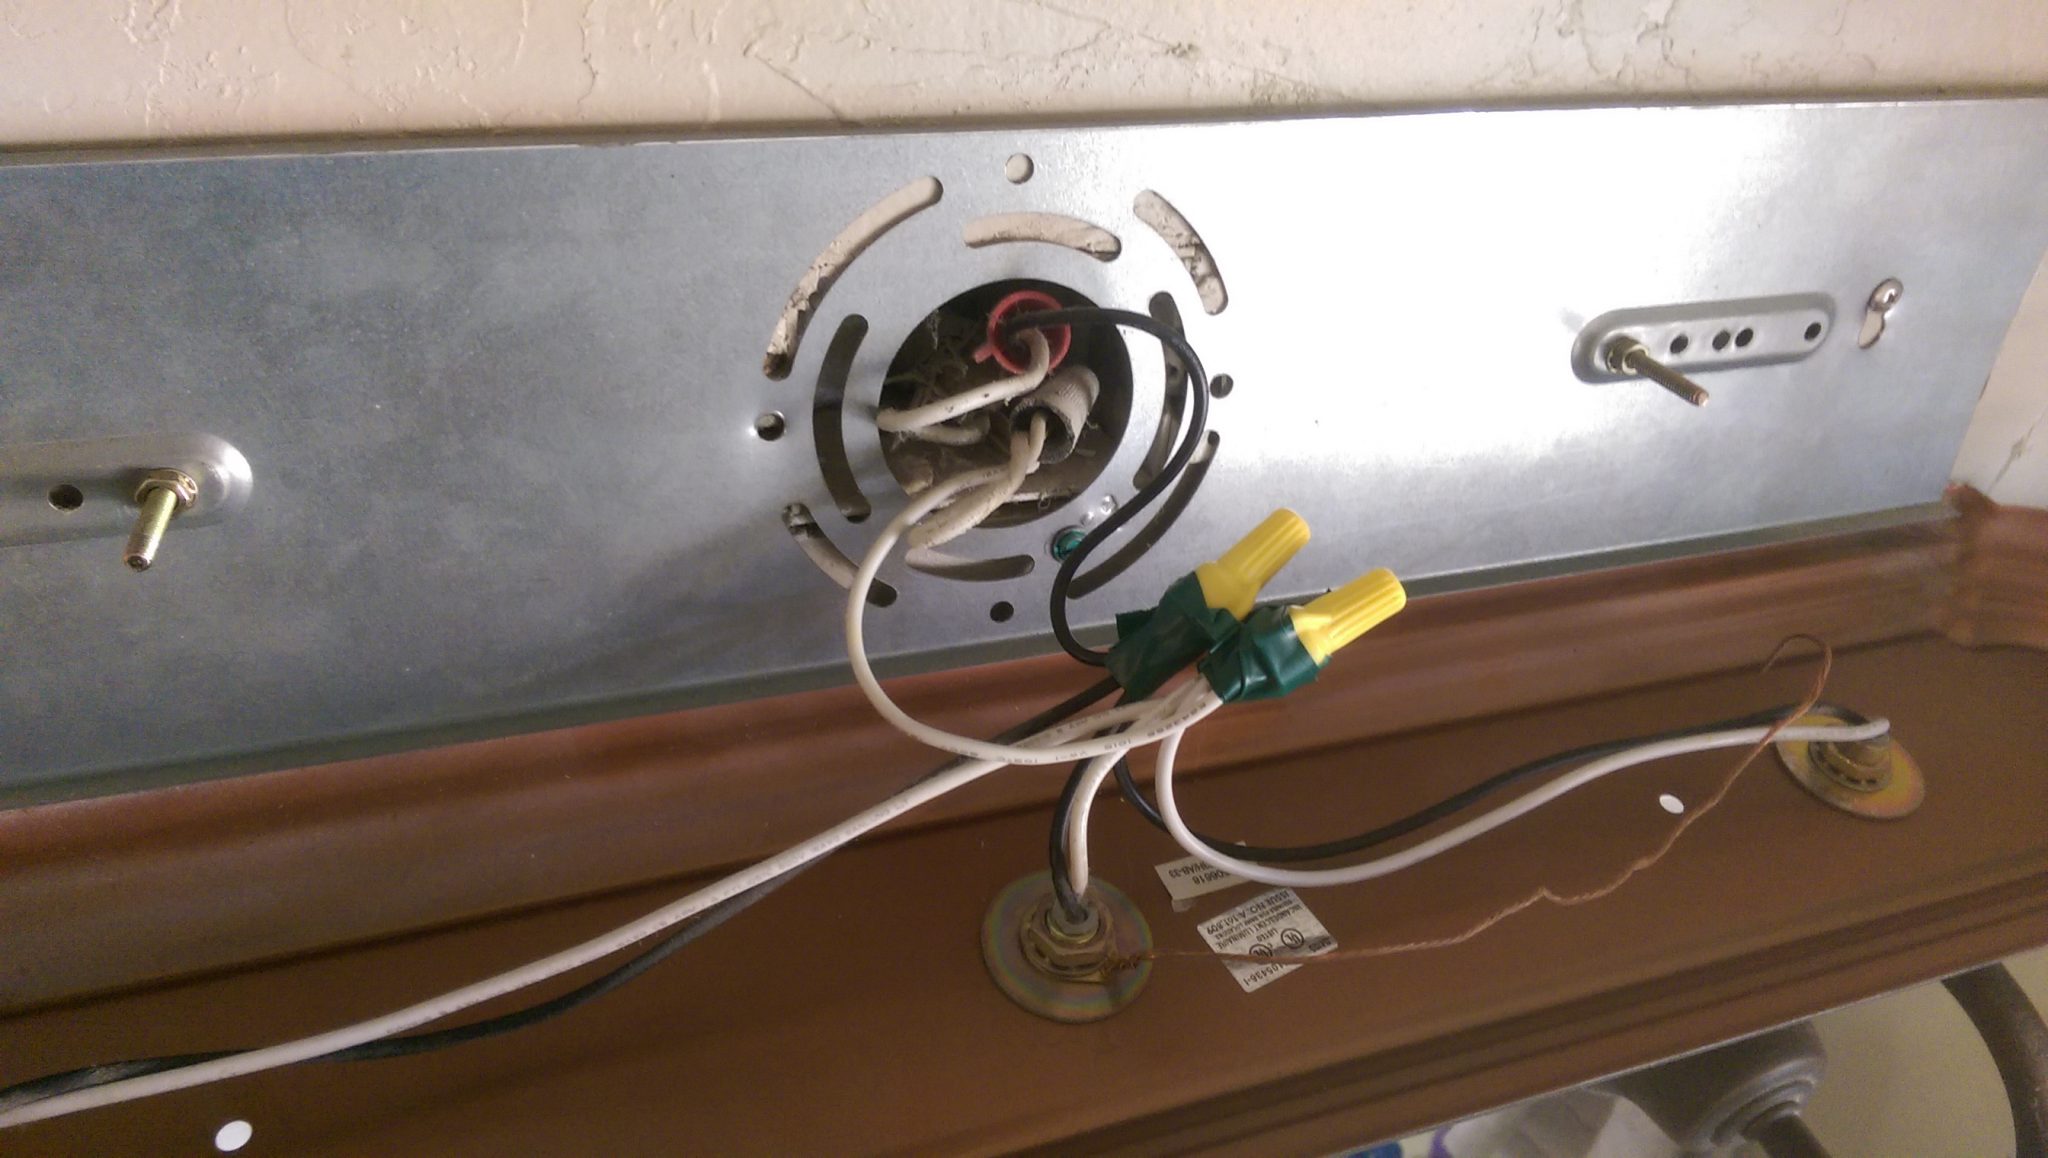
Light Fixture Re-wired
At this point I reattached the fixture to the base and put it all back together. The finished product was pretty tight to the wall, but not perfectly flush. I think to achieve a flush installation you would need to install some more anchors to hold the top and bottom screws on the fixture base.
Light Fixture Repair Complete
Conclusion
The repair I did here took an hour. It would probably have taken longer if I didn’t already have experience with minor electrical repair and have a collection of drywall anchors on hand. You would probably find it smoother with another pair of hands when you go to re-install the fixture. Also, though you can stand on the counter like I did, I would probably recommend a stool or step ladder to reach the fixture.
My recommendation for anyone else who runs into this problem is to actually screw down the top and bottom holes of the fixture base as well as the left and right holes like I did. I think you will find the fixture looks a bit nicer against the wall. I however am not going to pull it down to fix that since it does at least seem secure now.
Great tutorial, thanks! I feel confident that I can do this now. I really appreciate the way you discussed the pain points, such as needing a second pair of hands.