
Summary
The steps to install new soffit vents on a house with traditional plywood soffit and wood fascia.
Background

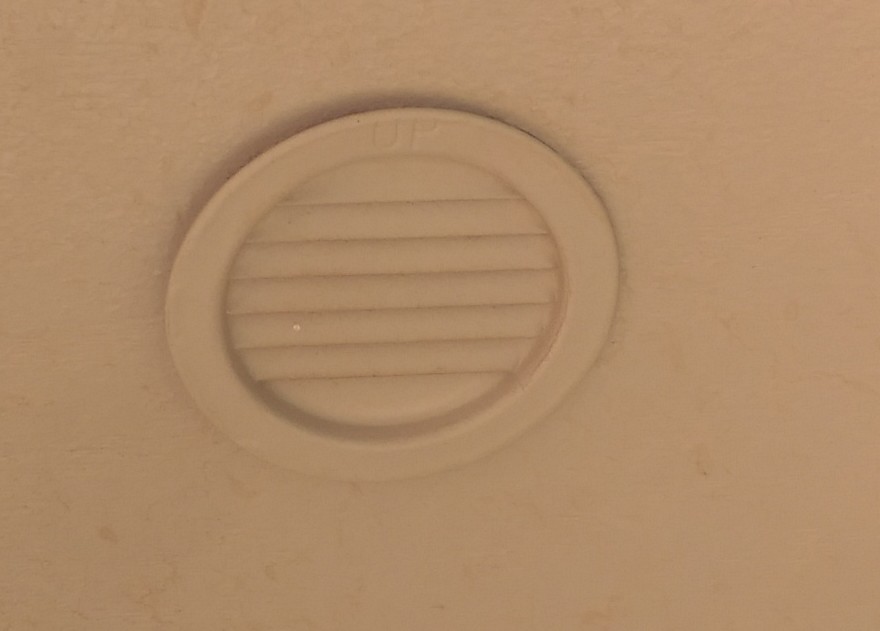
The existing soffit vents are small, round vents held in place with electrical tape that have been falling out since we bought the house four years ago. I have been itching to replace the vents, as well as repair the soffit in several places and finally have a good excuse. Here is one of the old vents, approximately 2 inches diameter.
Recently, as a bonus to some insurance work done on the structure, we had a contractor rip out some rotting fascia and soffit and replace with new in the section shown in the above photo. They left it to us to put on the final coat of paint. I also noticed they didn’t put a soffit vent in the section they had replaced. Soffit vents provide ventilation in the attic and provide the following benefits:
- Prevent rot of soffit and fascia boards if moisture does penetrate
- Prevent ice dams from forming due to warm air buildup in attic. This is especially worrying for us since our roof is sloped so low and we do get significant snows about twice a year
Tools and Materials
The materials for this project are pretty simple and are shown in the next table.
| Line | Description | Supplier | Unit Cost | Units | Ext. |
|---|---|---|---|---|---|
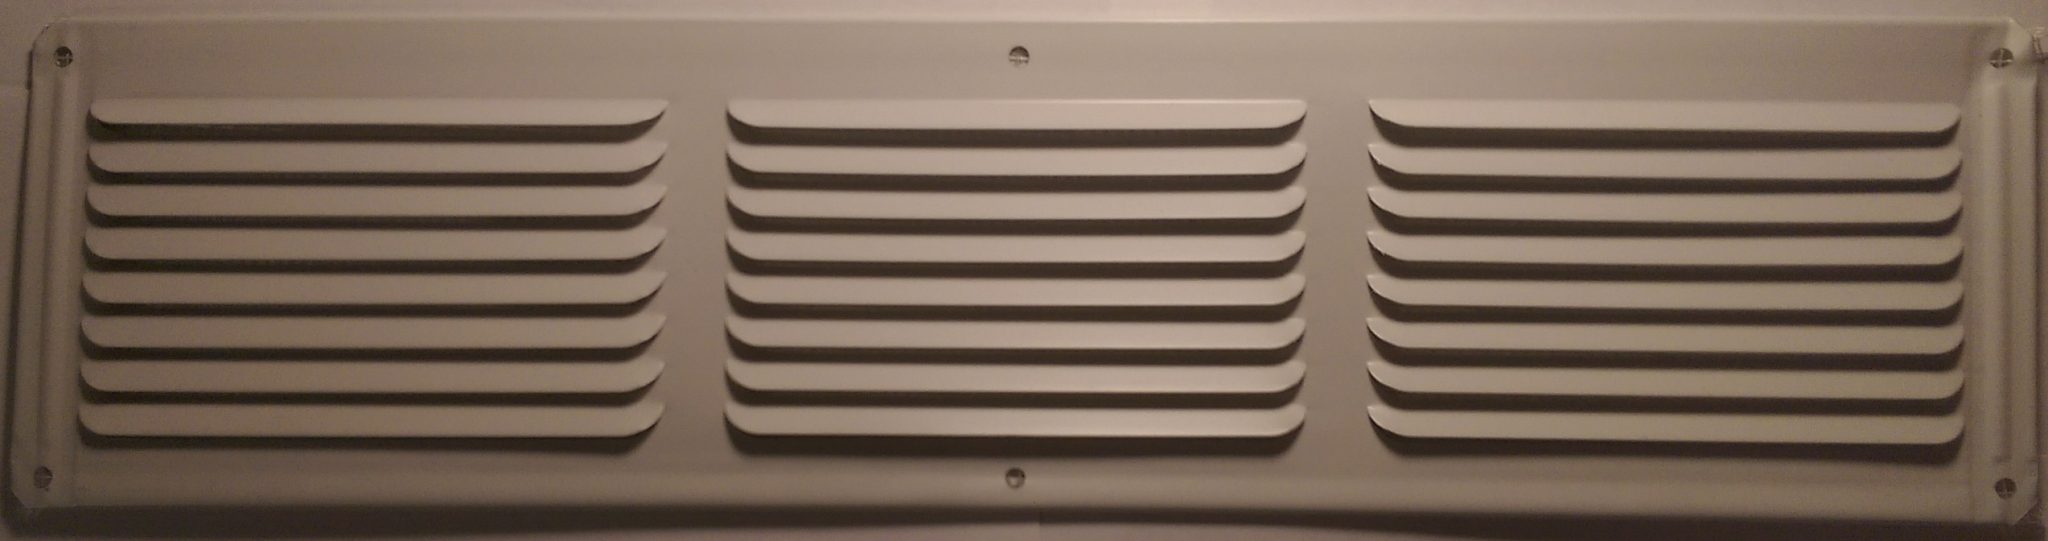
| 1 | 16"X14" Under Eave Vent White | Home Depot | $1.92 | 3 | $5.76 |
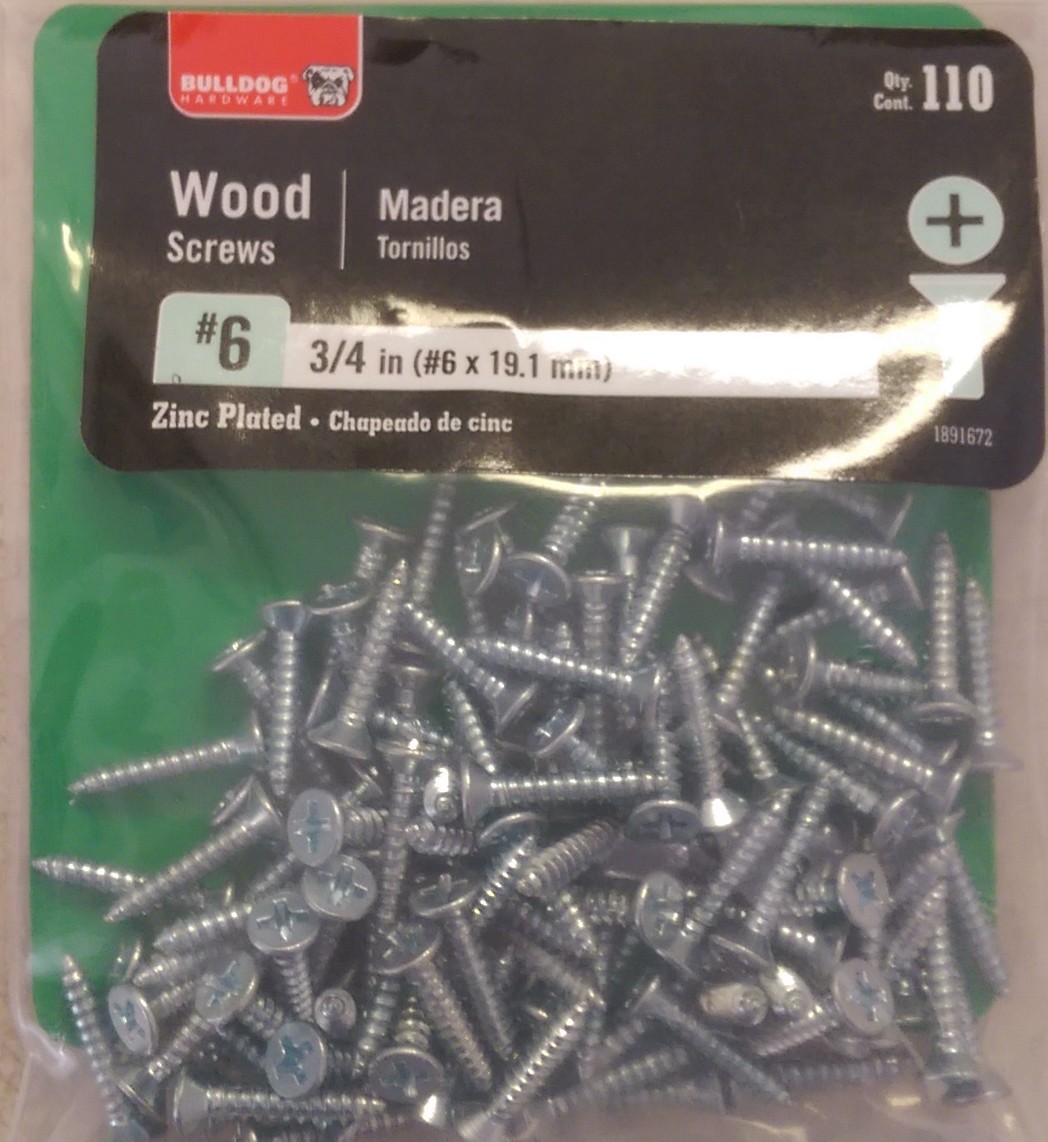
| 2 | #6 3/4" Zinc Plated Wood Screws | Walmart | $.97 | 1 | $.97 |
| 3 | Trim Paint | Previously Purchased | N/A | N/A | N/A |
The tools required were also minimal.
| Line | Description | Link |
|---|---|---|
| 1 | Black and Decker 12v drill | |
| 2 | Oscillating Multitool | Harbor Freight |
| 3 | Flush Cut Saw | Harbor Freight |
| 4 | Pencil |
Installation
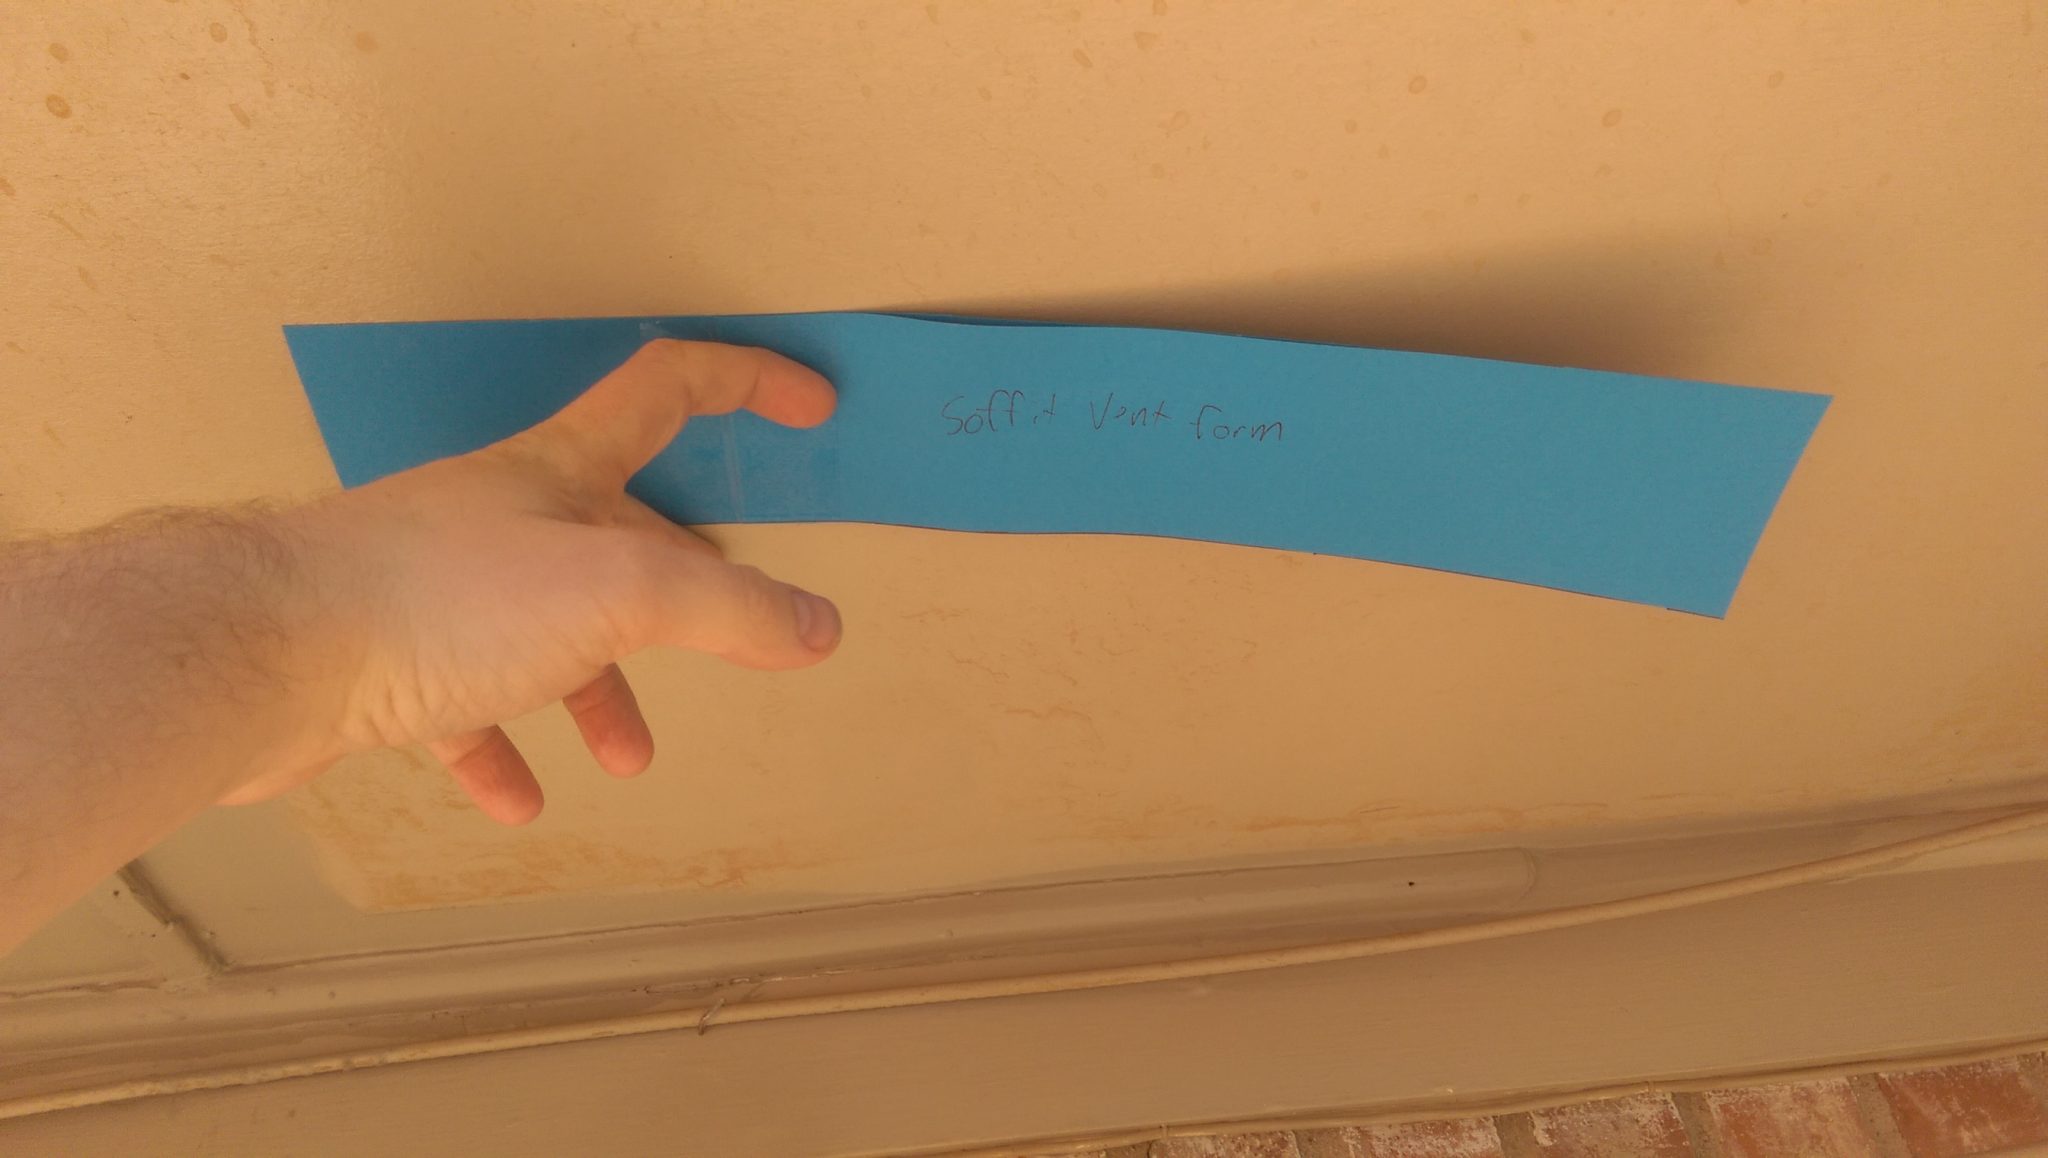
The installation is as straightforward as cutting out an appropriately sized opening then screwing the vent into place. I started by creating a template that fit inside all of the screw holes in the vent. I then traced this onto the soffit including the area of the old round vent.
I originally tried to cut out the form by hand using a pull saw. My kids were taking a nap and I was trying to be quiet.
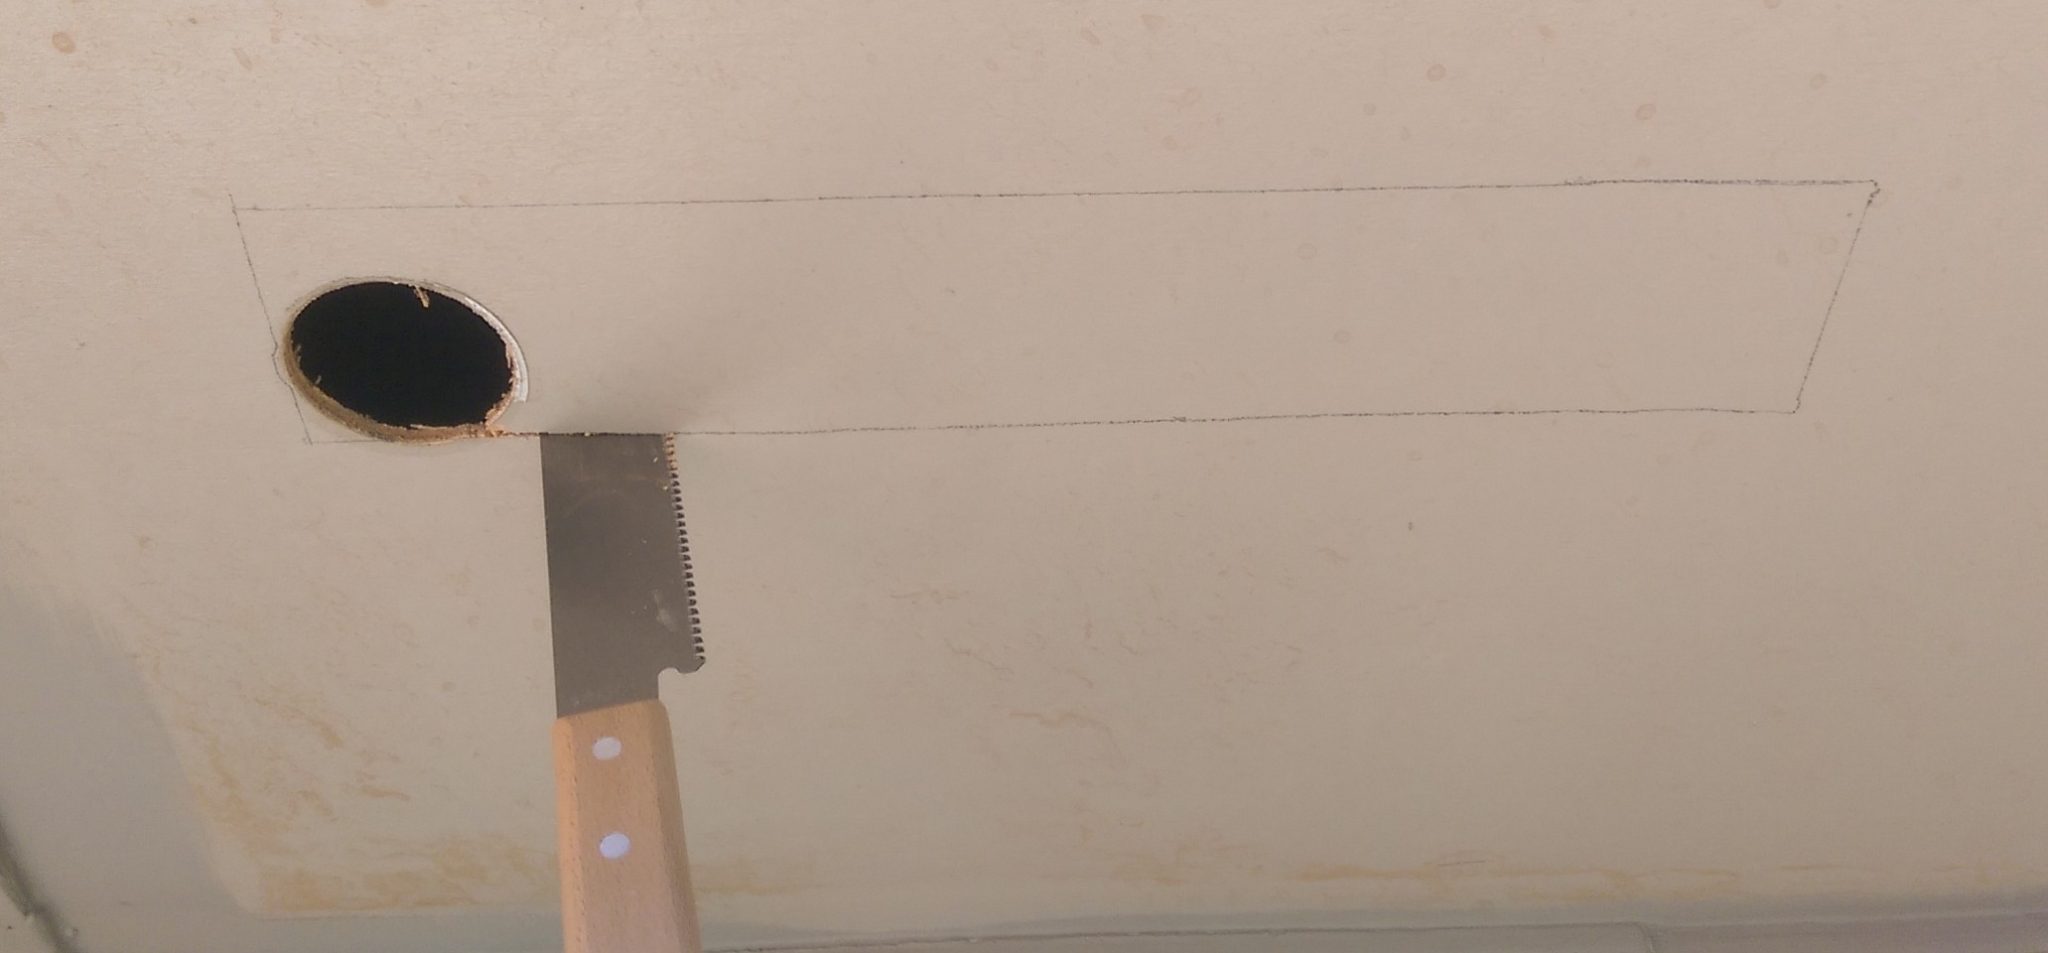
However, I wound up using a combination of the flush cut pull saw and the oscillating saw to get the job done.

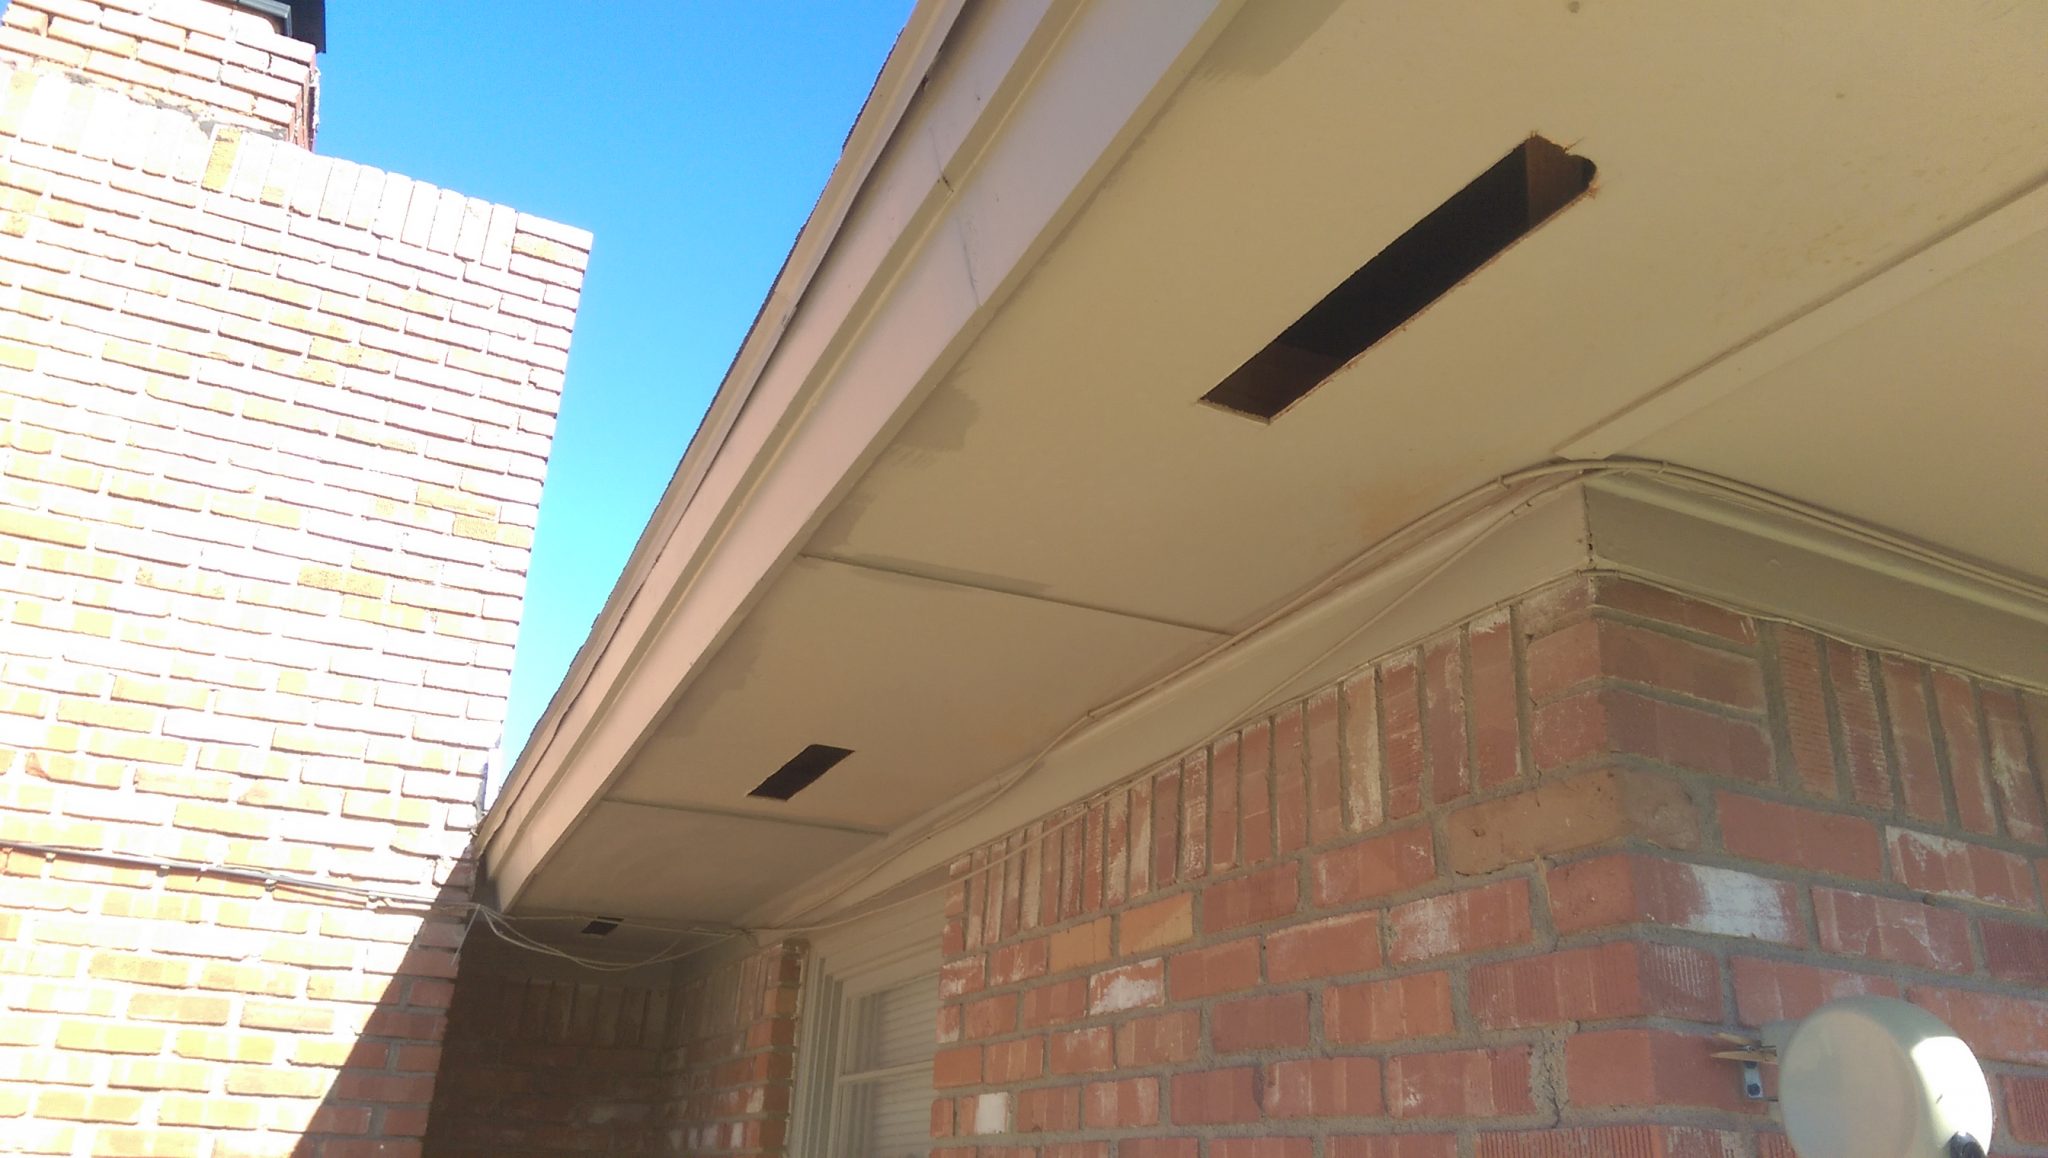
Here is a finished shot of all three vents I am working on today.
I tested one of the screws I purchased on a scrap piece of plywood to make sure it would self tap into the soffit. Since it did self tap without causing any damage, I decided to just screw the vents on directly without drilling pilot holes. I used all six screw holes and made the vent snug against the soffit.

Here is a look at the finished product. The vents and screw holes will be painted to match the soffit so as to be unnoticeable.
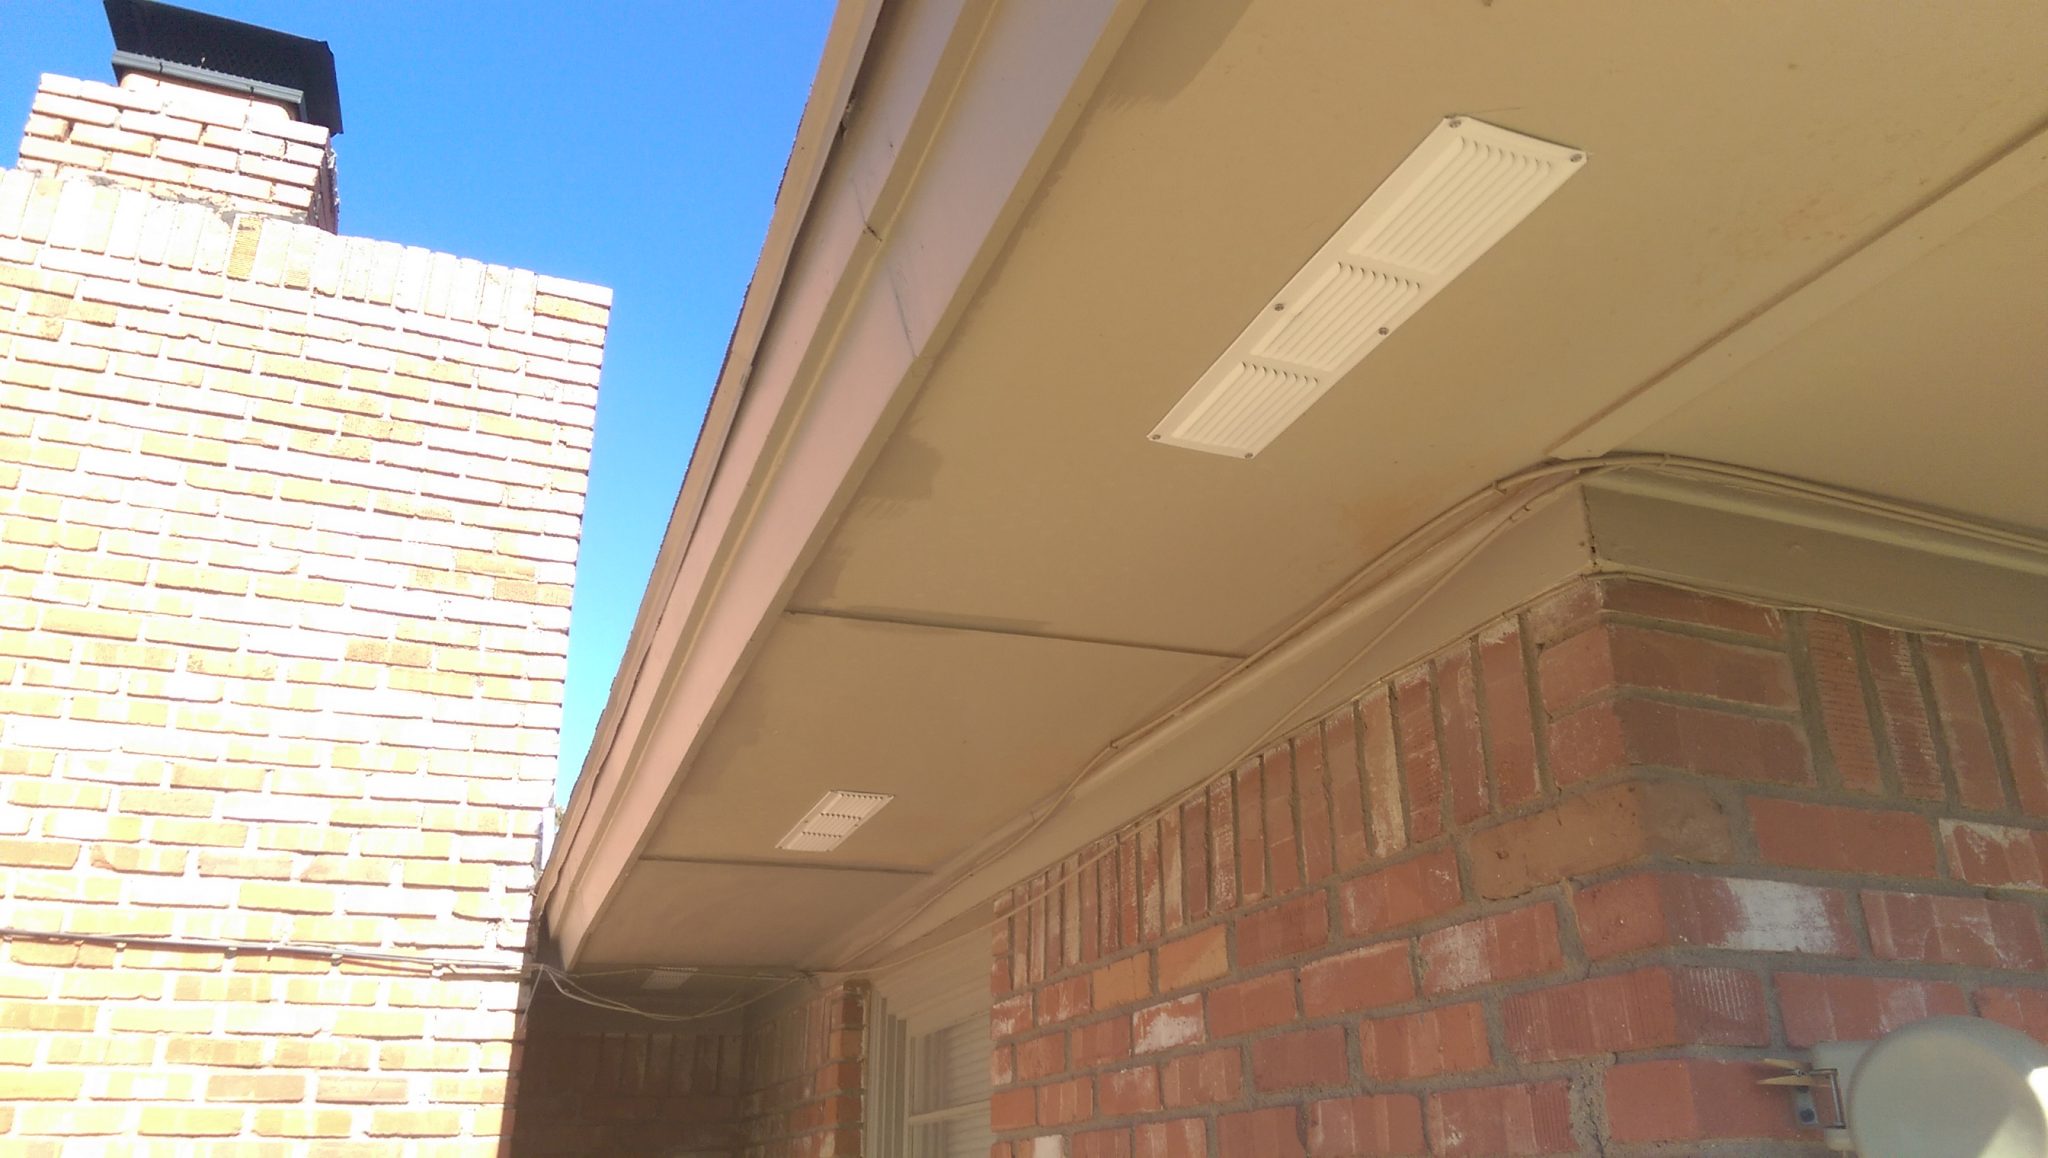
Conclusion
The entire project took somewhere around 1.5 hours. If I am happy with the vents after painting, I will plan on updating the others around the house as well. Some future work I would like to complete can also be seen in the photo. I am currently planning on running all coax through the attic rather than around the house like the cable installers did so as to clean up the unsightly hanging cables across the chimney.