
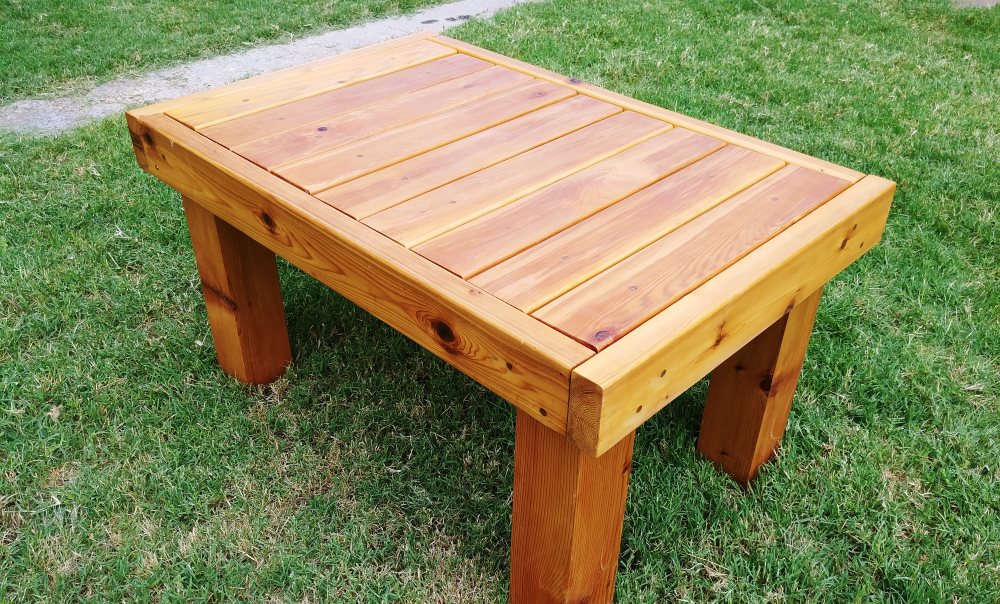
Cedar Patio Table Completed
Summary
Construction of a custom cedar patio table for the back porch. The patio table uses inexpensive cedar fence pickets for the table top in order to reduce cost. The table is finished with an outdoor urethane for a long life outdoors.
Background
Emboldened by my success building a tiny nightstand for my son’s room, I decided I was crazy enough to embark on another furniture building adventure. After all, a tiny nightstand only took me months to build. How long could it possibly take to build a small table for the back patio? <Imagine stern look from my wife here>
Ideally you would get to use a patio table outside the same summer you start building it. Unfortunately that was not the case for me. This project took about nine months from start to finish.
Design
The primary design goals for the table were:
- Attractive wood construction
- Cost less than $100 to build
- Survive outdoors for a long time
The main idea I had to reduce cost on the table was to use cedar fence posts for the table top which are of course very inexpensive. For fun I created a 3D render of the table using sketchup (formerly Google sketchup) which you can see following.
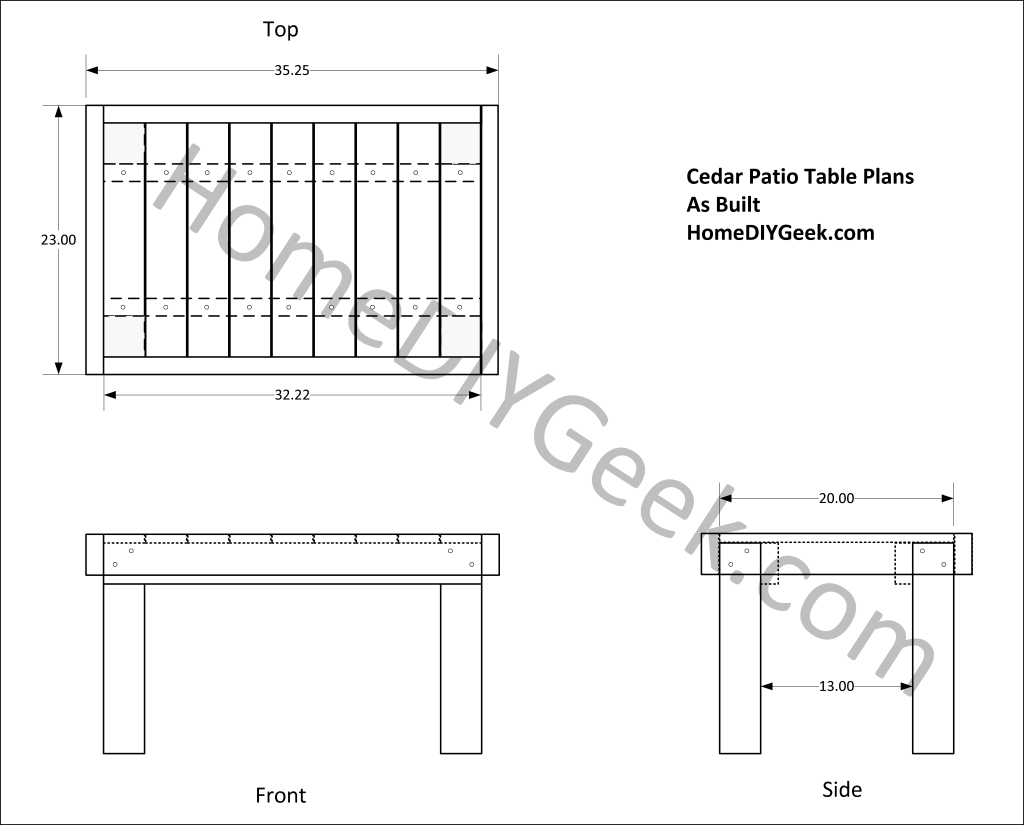
Cedar Patio Table Drawing As Built
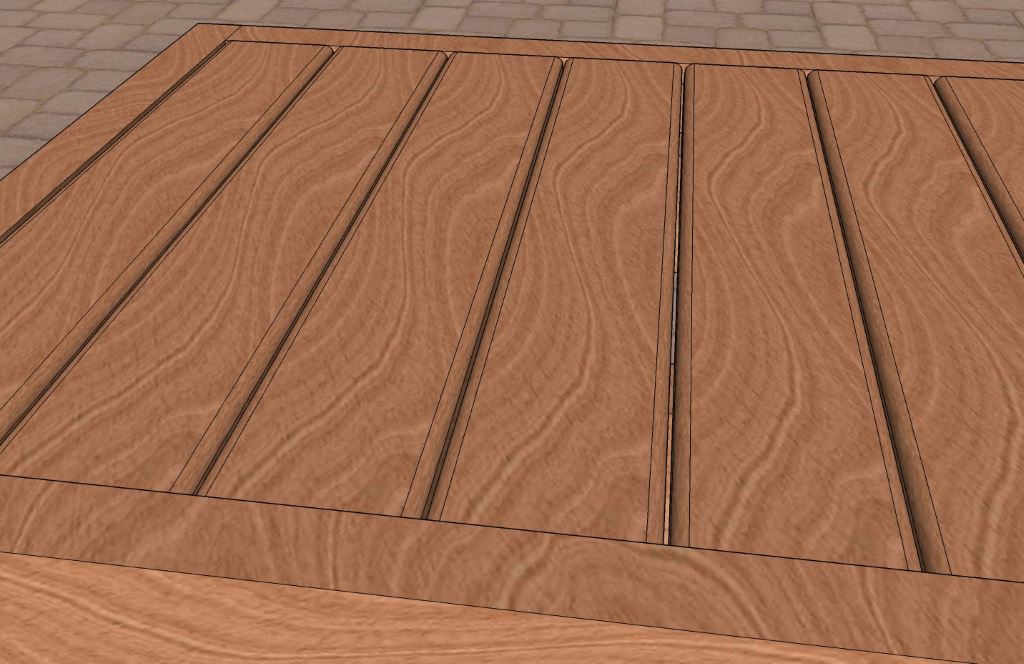
Cedar Patio Table Top Render
Tools and Materials
| line | Description | Supplier | Unit Cost | Units | Ext. Cost |
|---|---|---|---|---|---|
| 1 | 6 Foot Cedar Fence Picket | Home Depot | $1.93 | 4 | $7.72 |
| 2 | 2"x4"x8' Cedar Deck Board | Lowes | $8.98 | 2 | $17.96 |
| 3 | 4"x4"x8' Rough Green Western Red Cedar Post | Home Depot | $16.45 | 1 | $16.45 |
| 4 | Hillman #8×2" Countersinking Deck Tan Wood Screws | Lowes | $5.98 | 1 | $5.98 |
| 5 | Epoxy (various brands) | various | $5.00 | 3 | $15.00 |
| 6 | Minwax Outdoor Urethane Satin | Home Depot | $15.97 | 2 | $31.94 |
| Total | $95.05 |
You’ll note that I built the table with cedar and also coated it extensively with outdoor polyurethane. Cedar is rot and bug resistant and should last a long time outdoors. With the outdoor poly on top my hope is that it will last basically forever.
line
Description
New?
Link (If applicable)
1
Various Saws
2
Black and Decker Workmate Table
Black And Decker Website
3
Trigger Clamps
4
Black And Decker 12V Cordless Drill
5
Harbor Freight Plunge Router
Yes
Harbor Freight
6
Black and Decker Orbital Sander
7
Various sanding disks
8
Pencil
9
Tape Measure
10
6" Carpenters Square
11
Safety Glasses
12
Ear Plugs
Construction
Step 1: Shape the Slats for the Table Top
I chose a round profile for the table slats so that they would shed water and it would be impossible for water to puddle on top of the table and cause damage. Getting the irregular fence pickets into identical slats took several steps.
- Cut the slats to 20″ length including some extras
- Sand tops of slats smooth enough to get good edge with router
- Square up slat ends by clamping together and sanding edges simultaneously
- Clamp each slat down and round each edge with router
- Sand each slat smooth for finishing

Forming the Patio Table Top Slats
It’s important to note that the fence pickets you buy from the store may be pretty green. I took so long to get started on the table that the pickets had plenty of time to dry out in my garage before I started construction. If you want to use them for a project I would recommend you let the pickets sit in your garage or shop for 2-3 weeks to stabilize.
Step 2: Sanding the Cedar Posts Smooth
Since I had decided to finish the table I needed to sand the posts that would become the legs smooth. If you have a heavy duty planer or some really fancy sander setup this should be easy for you and will also be halfway square. My technique was to lay out the posts on some wood in the driveway and sand with a random orbital sander until smooth. My technique did not yield a particularly square post, but in the finished product you can’t tell.

Sanding Patio Table Legs Smooth
Step 3: Cutting the Wood
Cutting the wood was pretty straightforward. Cedar is soft and easy to cut by hand which I often do if the kids are around. I cut the slats for the top of the table and all of the legs first. I then cut the 2″x4″s that the slats screw into in the middle of the table. I actually waited until the end to cut the pieces that skirt the table because I suspected it wouldn’t be that square. It turned out I was right.
Step 4: Stabilizing the Knots in the Legs
Because there were some sizable knots in the cedar legs I decided to try my hand at stabilizing the knots with epoxy. I did some research and the concept seemed pretty straightforward. The basic idea is to fill the knot including the cracks in the knots with an epoxy so that water won’t penetrate and cause the knot to rot out.
There are two issues everyone discusses with using the epoxy: the color of the epoxy, and getting the epoxy to flow into the cracks. Regarding the color, since I was planning a clear finish without stain I was not worried about the color matching. Some woodworkers actually recommend using black epoxy if you do care. As for getting it into the cracks, everyone seemed to agree that warming the epoxy would help. My bright idea was to use a heat gun after application to try and get it to flow. I’m not really sure if it helped or hurt because the heat seemed to make the epoxy bubble a bit.
The process I used to stabilize the knots was:
- Tape off the knot with masking tape
- Mix some epoxy on a paper plate with a craft stick
- Apply the epoxy with the stick and try and mush it into the cracks
- Gently heat the epoxy with a heat gun
- Repeat with a second coat until the cracks are filled
As I noted above, I can’t recommend the heat gun method, but otherwise this technique was fine.
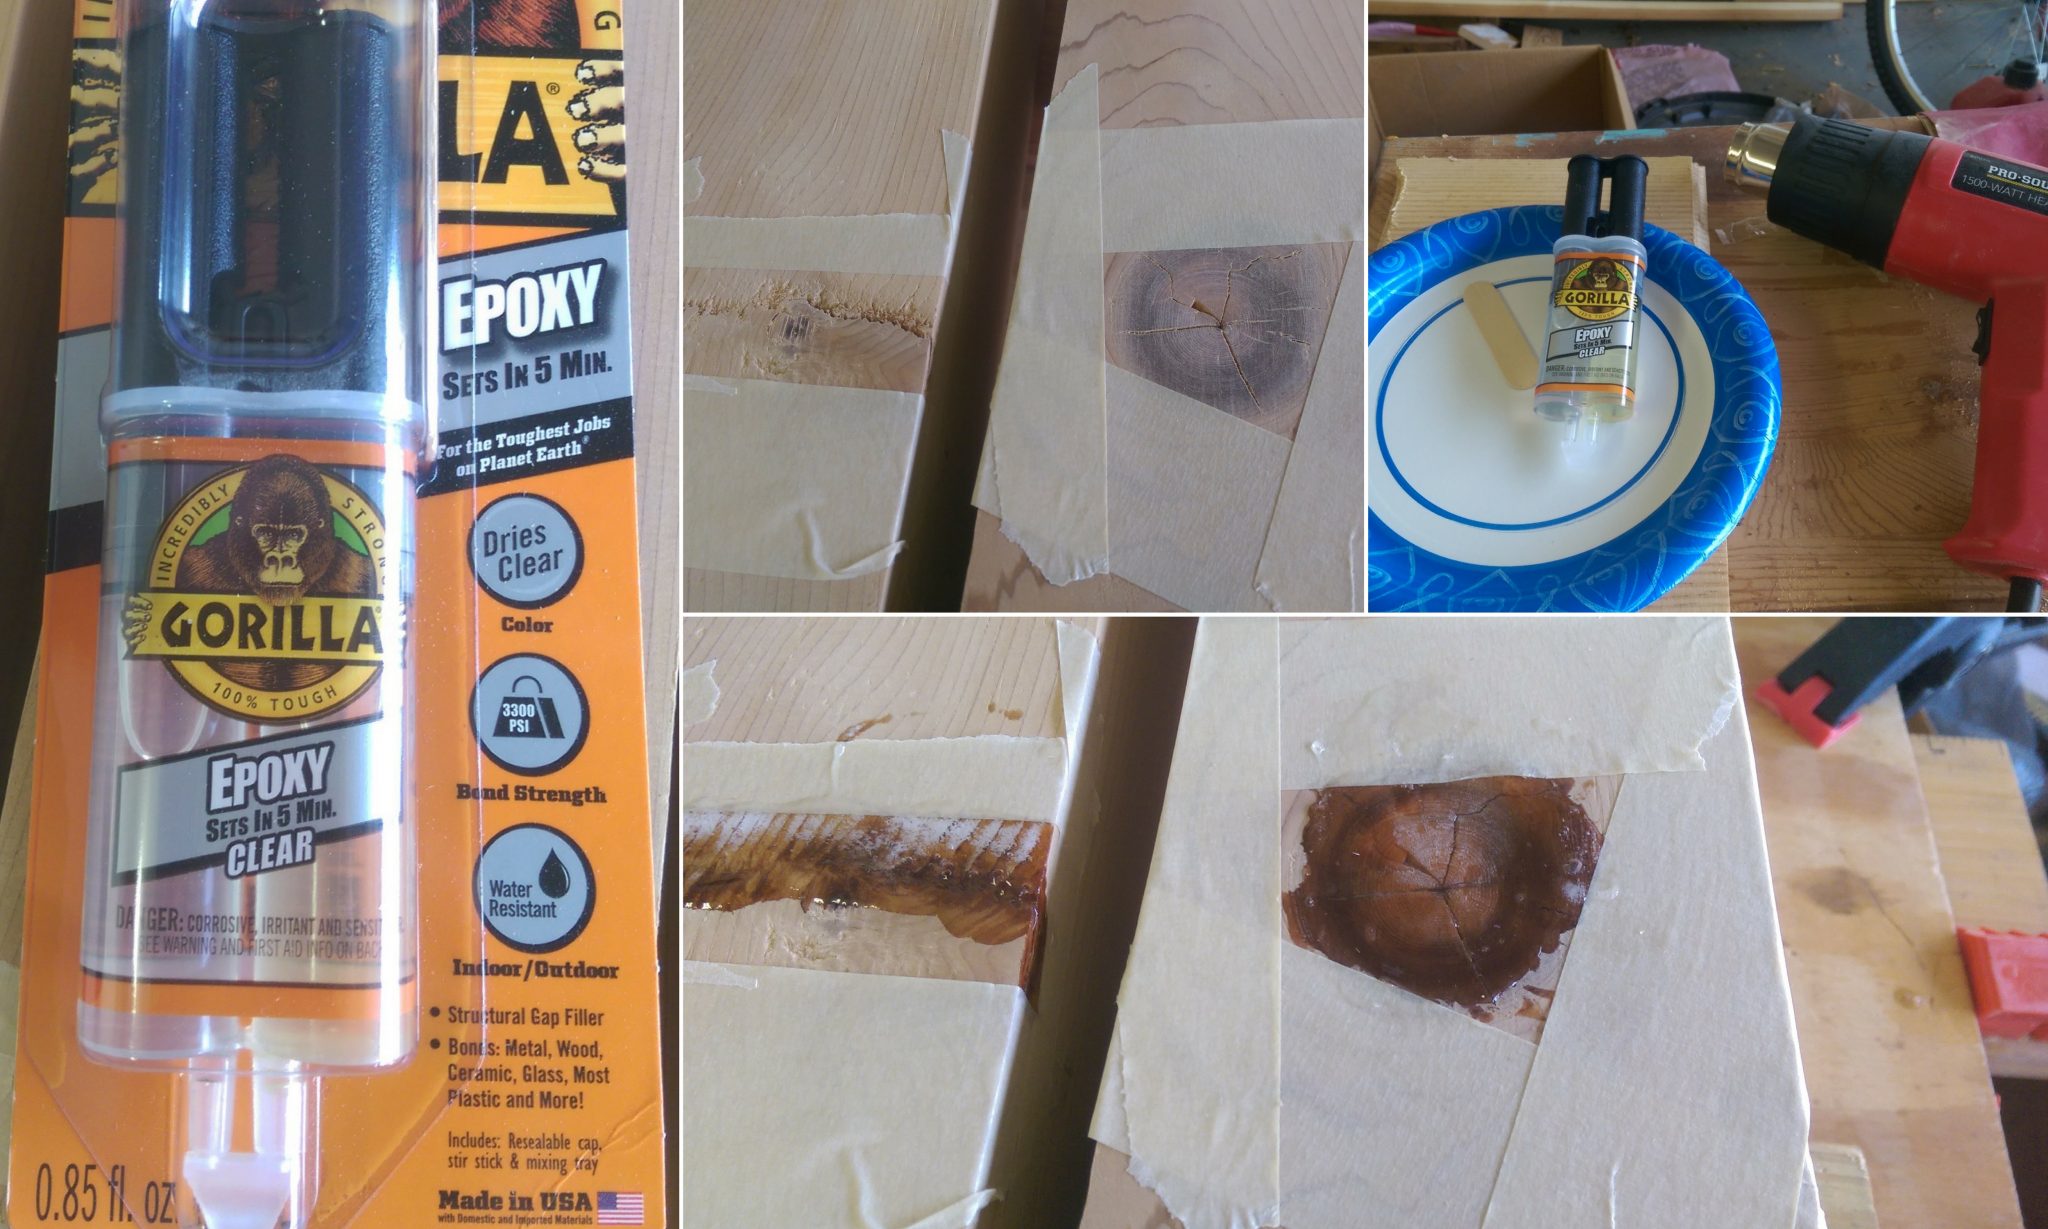
Stabilize Wood Knot with Epoxy
Step 5: Finishing the boards prior to assembly
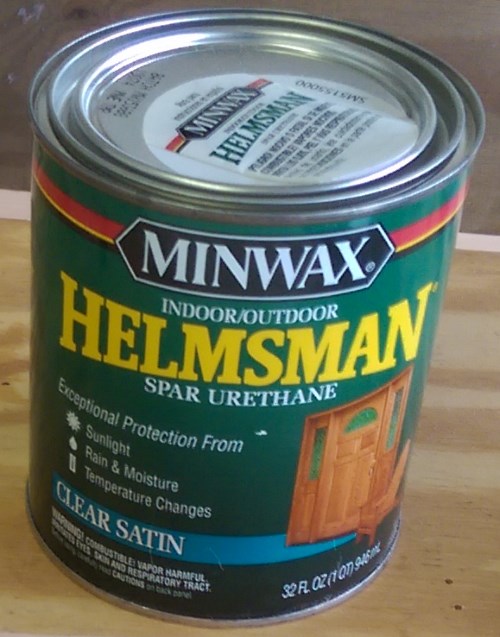
Minwax Helmsman Spar Urethane Satin
I decided to put thick coats of polyurethane on everything prior to assembly. My reasoning was that this would protect any nooks and crannies where water might collect. In the end I put three coats of poly on pretty much every piece, and the top got a little extra at the end for an even finish.
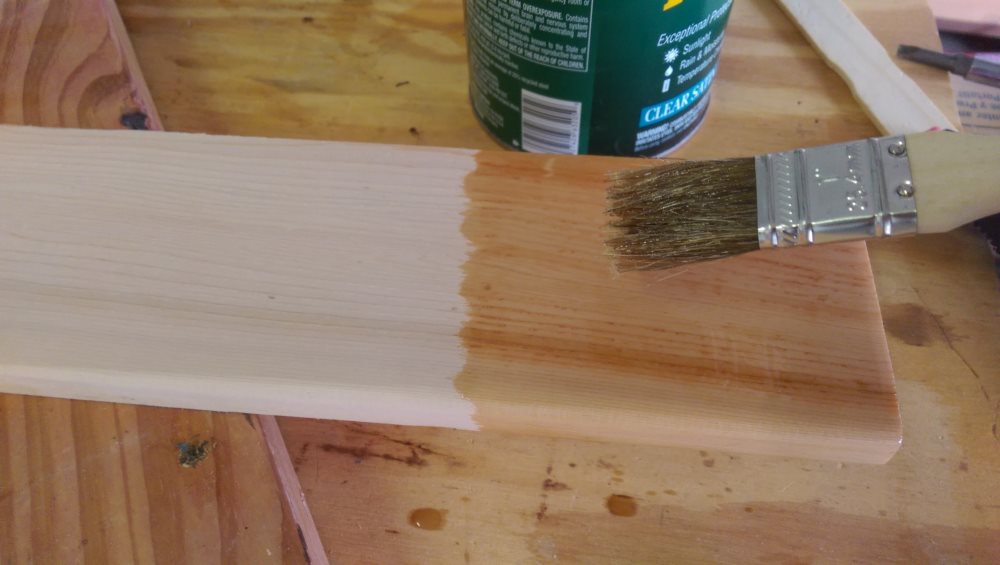
Patio Table Finish Application
The urethane turned out to be a beautiful finish on the cedar and since it is oil based it as naturally yellowed since application further bringing out the beauty of the wood.
Step 6: Assembly
I didn’t actually take any pictures of the assembly. Everything was screwed together with exterior grade wood screws as shown in the plans. The screws were self counter sinking. Since the top slats were kind of thin, I tightened those screws to final depth by hand so that they would be even.
Another ugly fact that I lost the pictures to show is that the legs were out of square so much that the skirt wouldn’t line up with the legs without a 1/4″ gap. I solved this issue with some shims like you would use for window or door installation that I coated in urethane then stuck to the table with epoxy. They aren’t visible in the final product because they are behind the skirt of the table.
Step 7: Filling Screw Holes from Assembly
I finished the table prior to assembly so when I screwed it together I wound up exposing unfinished wood from all of the screw holes. Also, the screw holes in the table top slats were undesirable since water would pool there when it rains. The solution I came up with was to fill all screw holes on the table with epoxy. Screw holes on the underside of the table were just filled with enough to cover any exposed wood. Holes on the top of the table were filled until standing proud of the wood which took a few applications in some cases . I think in the end I went through three vials of epoxy total.
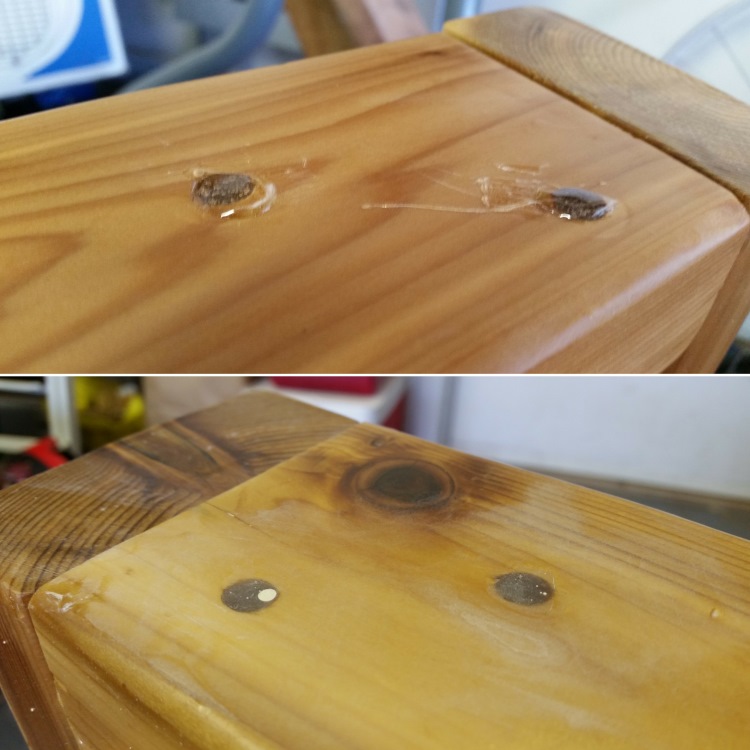
Screw Holes Filled With Epoxy
Step 8: Final Finish
After all of the epoxy dried on the top slats and the border I sanded the epoxy level and applied another coat of finish to even everything out. I am also hopeful that the finish will protect the epoxy from UV exposure in the sun to prolong the life of the table.
Conclusion
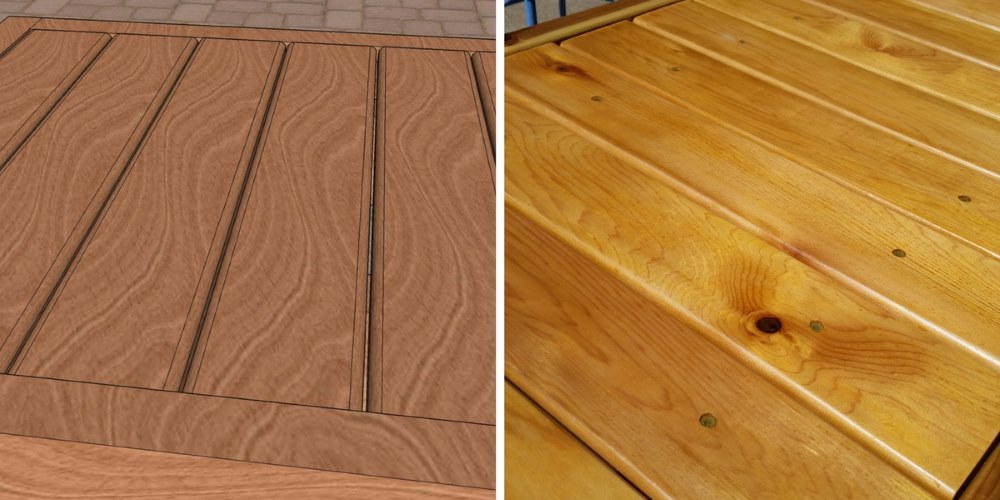
Patio Table 3D Model Versus Reality
From a design standpoint I am very happy with the finished product. The table is not perfectly square, but it is surprisingly level which is probably more important for a table. Regarding the budget, I think I was close enough to my goal, but consumables like epoxy and finish drove me higher than I really wanted. You can see from the above photo that the finished product wound up looking remarkably close to the design render in sketchup which was pretty gratifying.
Cedar Patio Table Completed
The table has been sitting in the sun for months now and doesn’t show any deterioration yet. The satin finish does seem to pick up a little dirt and dust that needs washed off occasionally. Everyone in the family is very happy to finally have a table in the backyard.
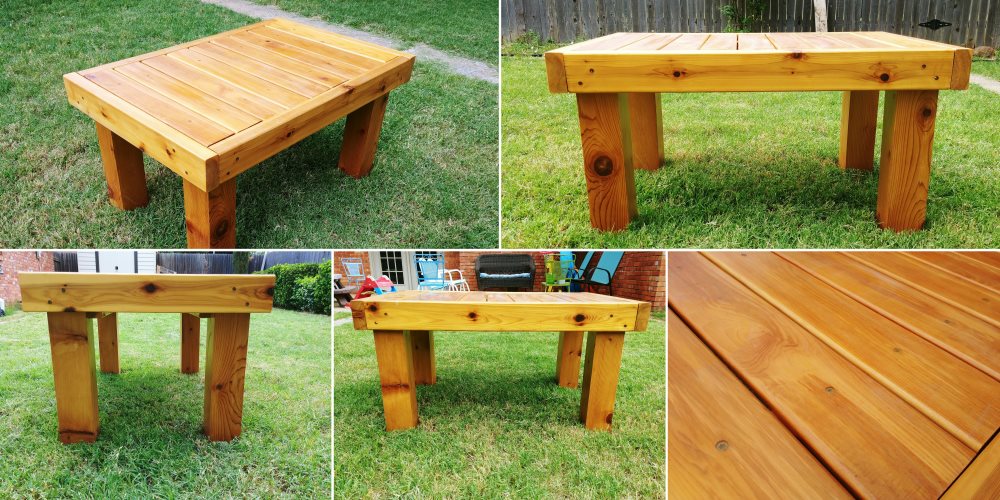
Patio Table Completed Collage